3D Modeling with Aerial Photogrammetry: Oblique and Orbit Imagery
In this article, we will be looking at the process of 3D modeling with aerial photogrammetry using oblique and orbit imagery. Please see the video version of this tutorial below.
Getting Started
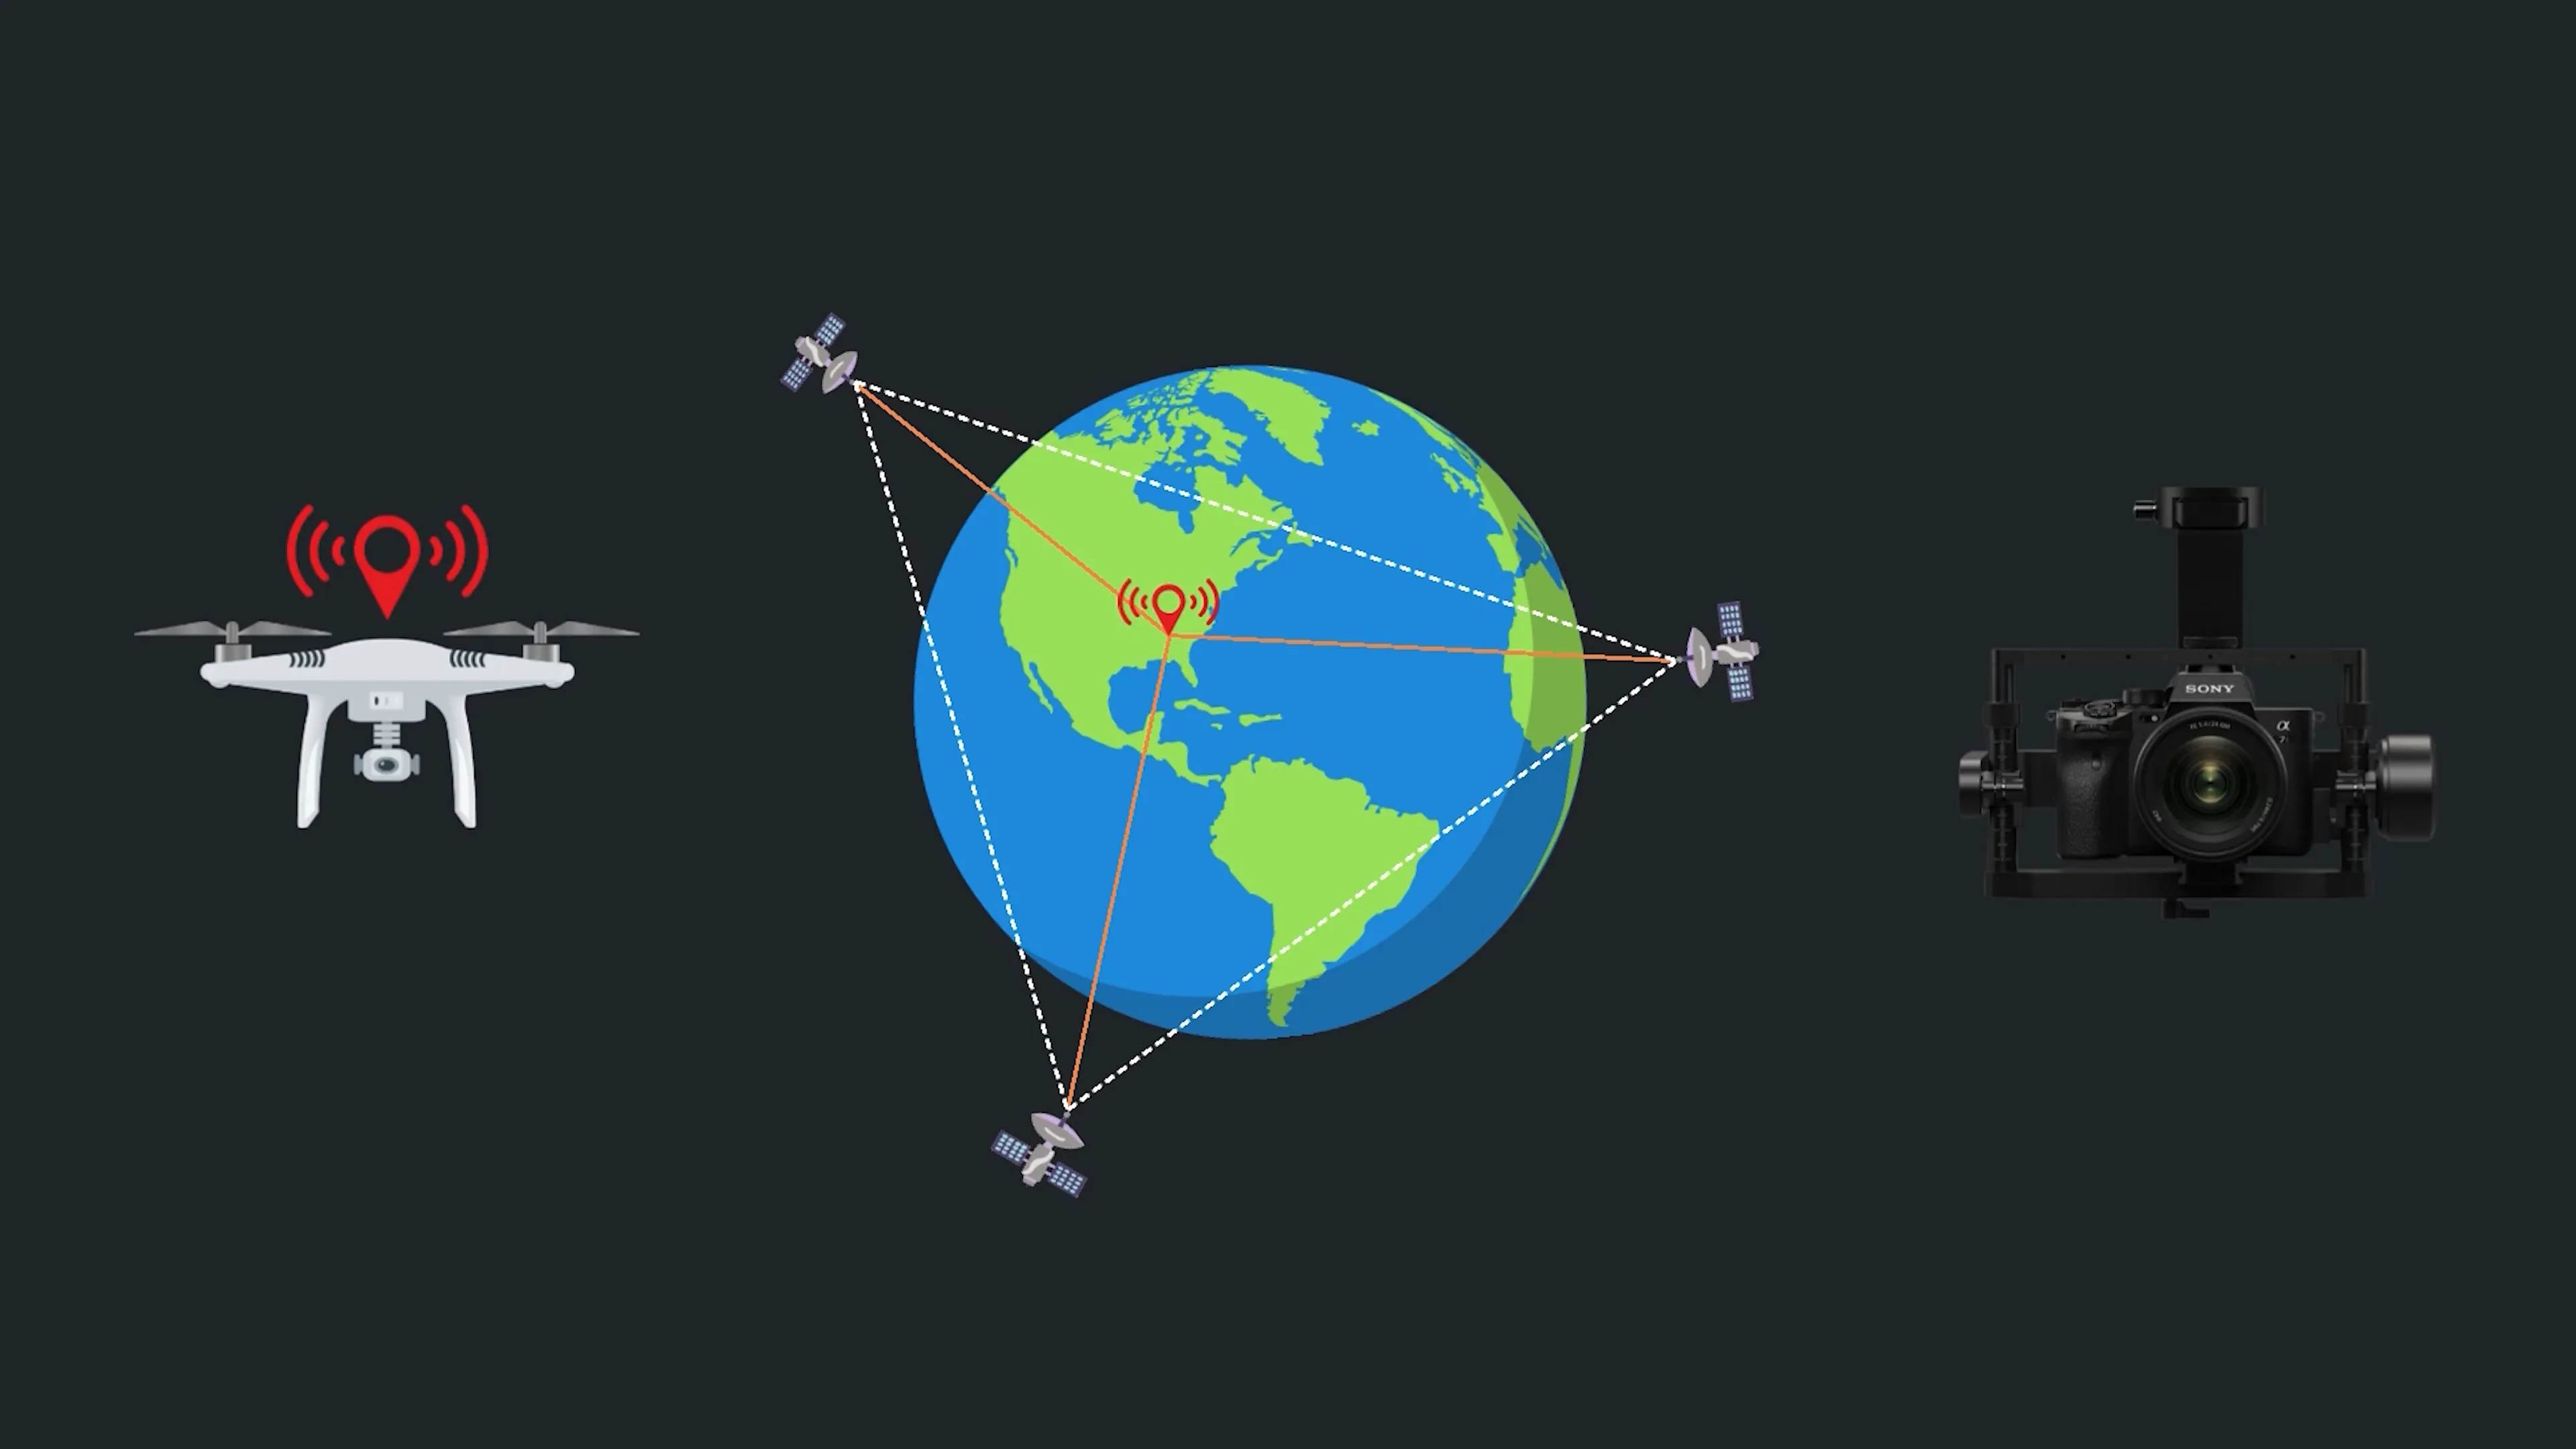
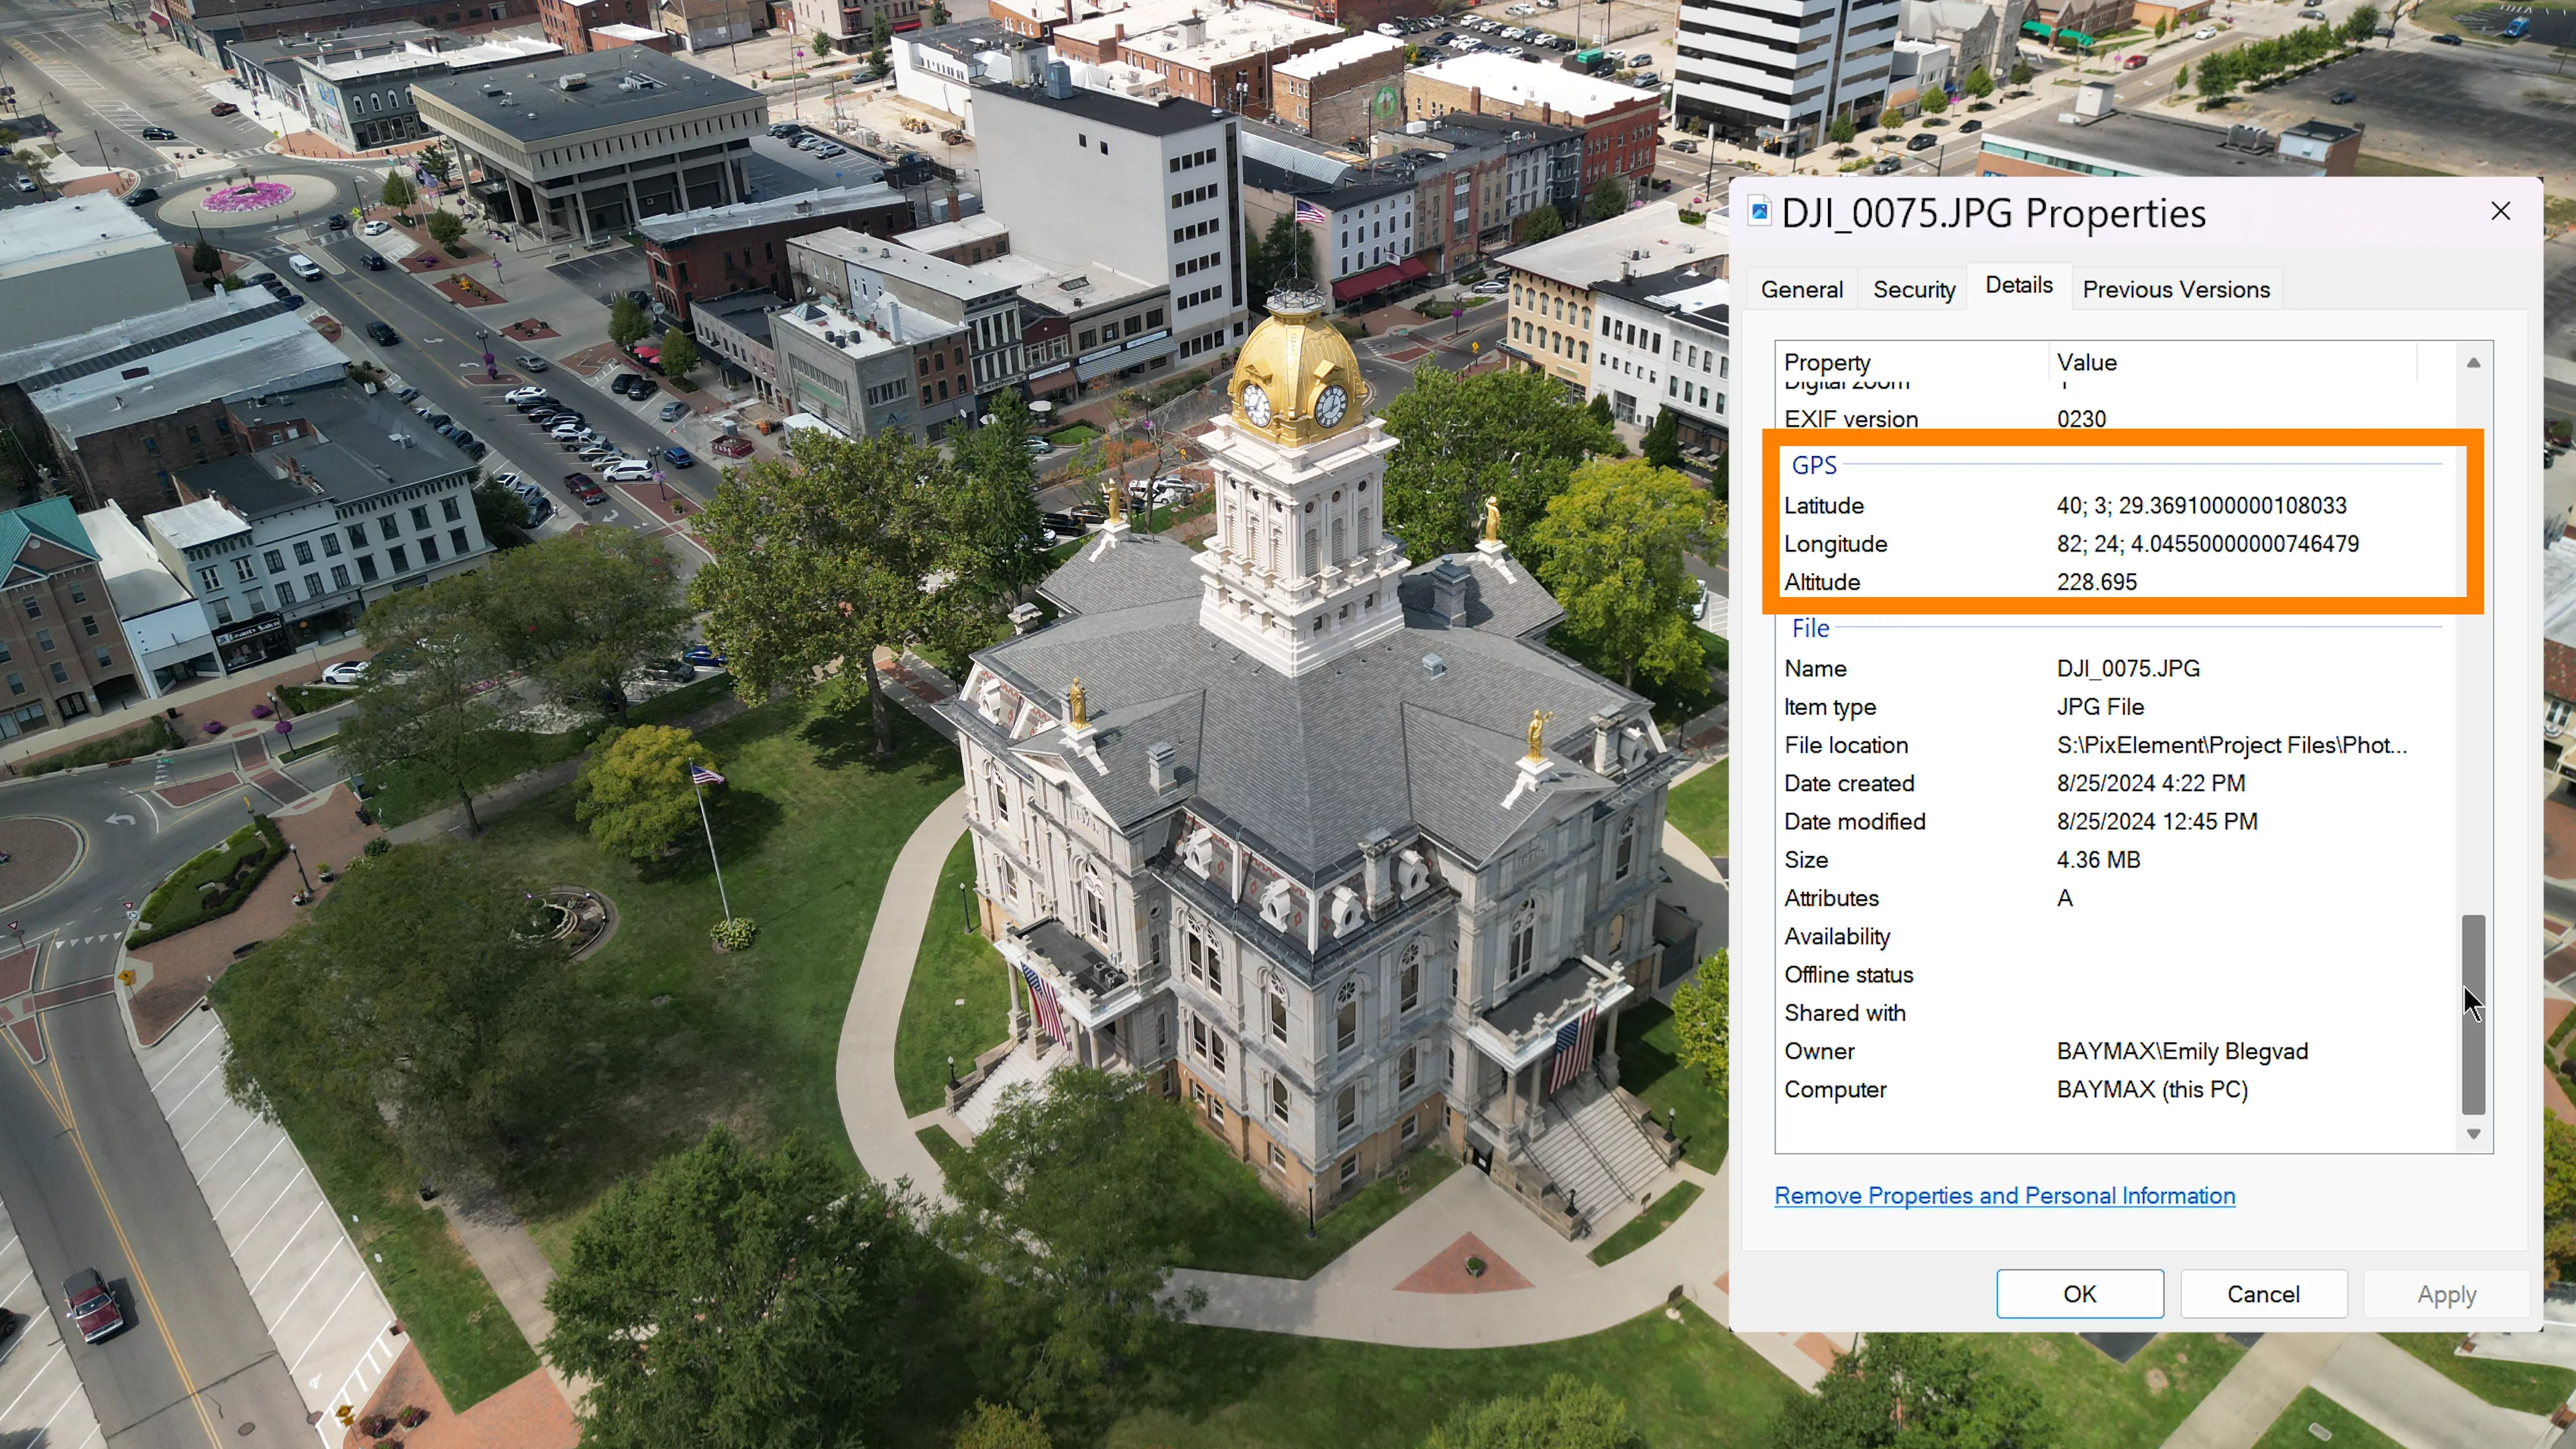
To get started, you will need a reliable drone equipped with a camera and GPS capabilities. Your drone will also need a gimbal that is capable of orienting the camera at the specific oblique angle that you desire to fly at. For the software to be able to geolocate your photos, the photos you produce for your project must have geolocation (latitude, longitude and height) in the metadata. If you would like to learn more about GPS and coordinate systems, please check out our blog post on Understanding Coordinate Systems & GPS in Photogrammetry.
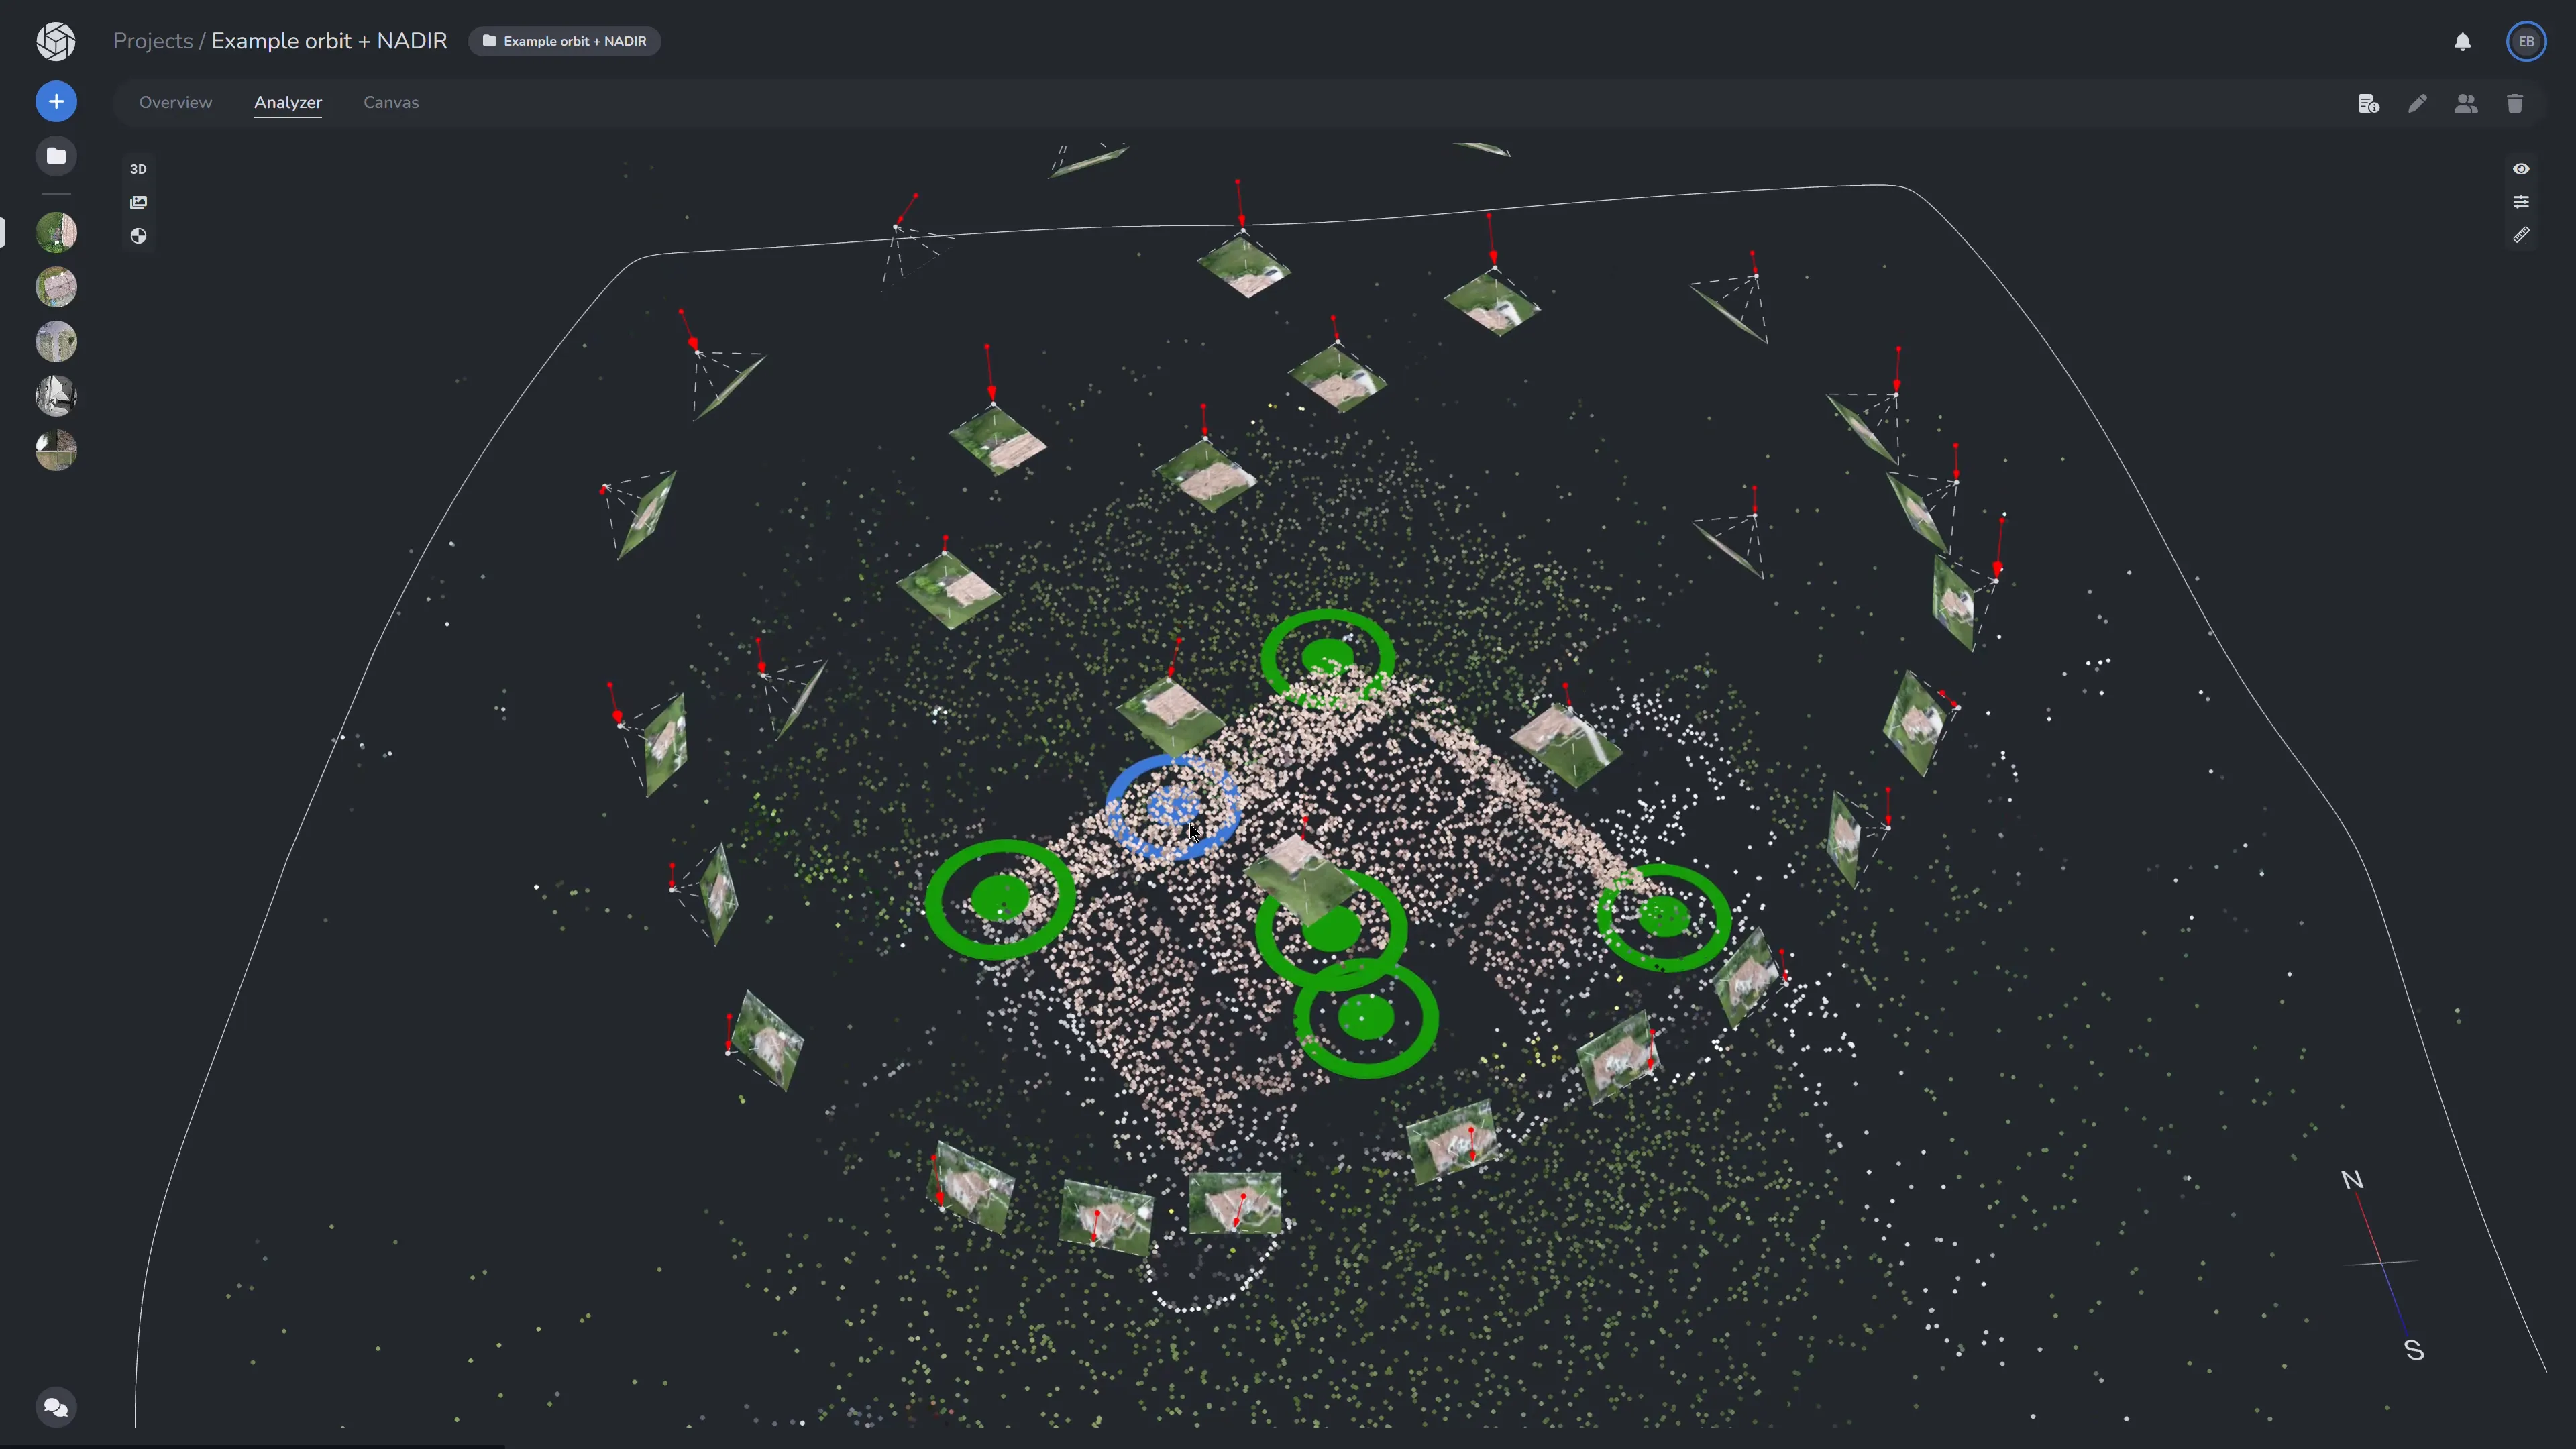
For capturing oblique imagery, we have flown a circular or orbit pattern around our subject.
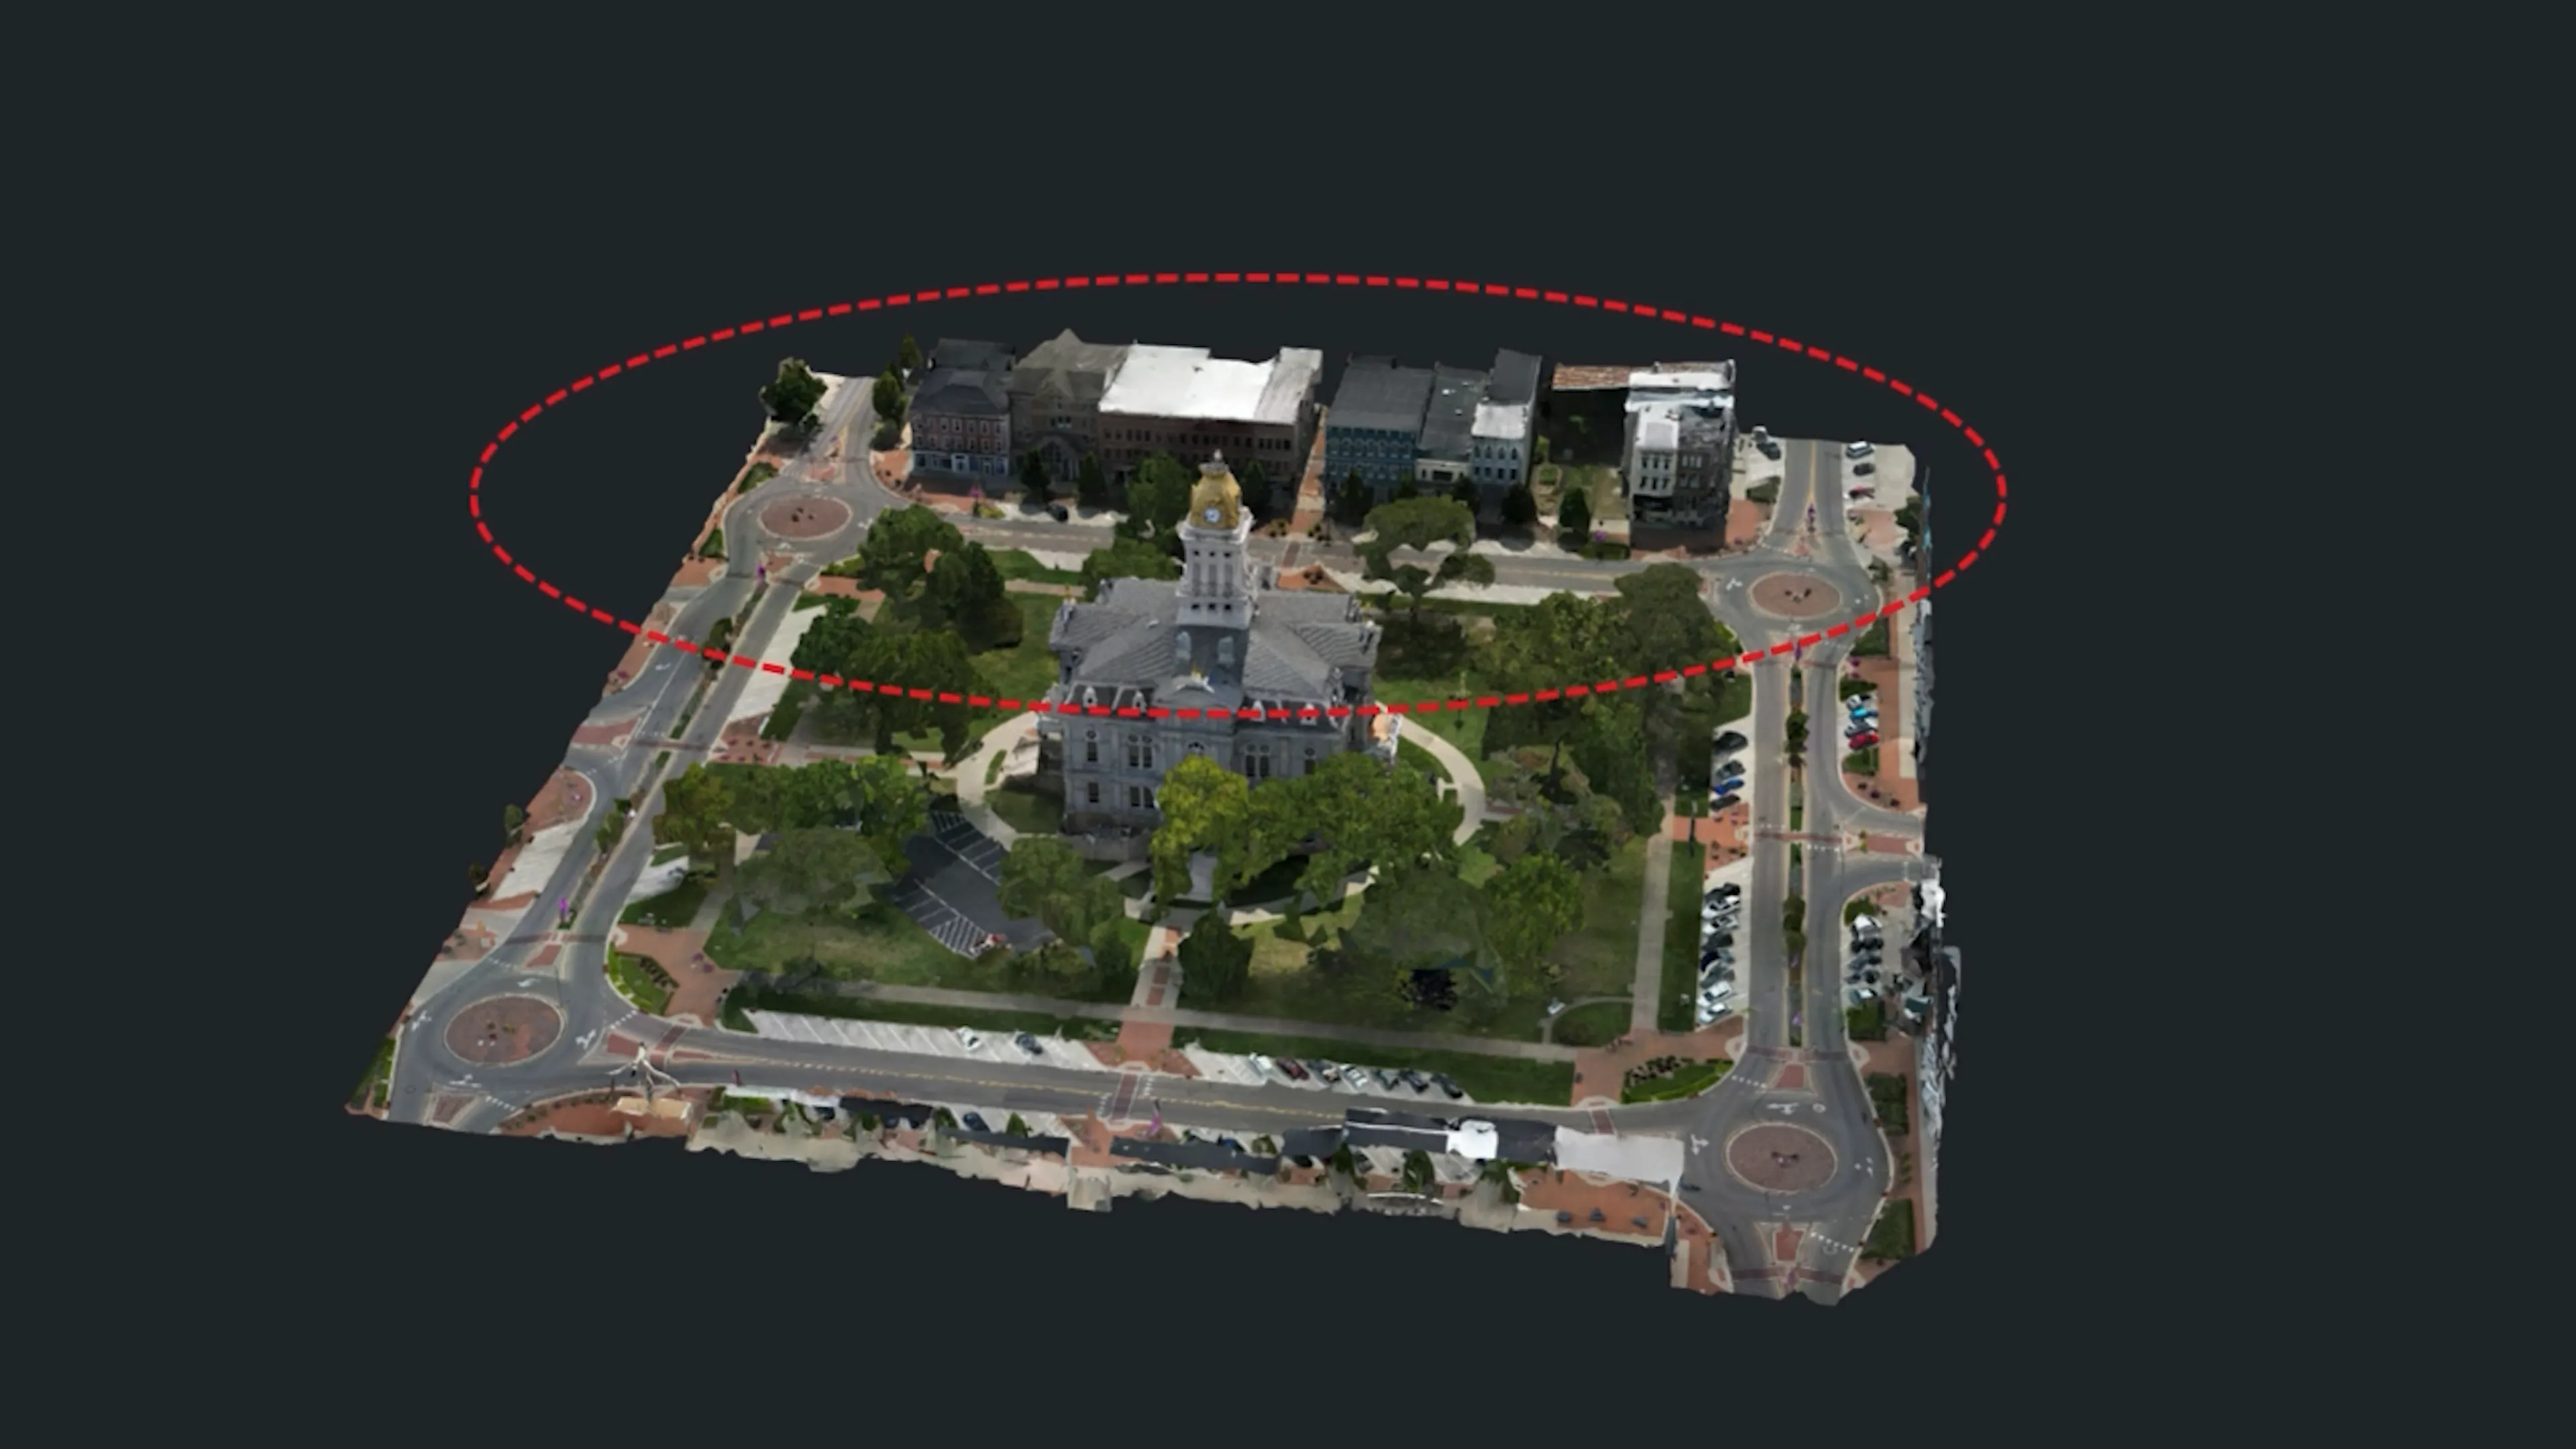
Depending on the detail you would like your model to have, you can fly orbits around your subject as well as a nadir grid as well. This way you are capturing multiple angles which will result in better image connectivity.
The key to successful 3D modeling is the collection of images at different angles. By flying in an orbit or circular pattern around your subject, we can capture overlapping images from multiple perspectives. This method, called oblique imagery, helps the photogrammetry software reconstruct 3D models - particularly by capturing more information on building faces (for example), and enhancing detail along the z-axis.
When creating 3D models, capturing multiple orbits around your subject is generally most important. Multiple orbits provide better image coverage from various angles, which significantly enhances the reconstruction of your model.
Understanding Nadir/Vertical and Oblique Imagery
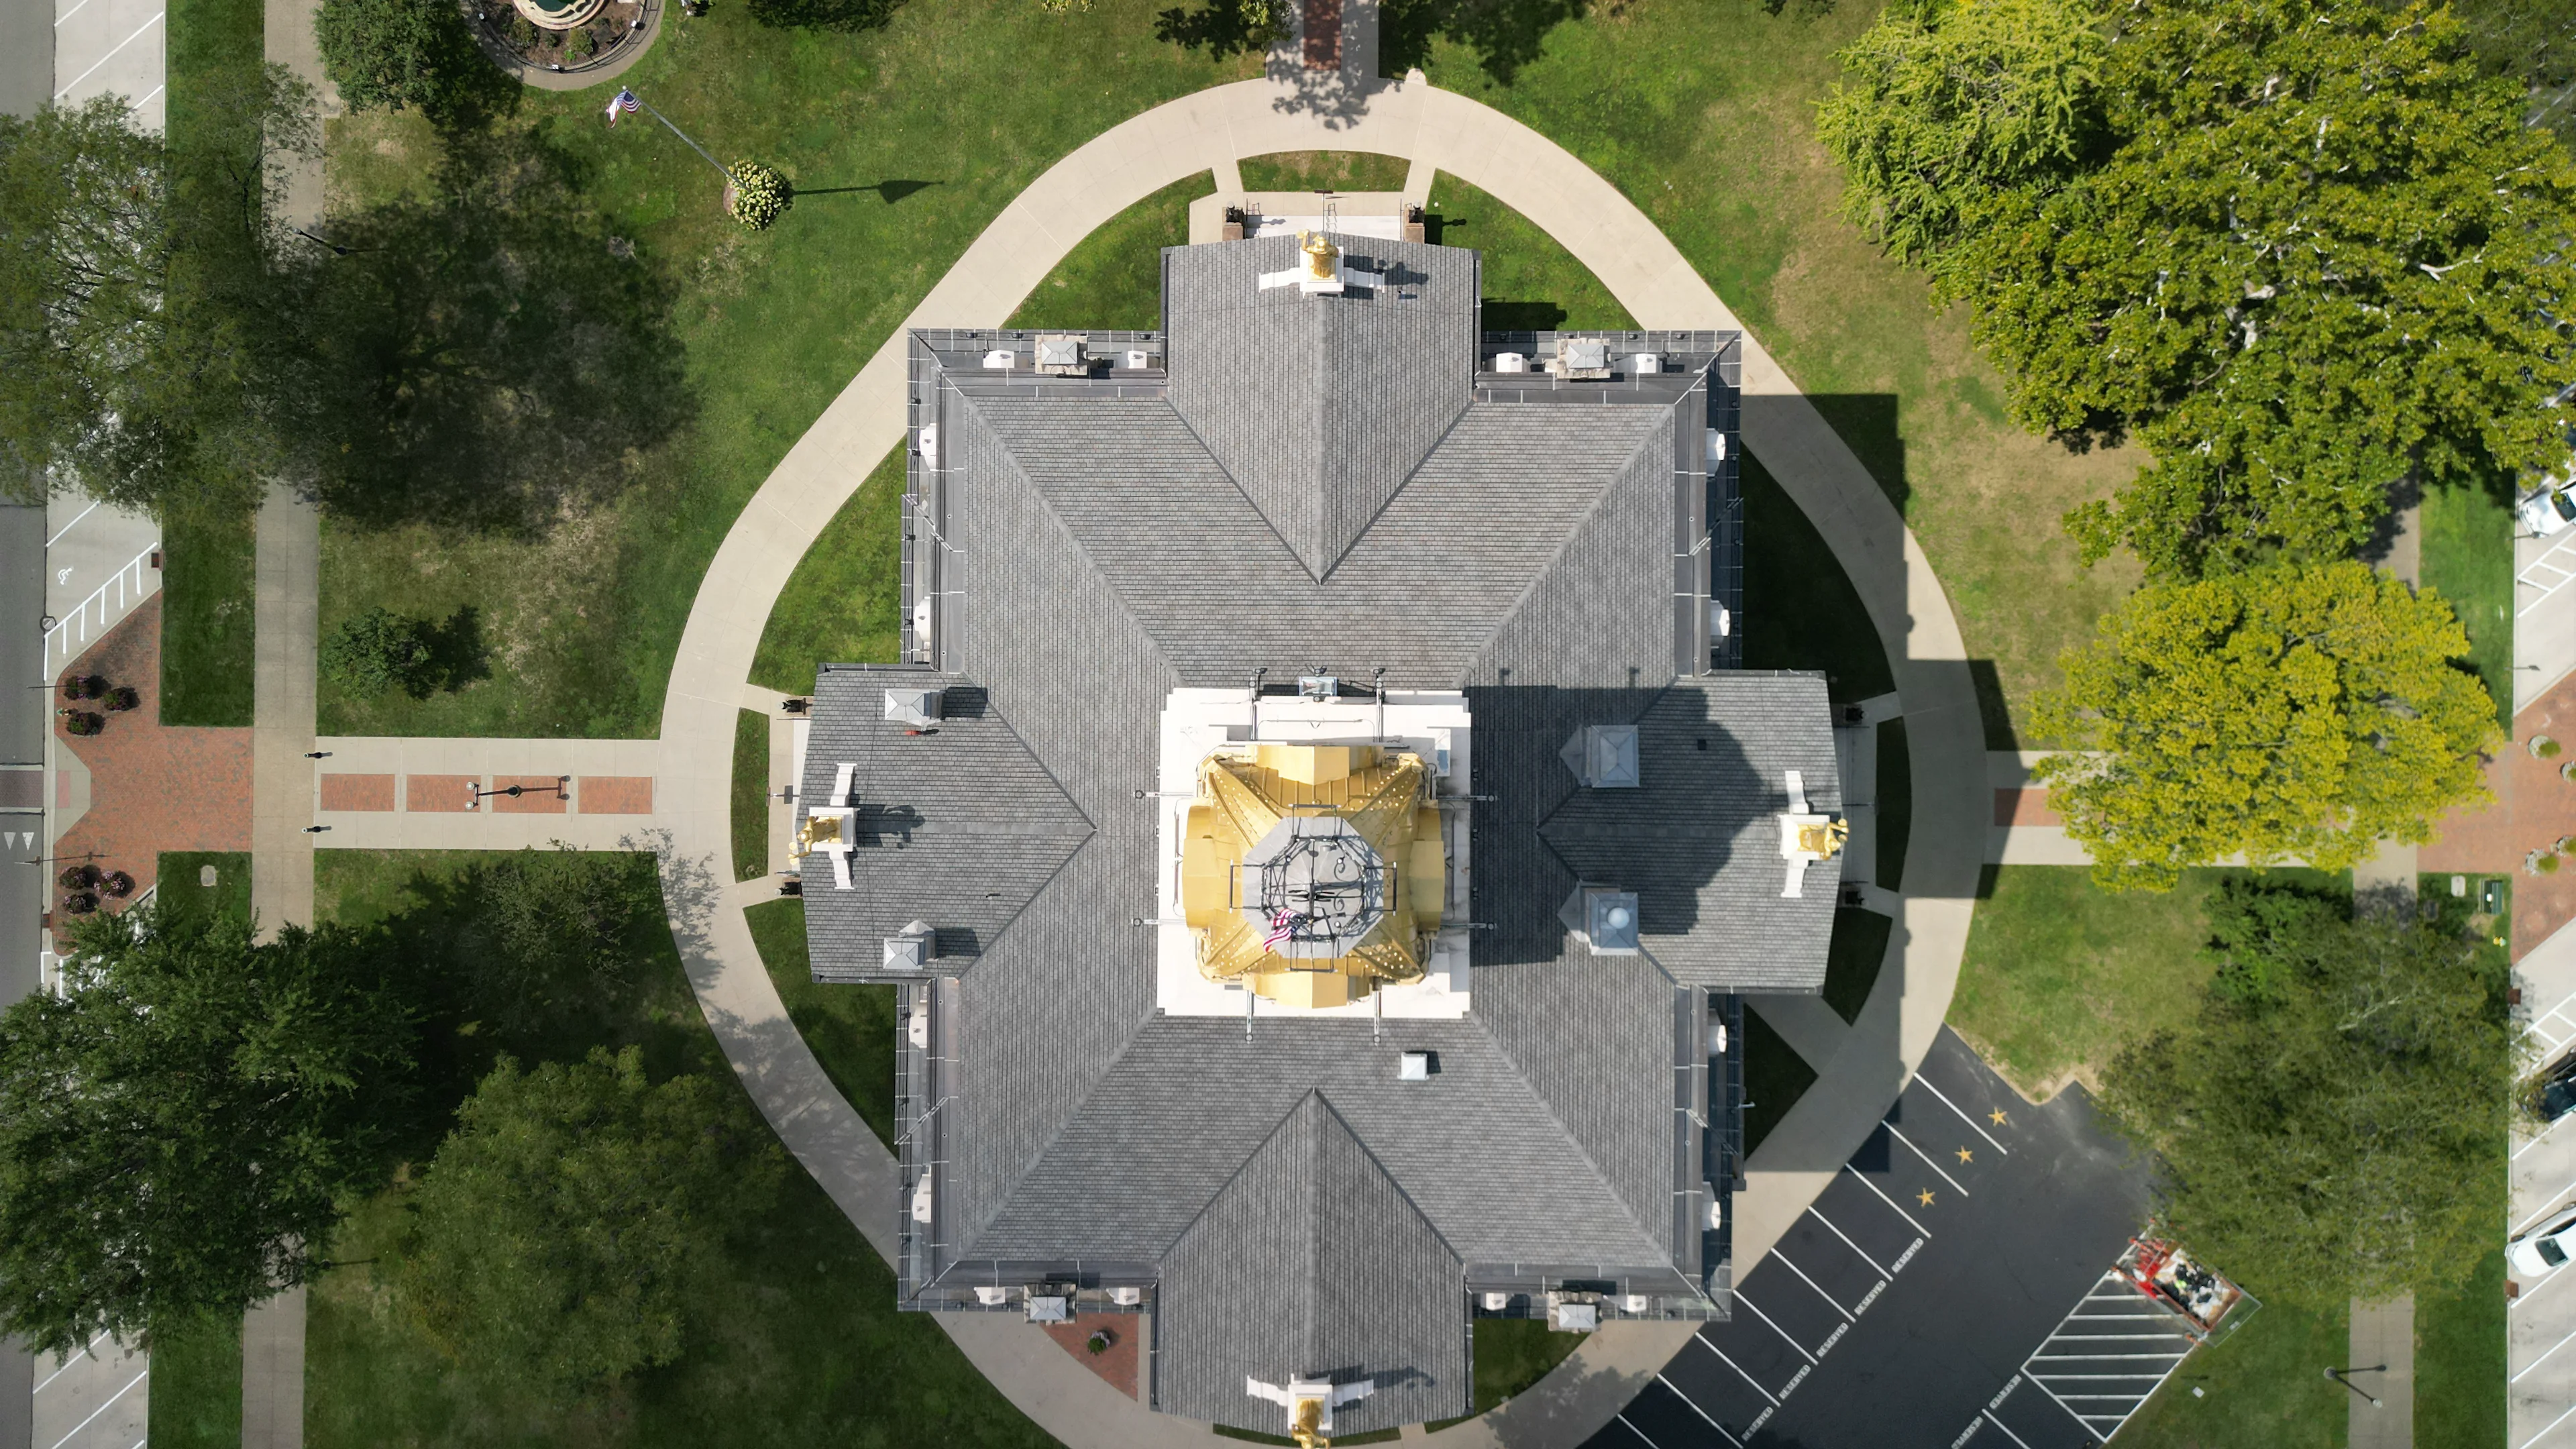
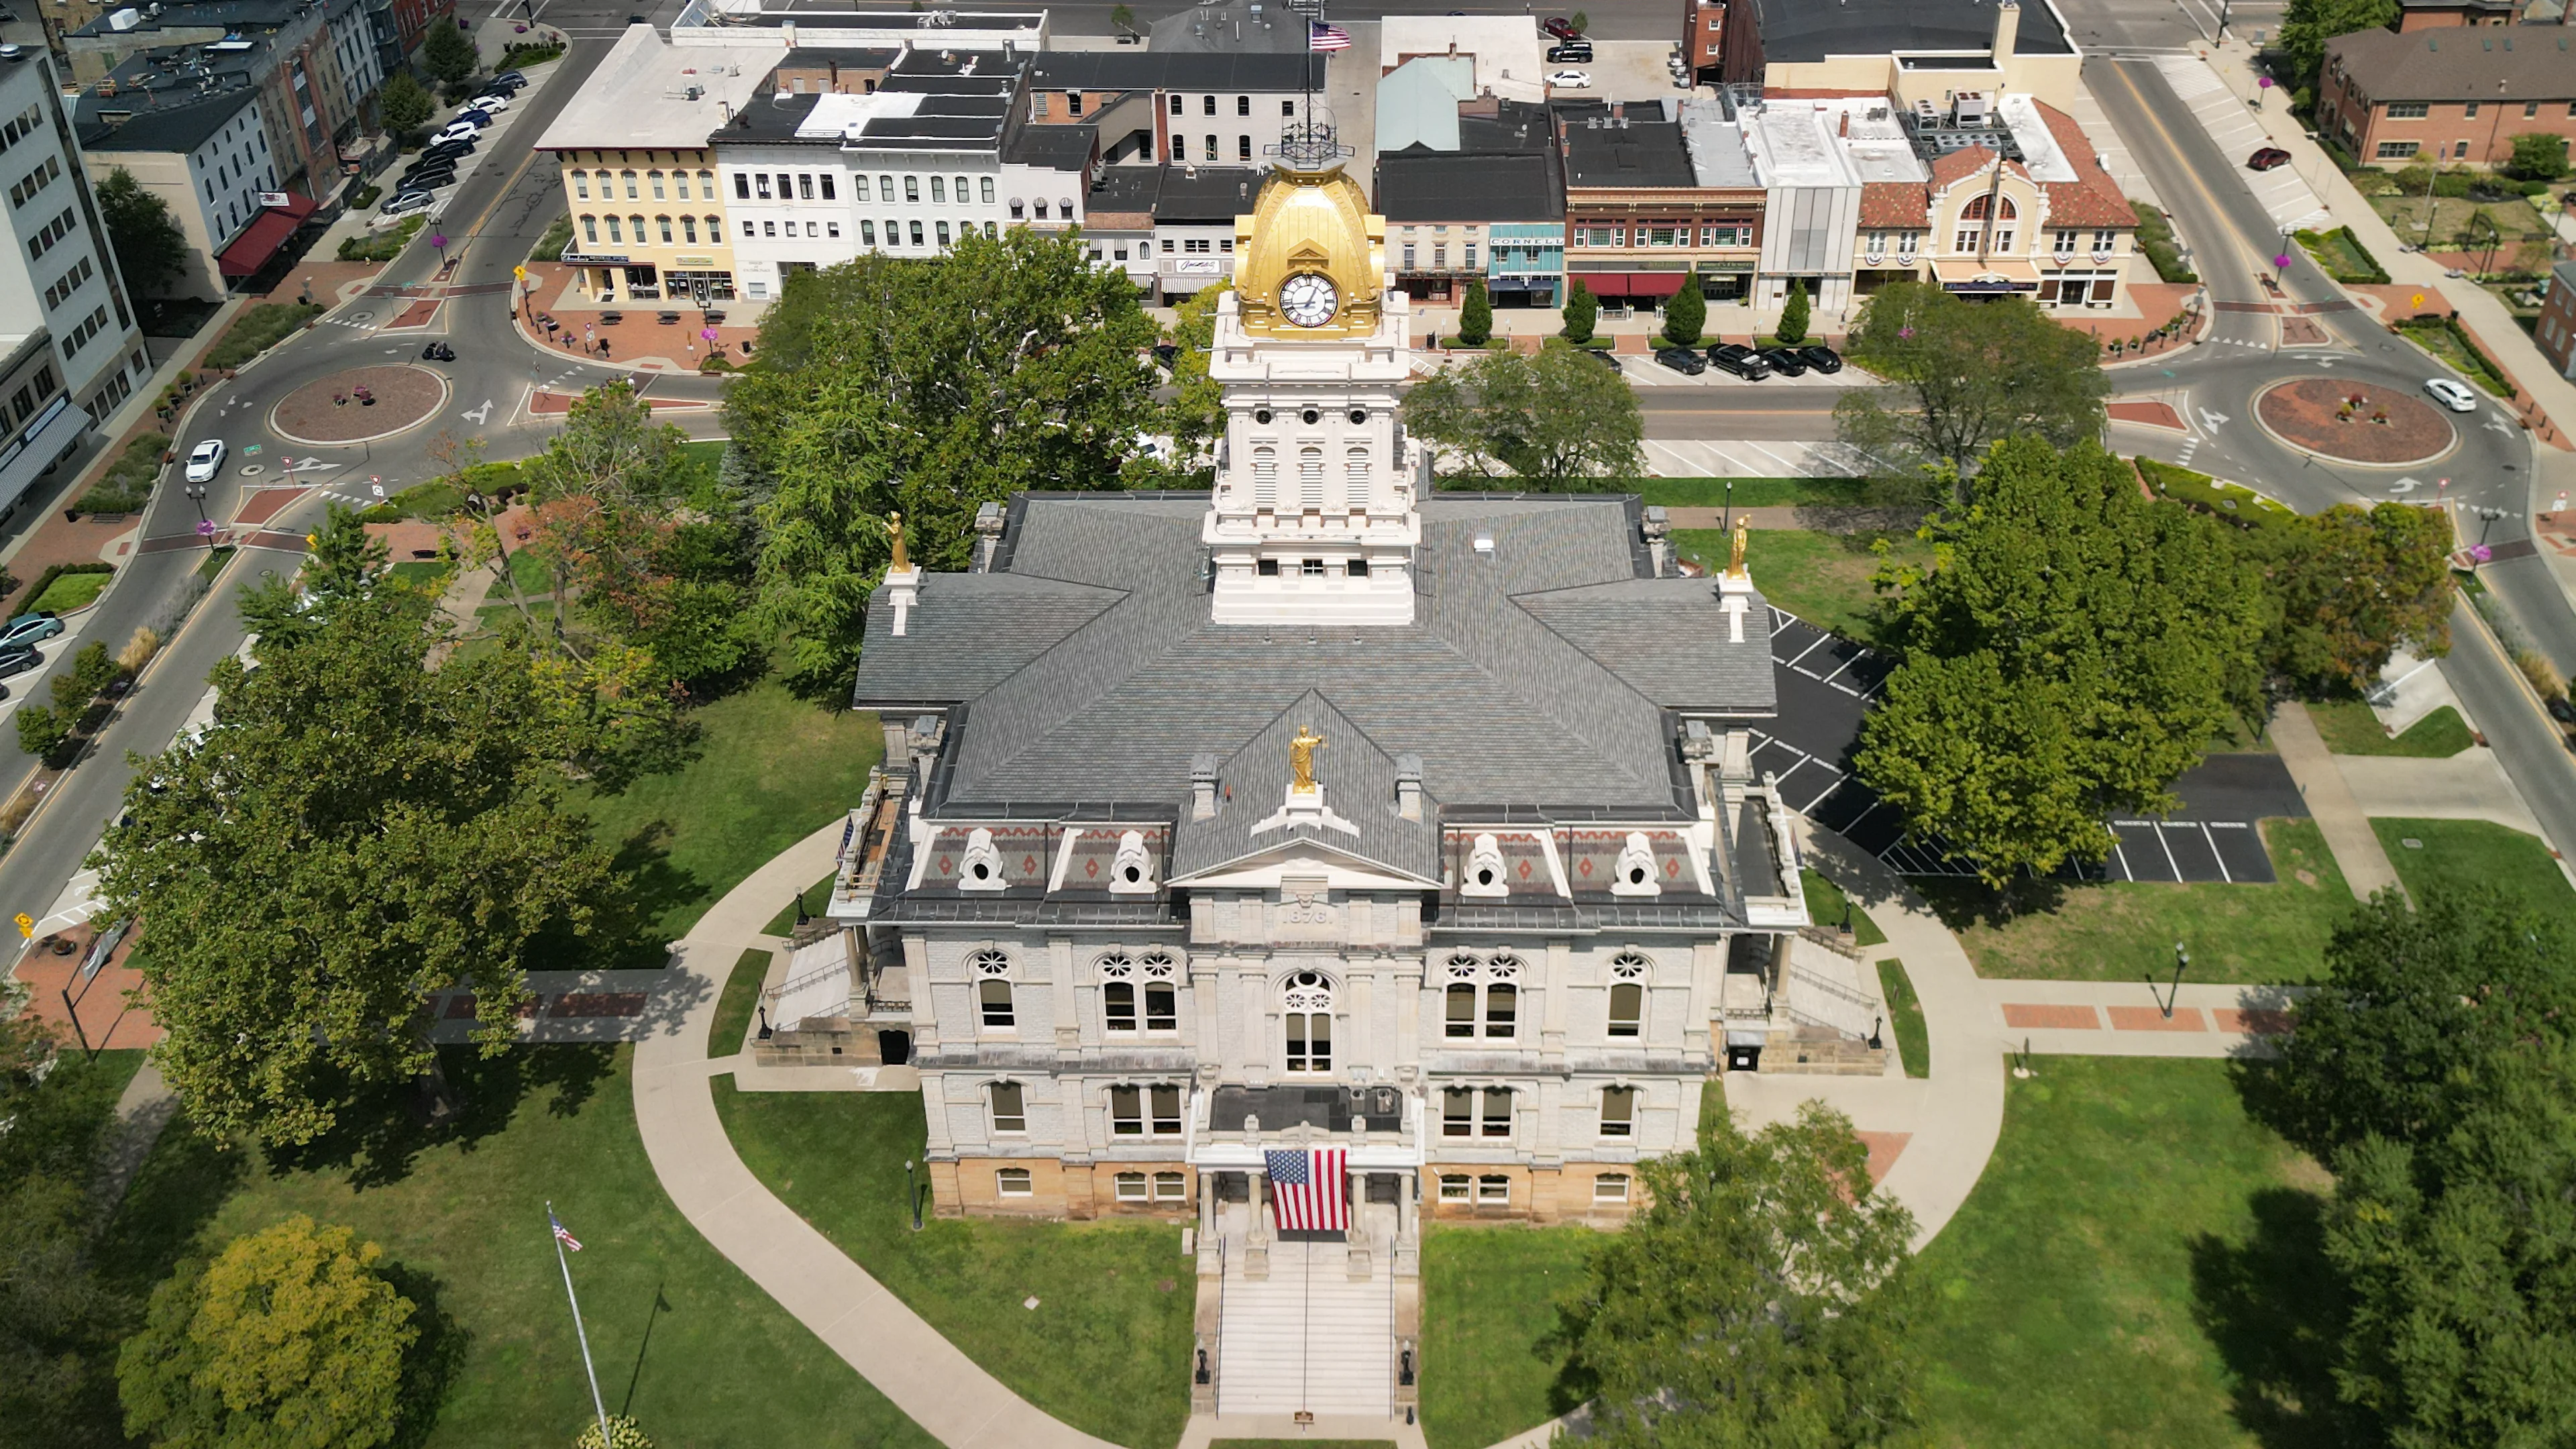
To understand why oblique imagery is so effective in 3D modeling, let’s consider how photogrammetry works: the software reconstructs a 3D model based on what it “sees” in the images. For example, when viewing a building facade, a nadir image—taken directly from above—captures only a thin sliver of pixels on the vertical surface. In contrast, an oblique image, taken at an angle, captures far more detail of the facade. This difference highlights why oblique images are crucial for accurately modeling vertical structures and adding rich detail to your project.
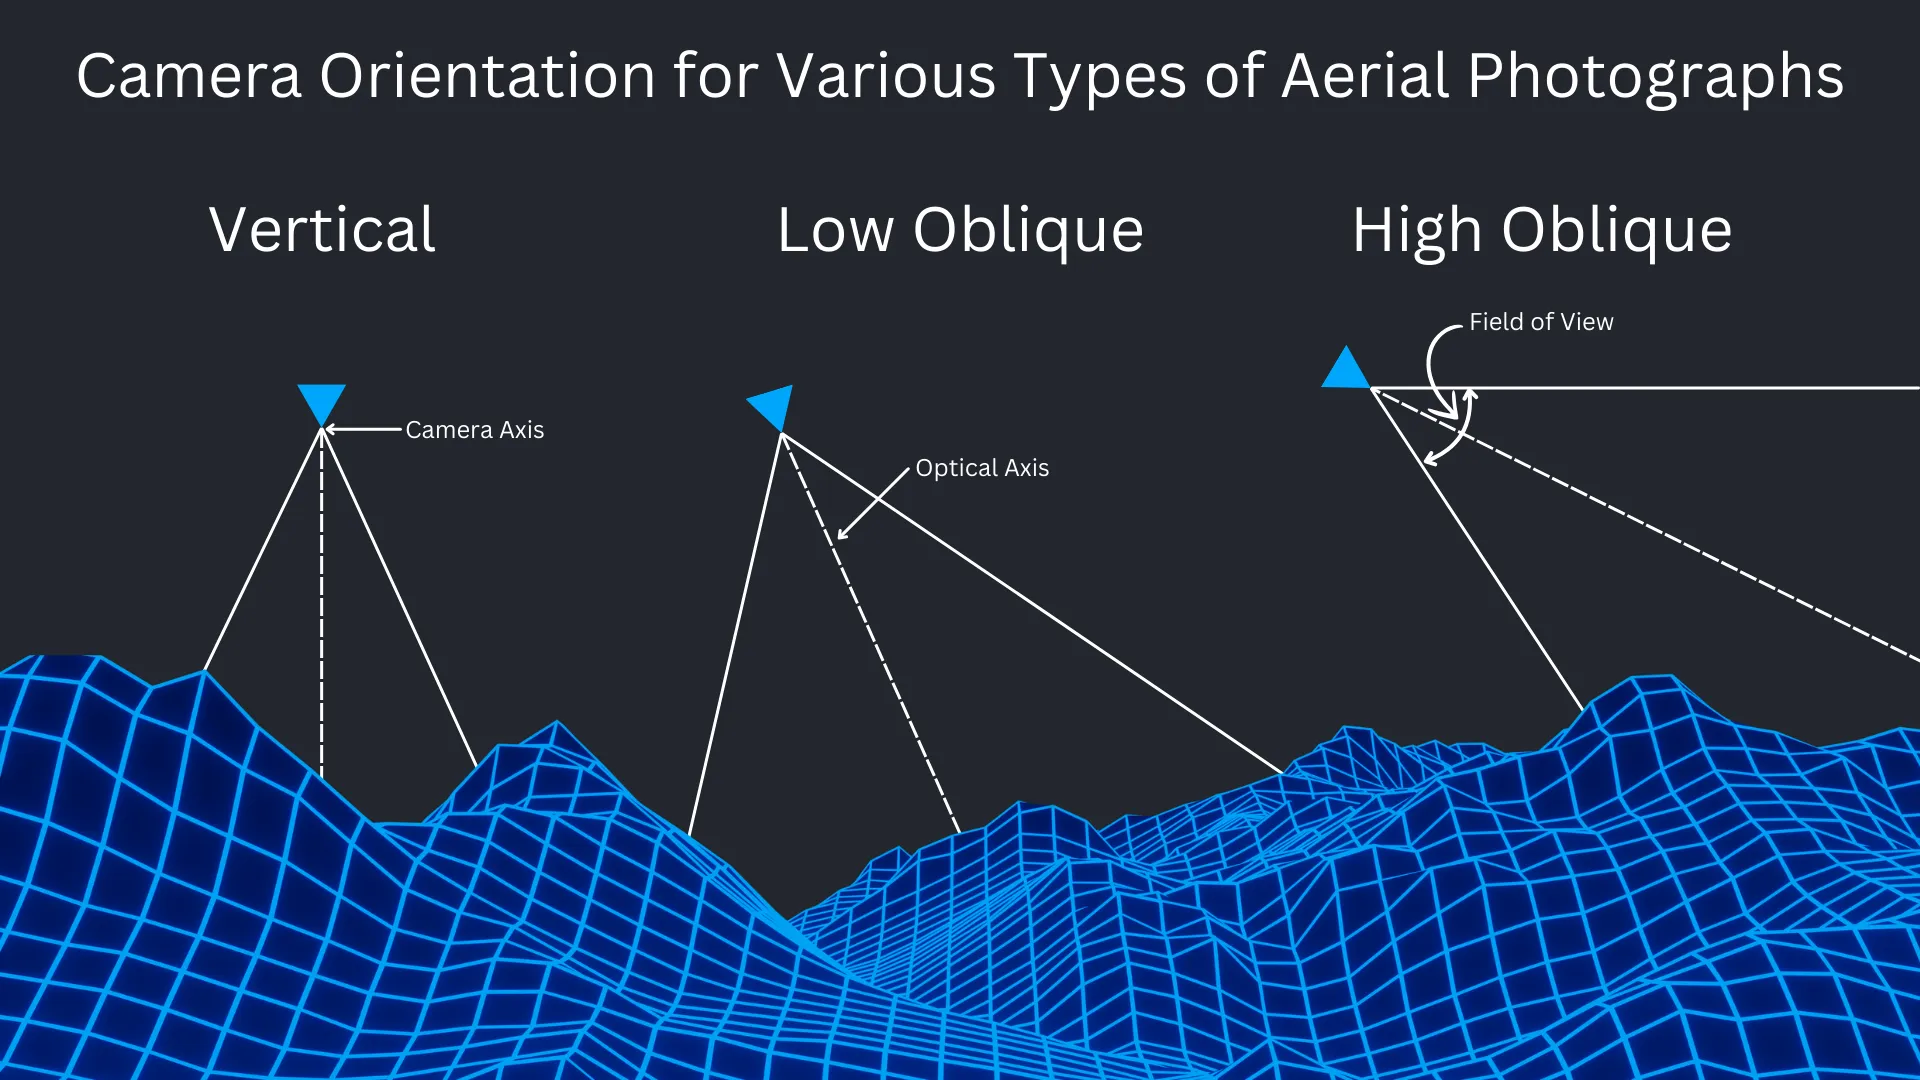
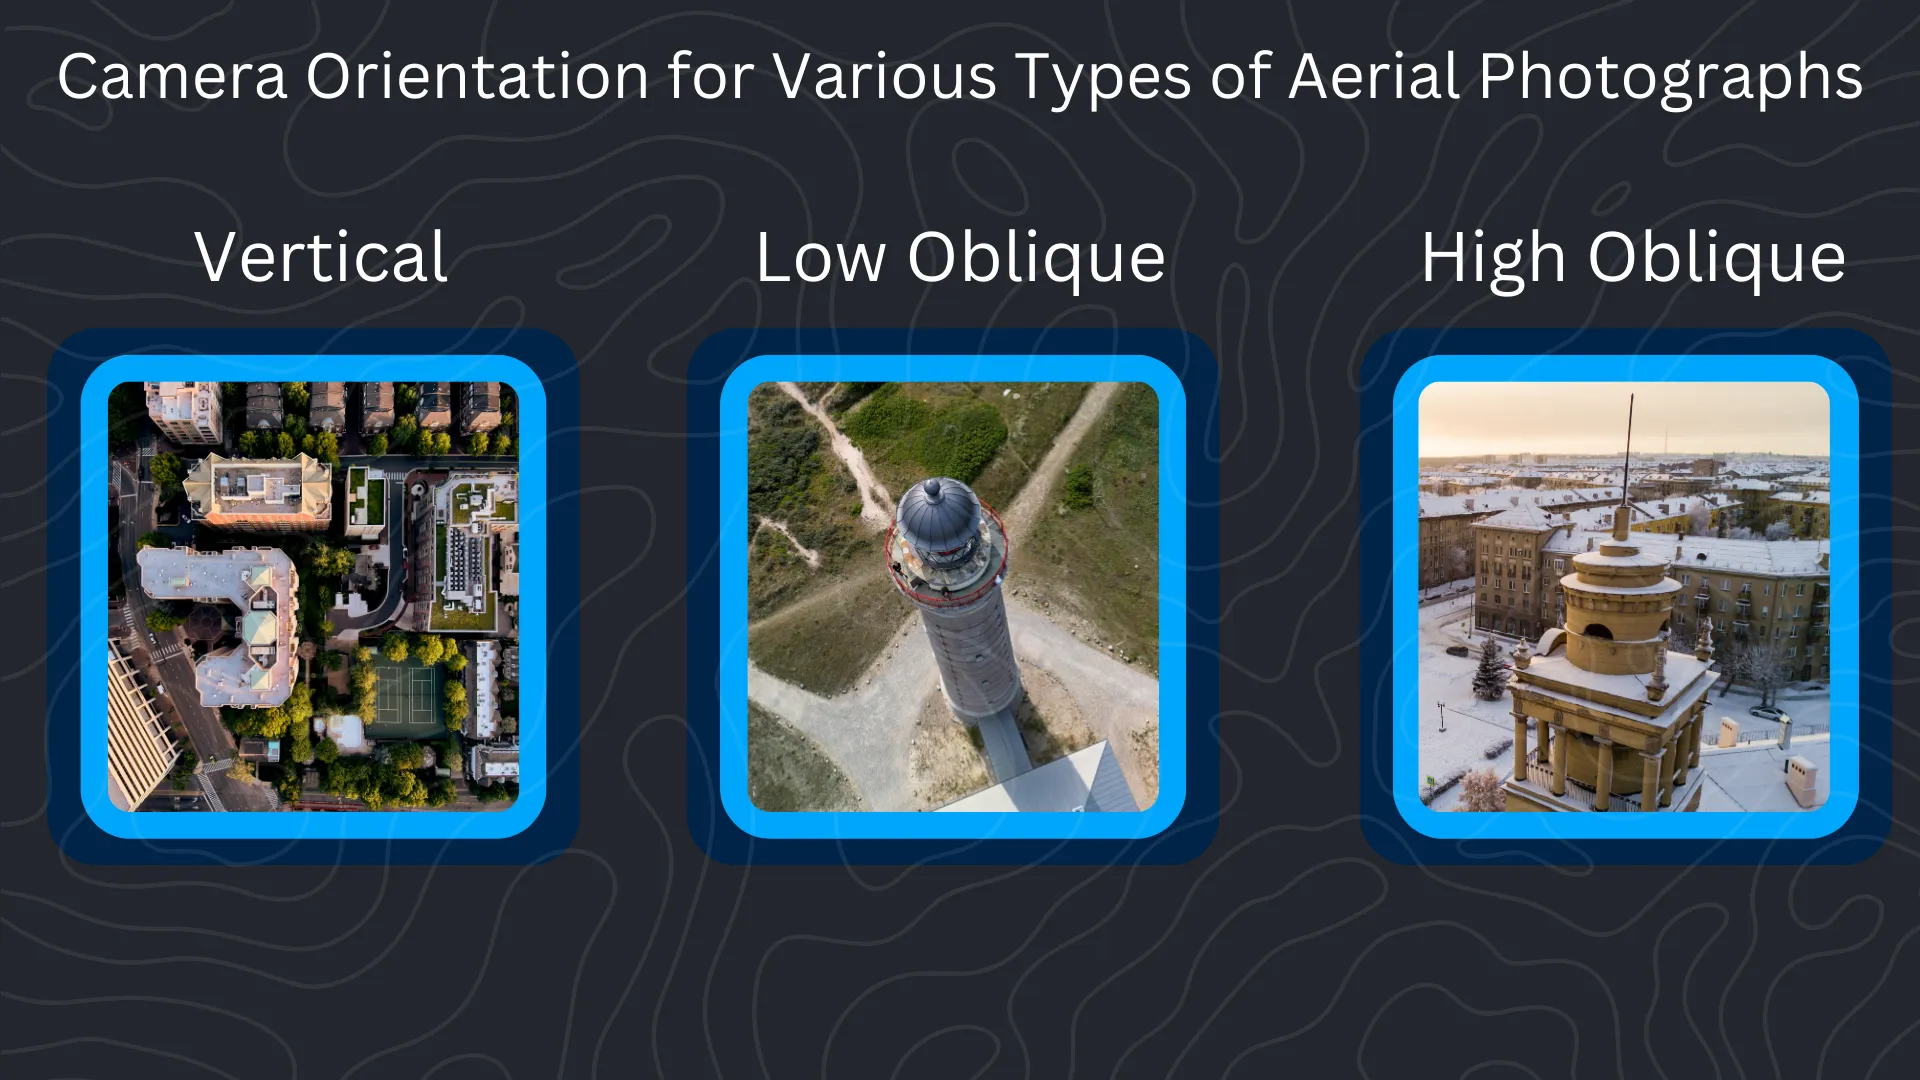
Oblique aerial photographs are taken with the camera deliberately angled away from a straight-down, vertical position. In high oblique photos, the horizon is visible, while in low oblique shots, it is not. The figure below demonstrates the camera’s orientation for vertical, low oblique, and high oblique photography.
Importance of Imagery Overlap
One critical aspect of 3D modeling with photogrammetry is image overlap. Generally, more overlap improves the quality and accuracy of the model. If you’d like further information or a broader overview on how overlap works and best practices for different projects, check out our video and article on the importance of imagery overlap
Here are some guidelines to keep in mind based on the environment:


For open ground, such as dirt or bare surfaces: 70/60% overlap (70% front, 60% side) is typically sufficient. You could even go as low as 60/60 for faster coverage.
For areas with trees, buildings, or other complex structures: you’ll want to increase your overlap to 70/70%. Higher overlap in these cases ensures that you capture all the intricate details from different perspectives, which is essential for an accurate 3D reconstruction.
For 3D modeling of buildings and other objects using oblique imagery, you’ll want to increase the overlap for more accurate detail capture. Generally, aim for 75-80% front and side overlap to ensure the best results for complex structures.
This higher overlap helps capture all visible surfaces and details, especially along vertical faces and edges. For areas with significant height differences or intricate geometry, such as building facades or tower-like structures, maintaining at least 80% overlap will help the software reconstruct the model with greater precision and reduce gaps in the final output.
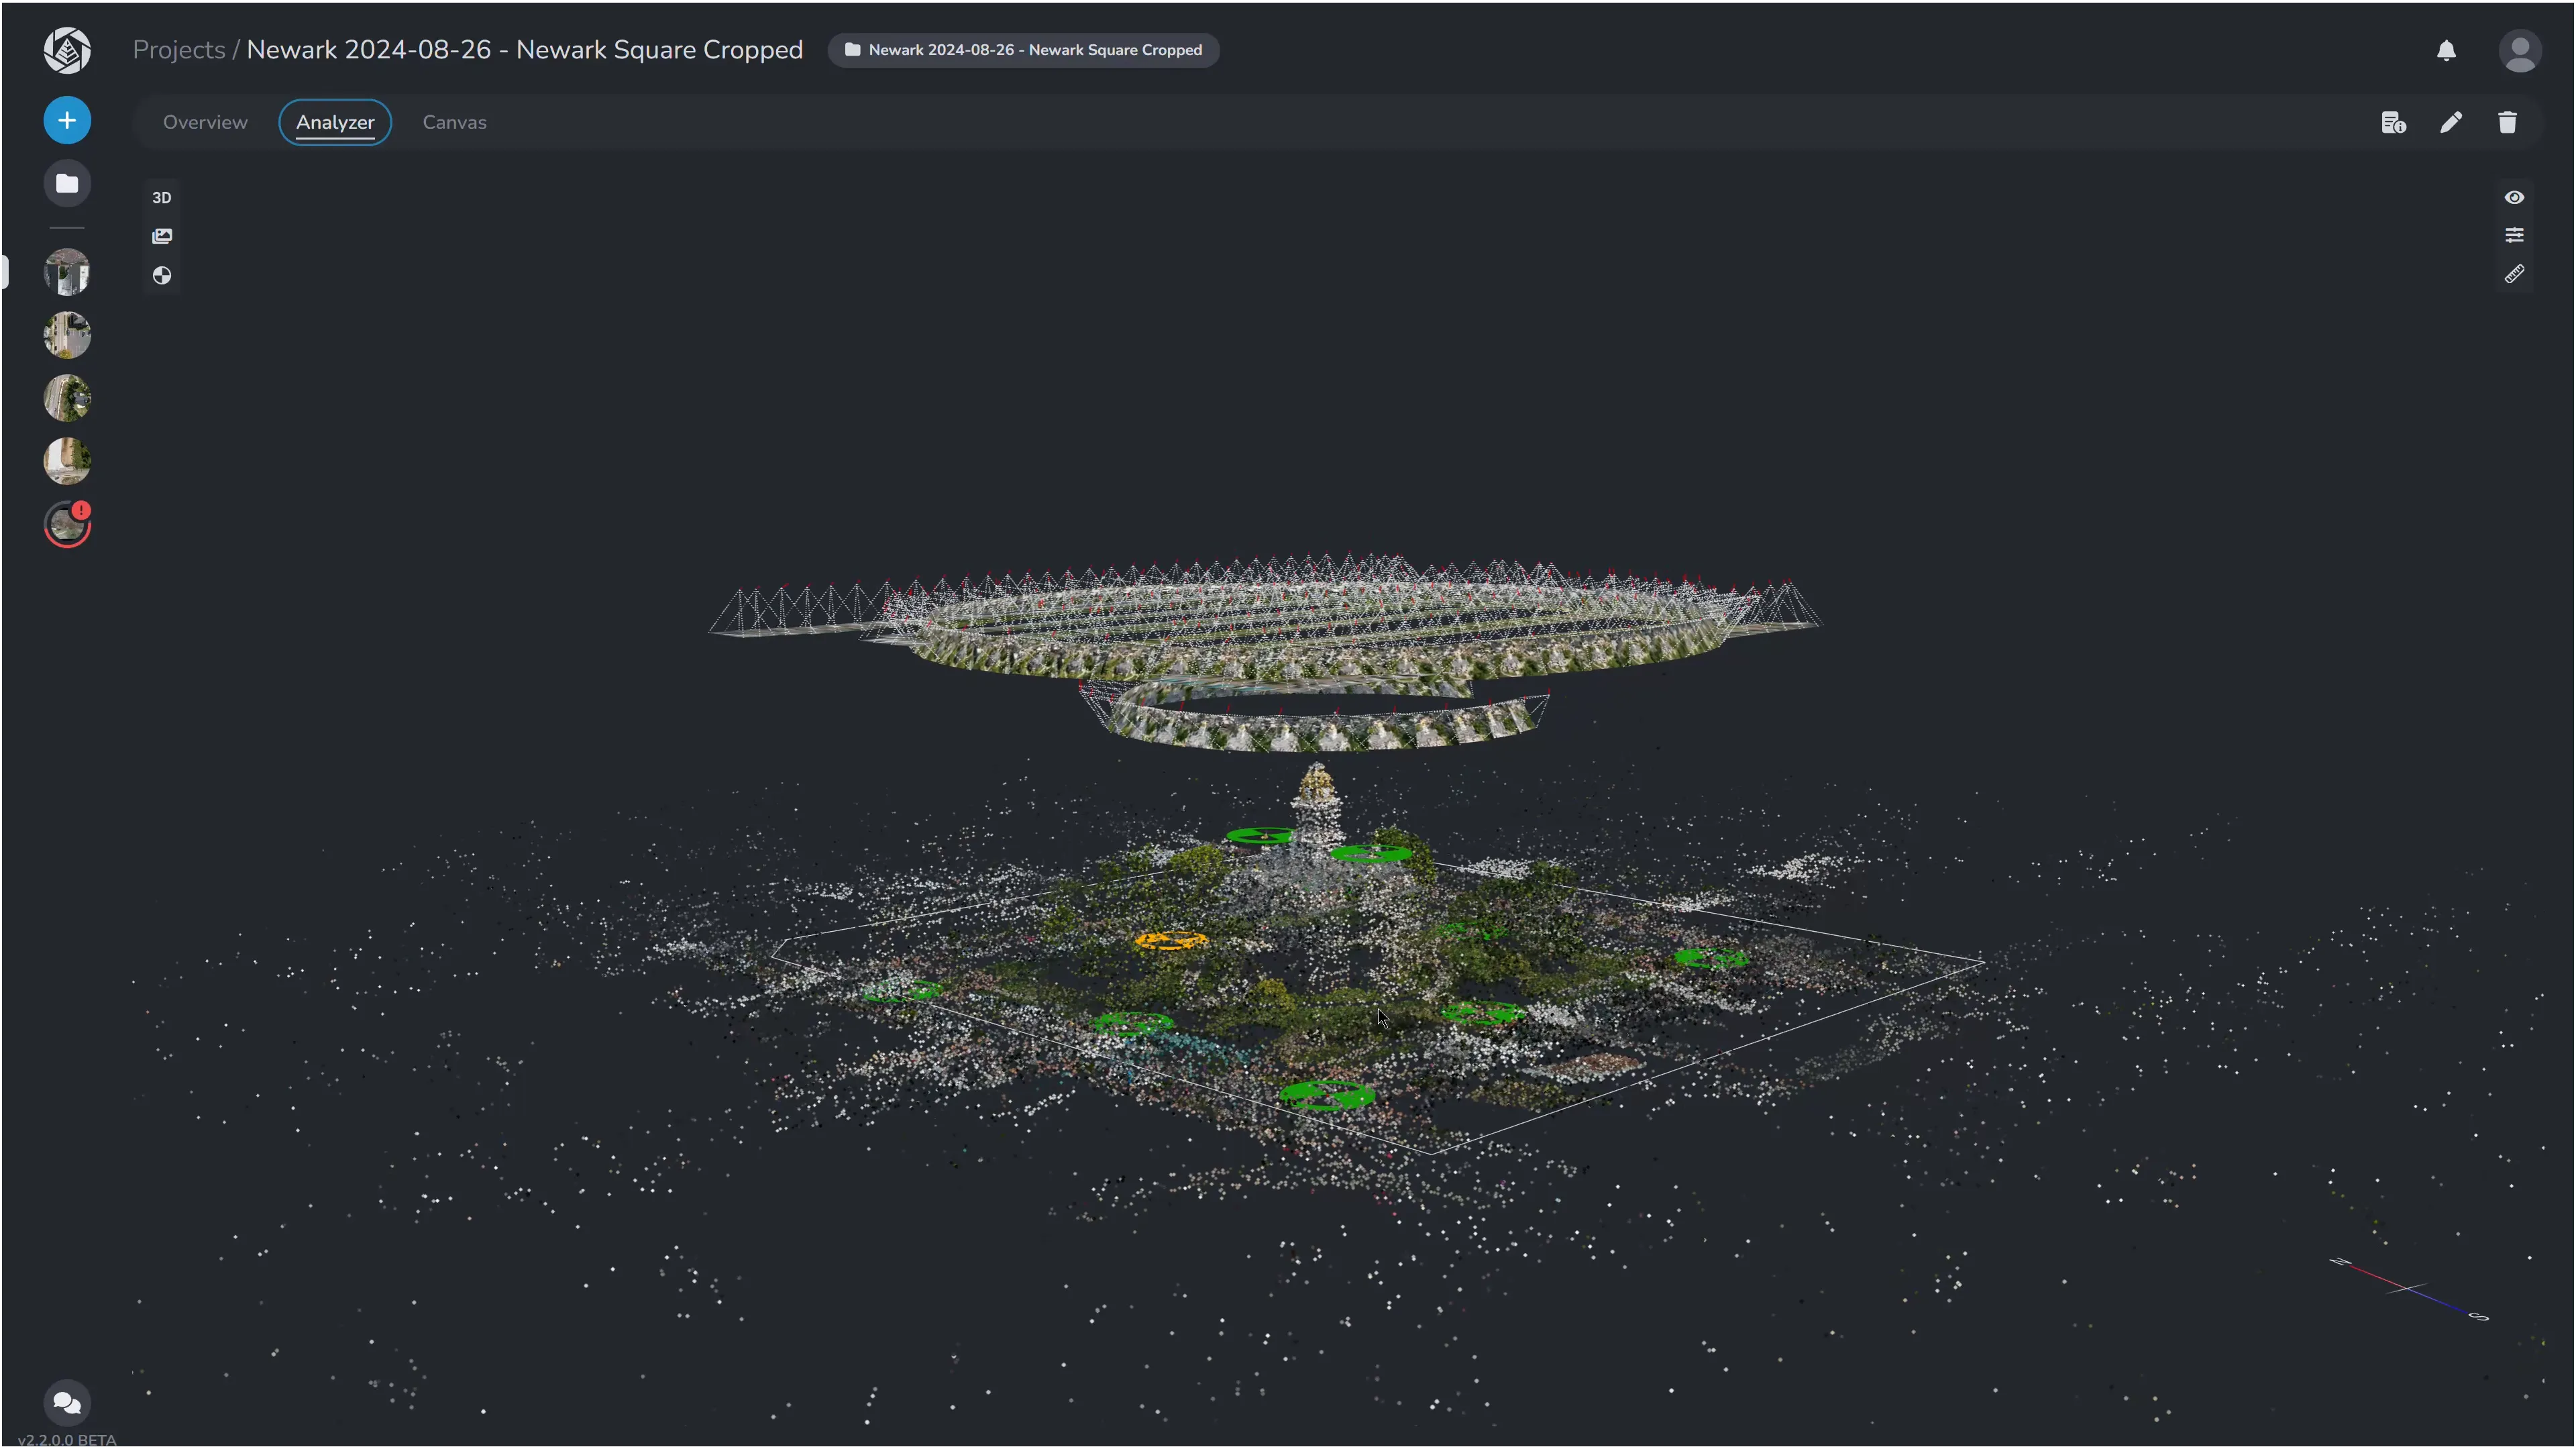
Once the images are captured, upload them into PixElement and begin processing your data to create the 3D model.
It’s important to review the image alignment and your reference points before moving forward to ensure a smooth model build. The software will stitch together your images, creating a textured 3D model of your subject. From here, you can refine the model, measure dimensions, annotate it, and export it for use in various applications.
With the right approach, your photogrammetry workflow will deliver reliable, detailed models that meet the needs of your project.
Thank you for following along, and be sure to check out our other tutorials for more insights on best practices for aerial photogrammetry.