Creating Sites and Viewing Mission Progressions
In today’s tutorial, we are going to look at assigning a “Site” for your projects. With this feature, you are able to assign specific projects to the same site tag, allowing you to view all projects from the same site and view progressions of your datasets through time. View the video version of this article below.
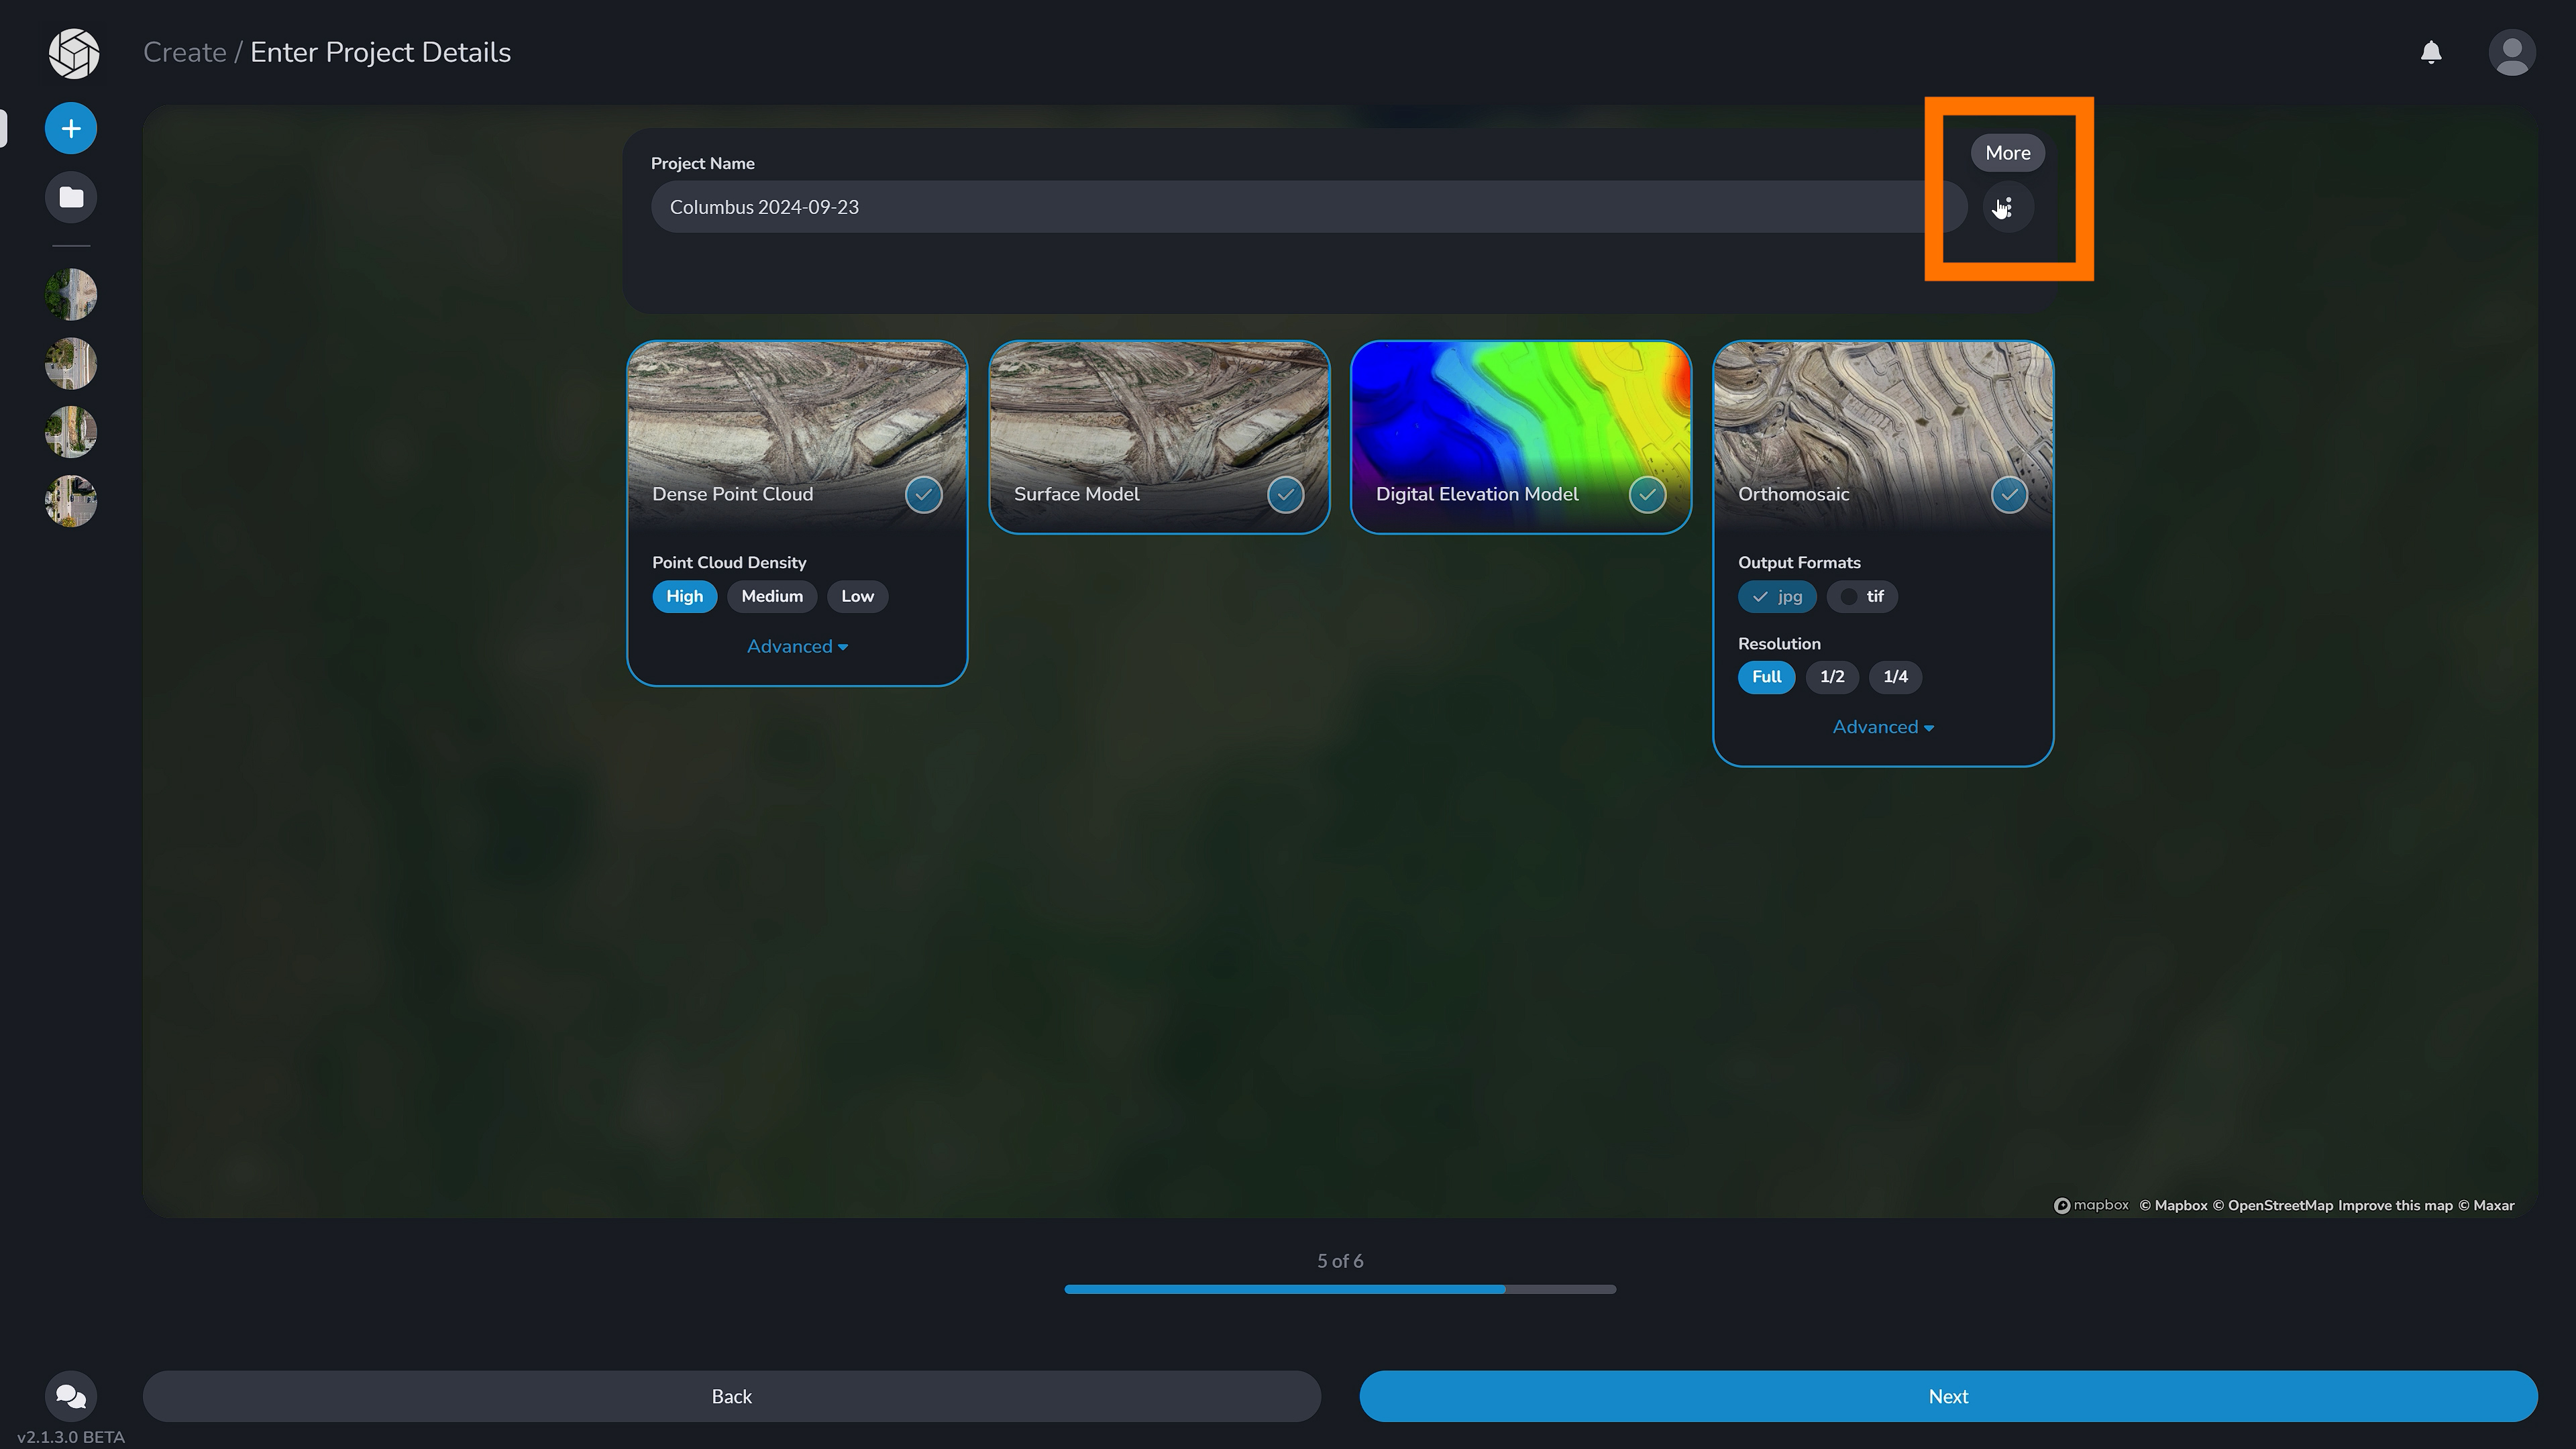
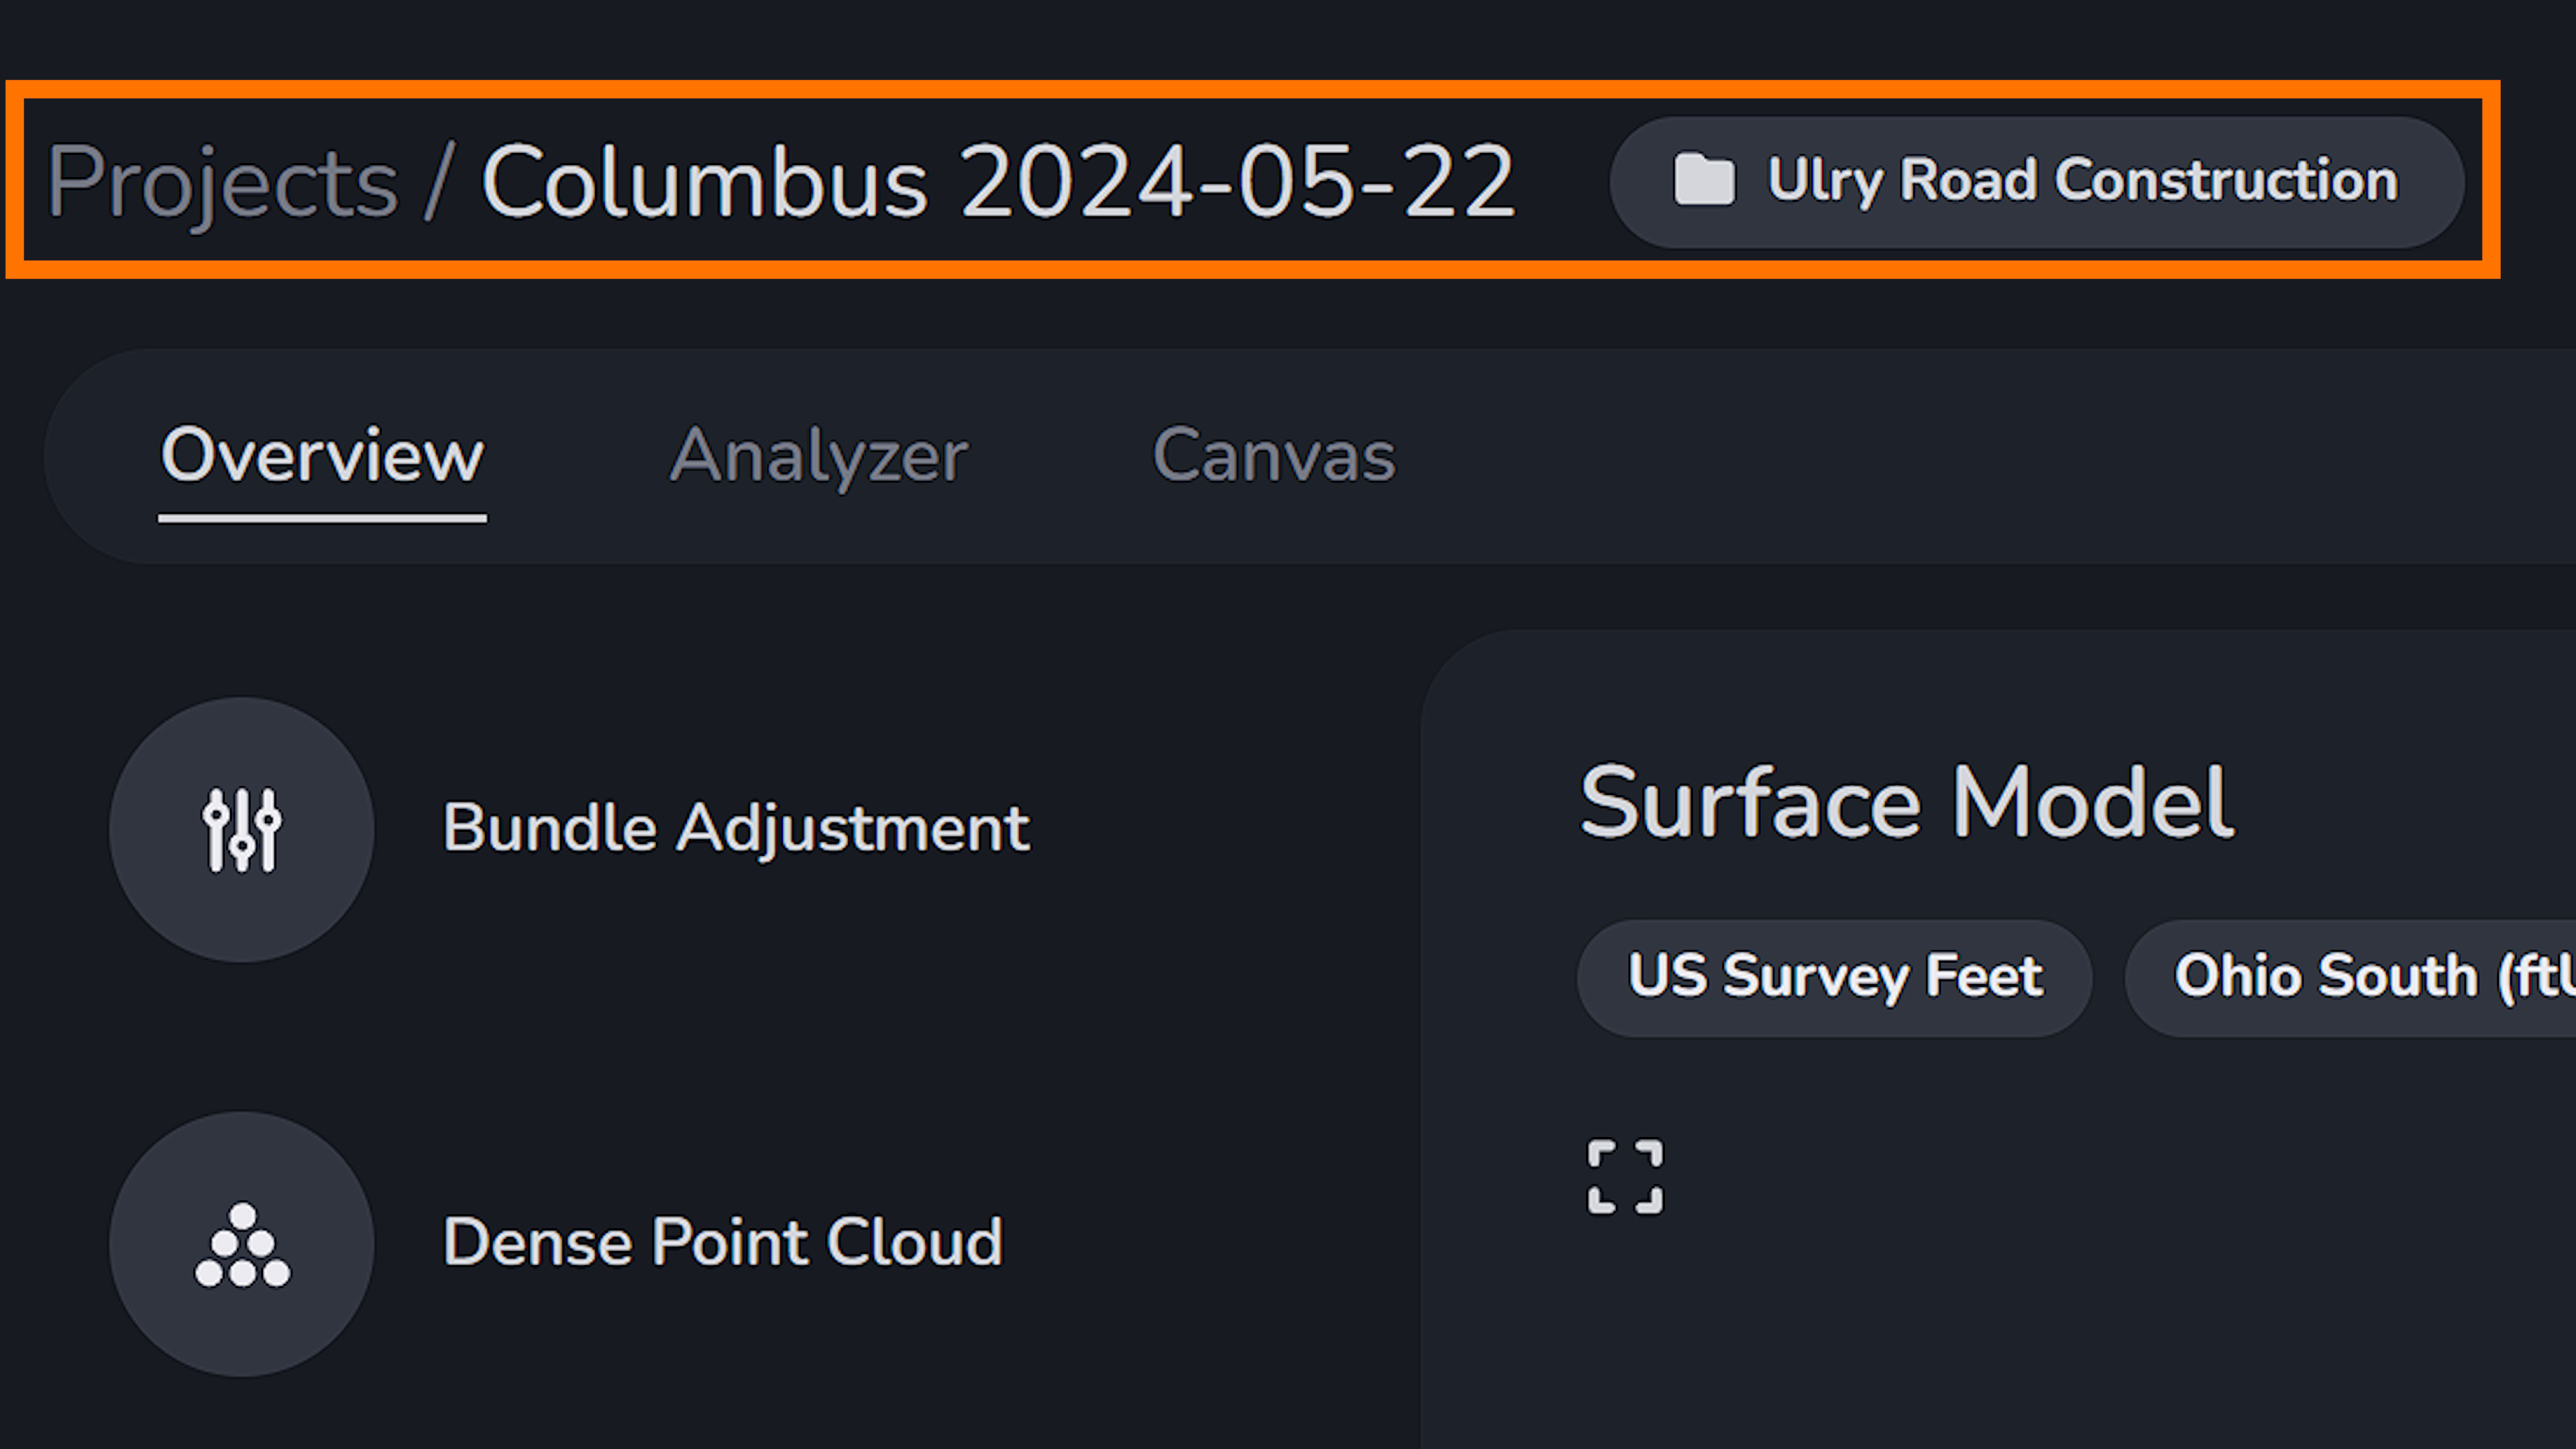
As seen below, you are able to assign a site to a project when you are first creating the project. When you are asked to name your project, you can click on the three buttons to the right and name your site. In this case, we are looking at a road construction site. We will name it “Ulry Road Intersection Construction”. We can then continue to process our project like normal. As you can see, now when we are in the project, it has the site name that we gave.
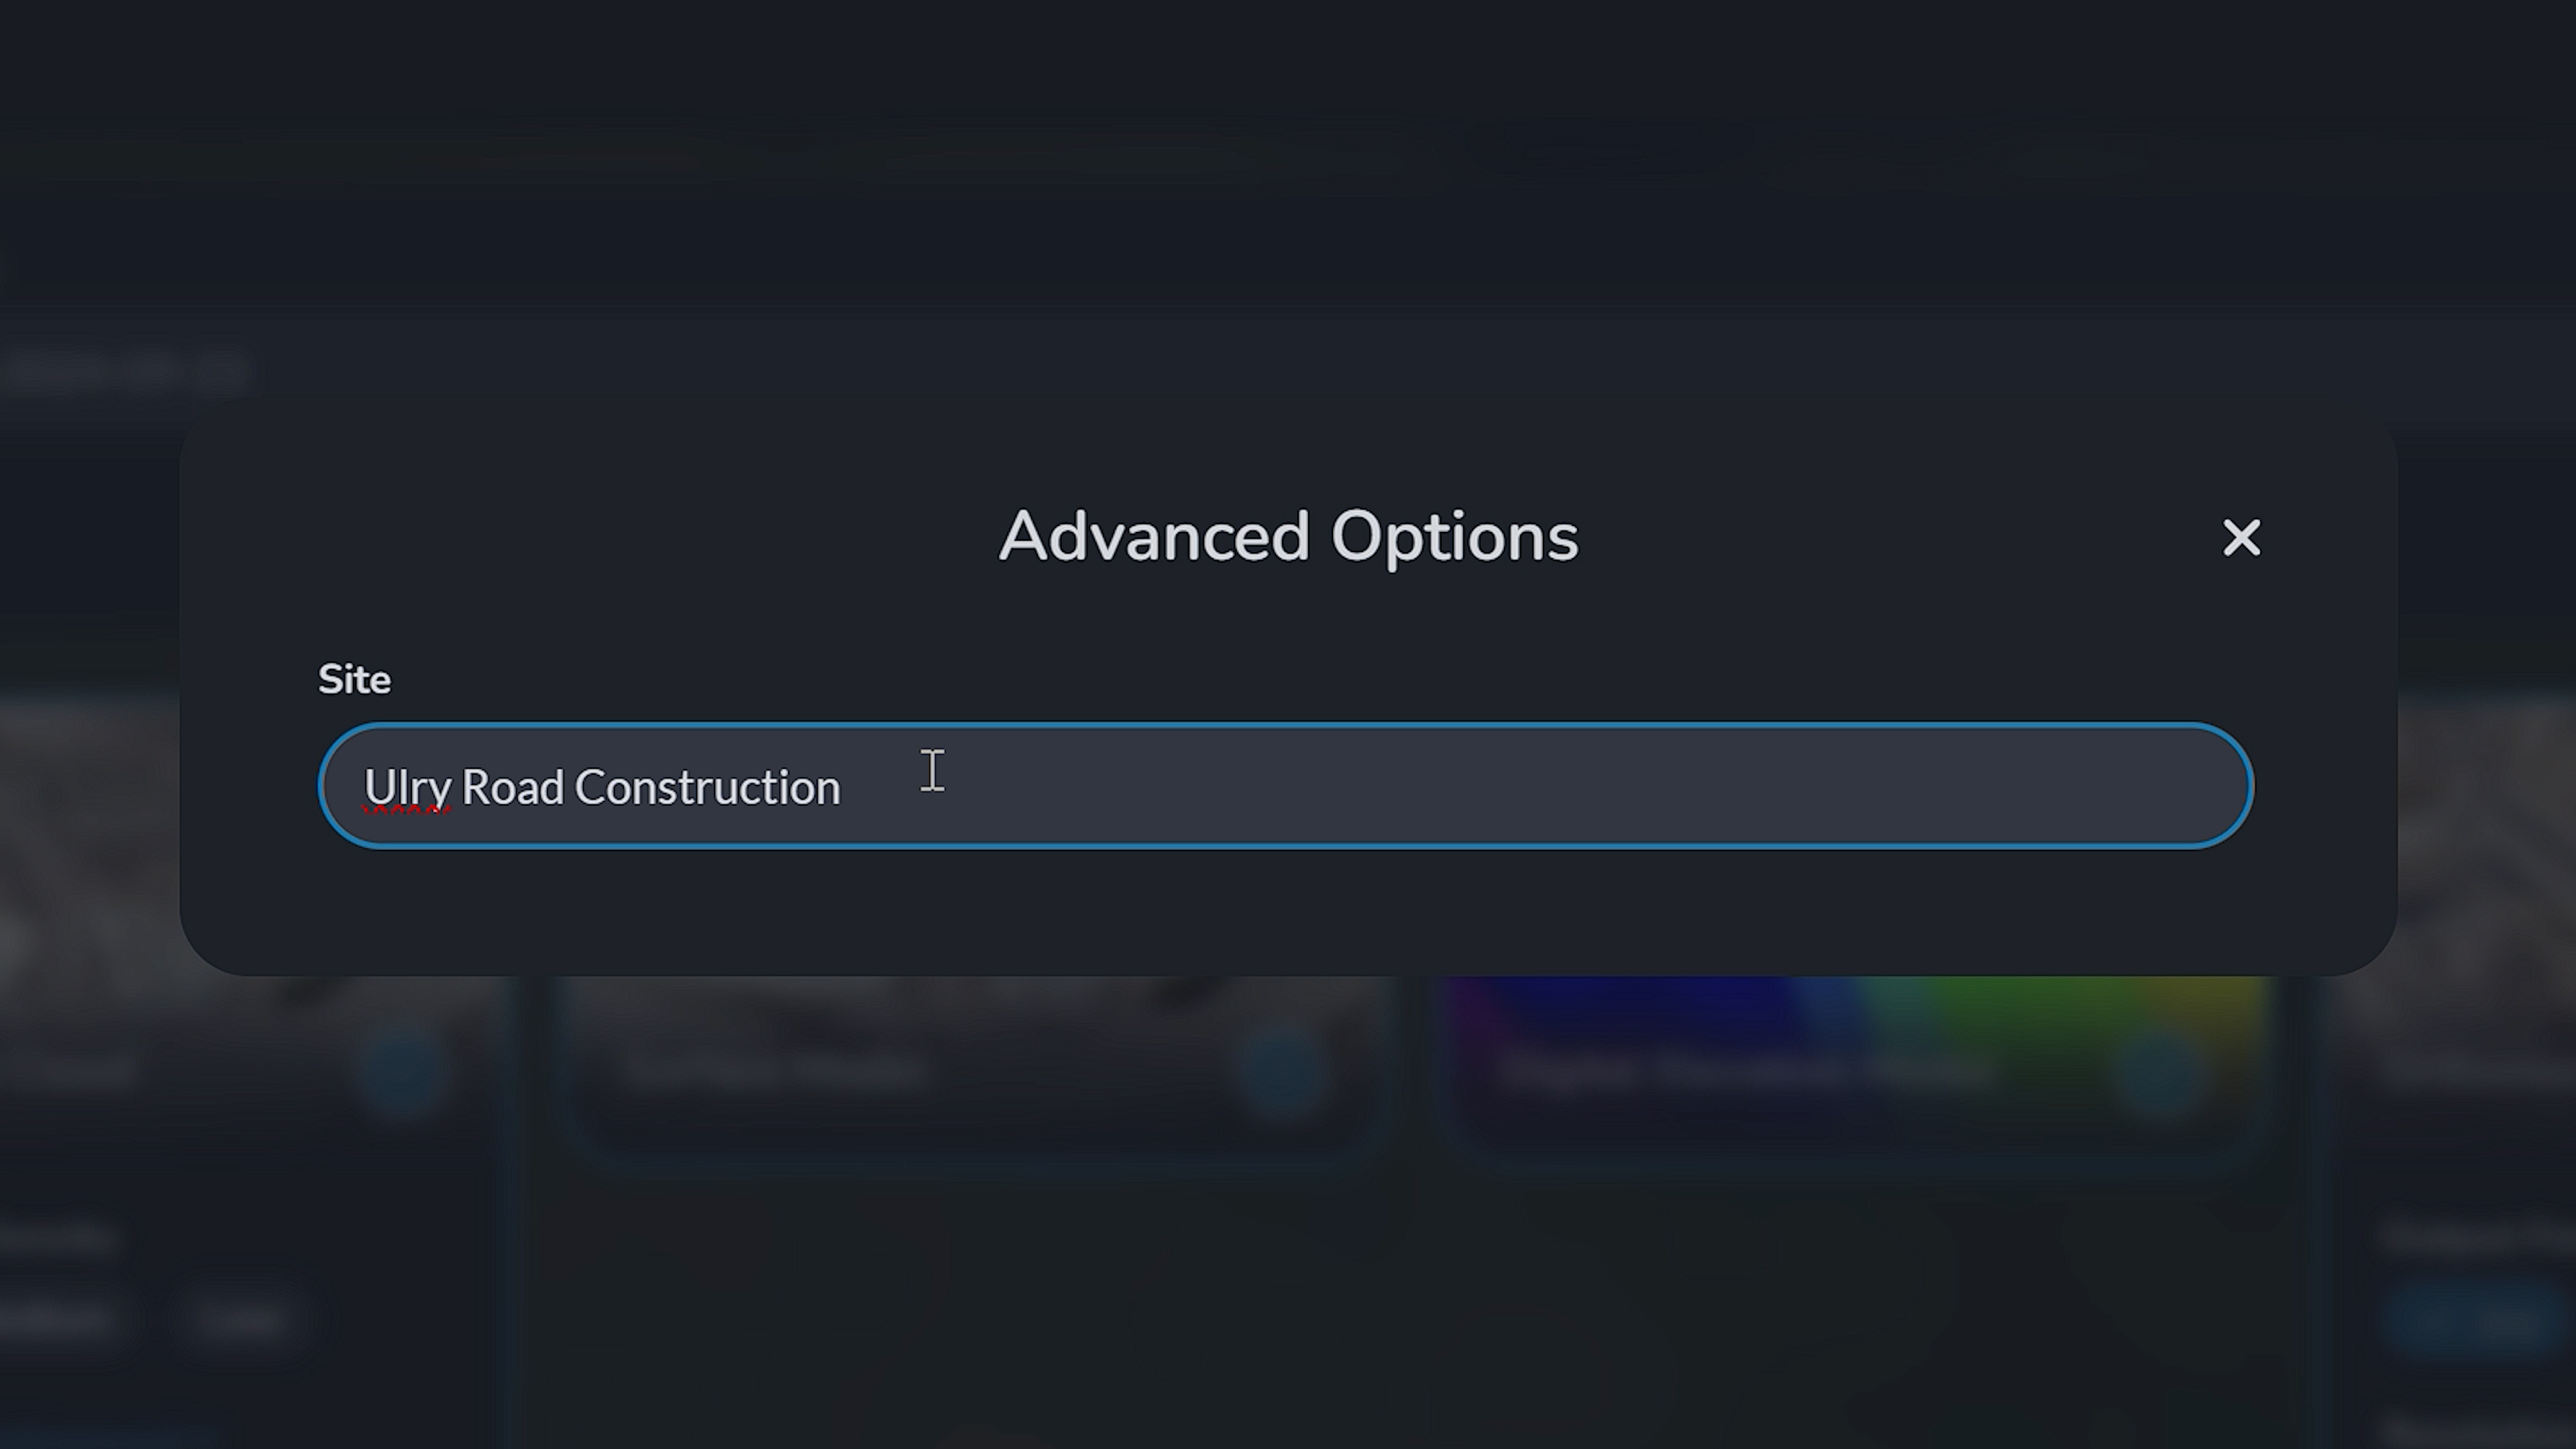
Upon completing another mission and capturing your dataset of the same site, do the same thing upon project creation and give the dataset a site name under the same name. So we type in “Ulry Road Intersection Construction” again.
In this project, we have completed four separate site flights, and they are ALL labeled with the same Site Tag. Please be sure that you do this during project creation, prior to any processing.
Upon the projects completing their processing, we can view each project with their respective site name to the right (as seen below).
Opening the Canvas Tab, 3D Classic Viewer, and Site Mode
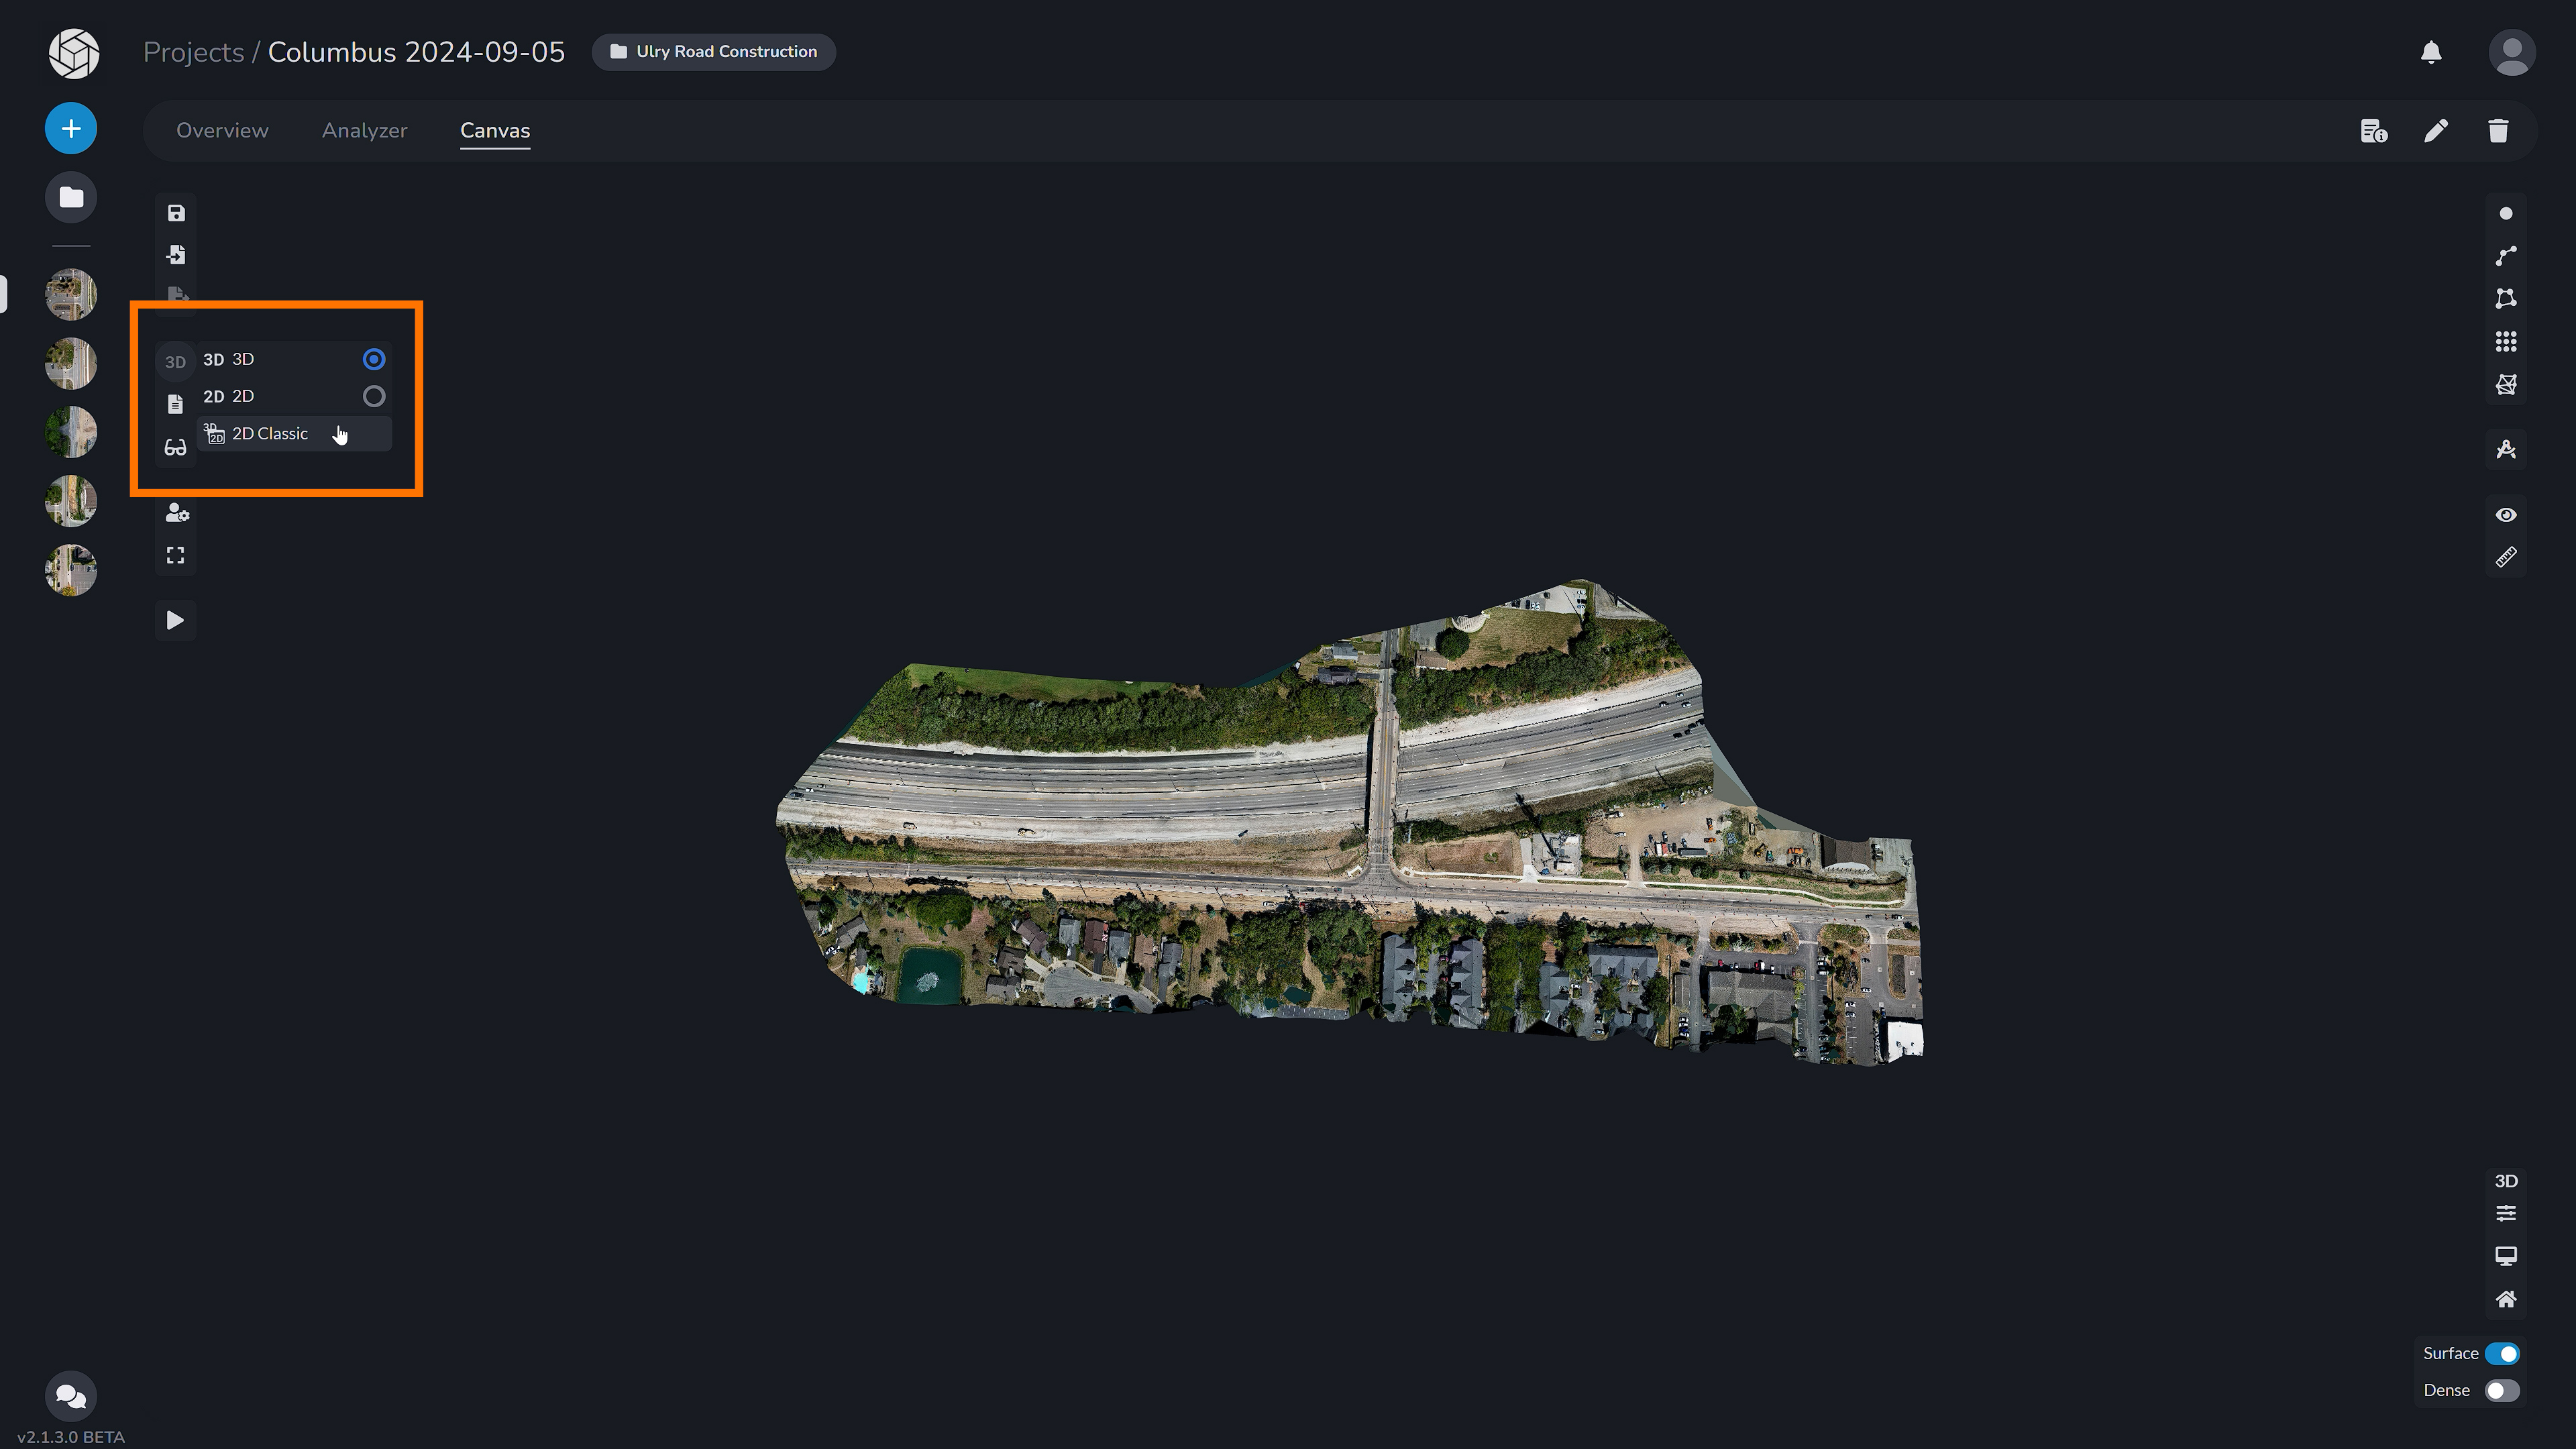
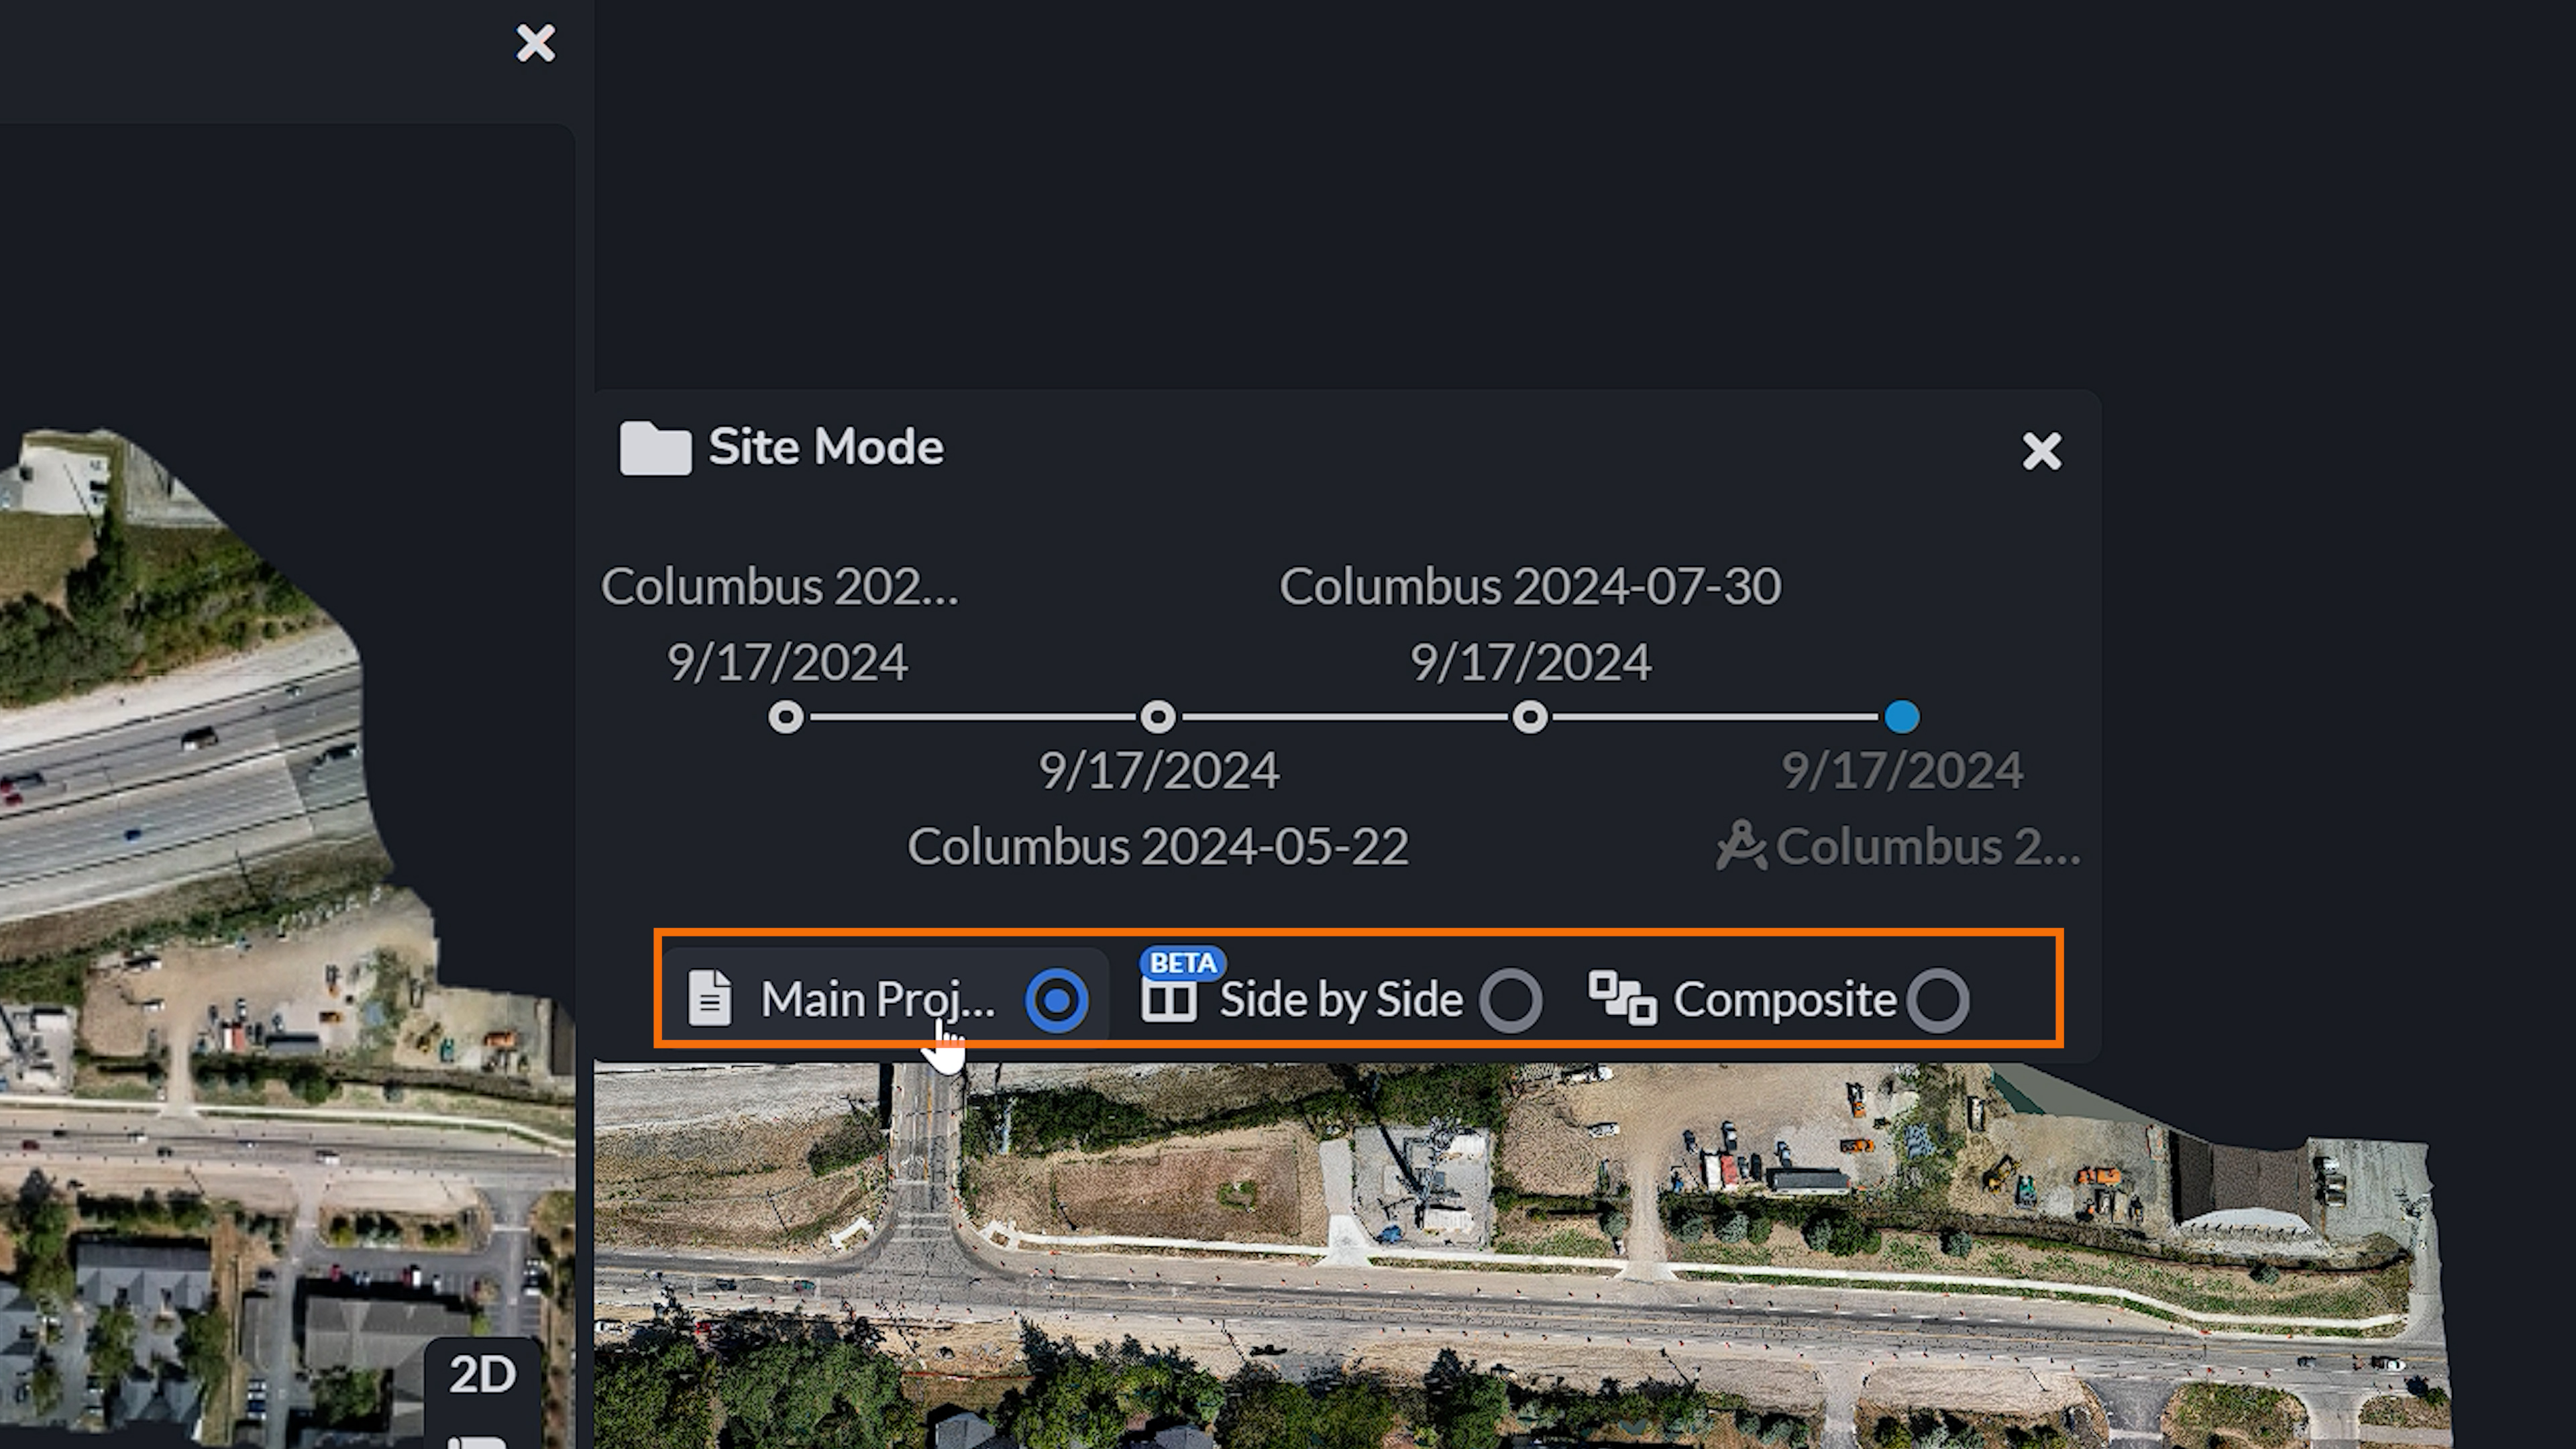
We can then enter the Canvas tab of any of the applicable projects and select the “2D Classic” mode, this will bring up the windowed viewer. We can then open up the “Site Mode”. Here you are able to see the timeline of your projects for the site and select to view the Main Project, Side By Side (which will compare the two projects), or Composite View, which will layer your datasets together. You can view the composite view better in the 3D canvas where you can see that all of your datasets are stacked ontop of eachother.


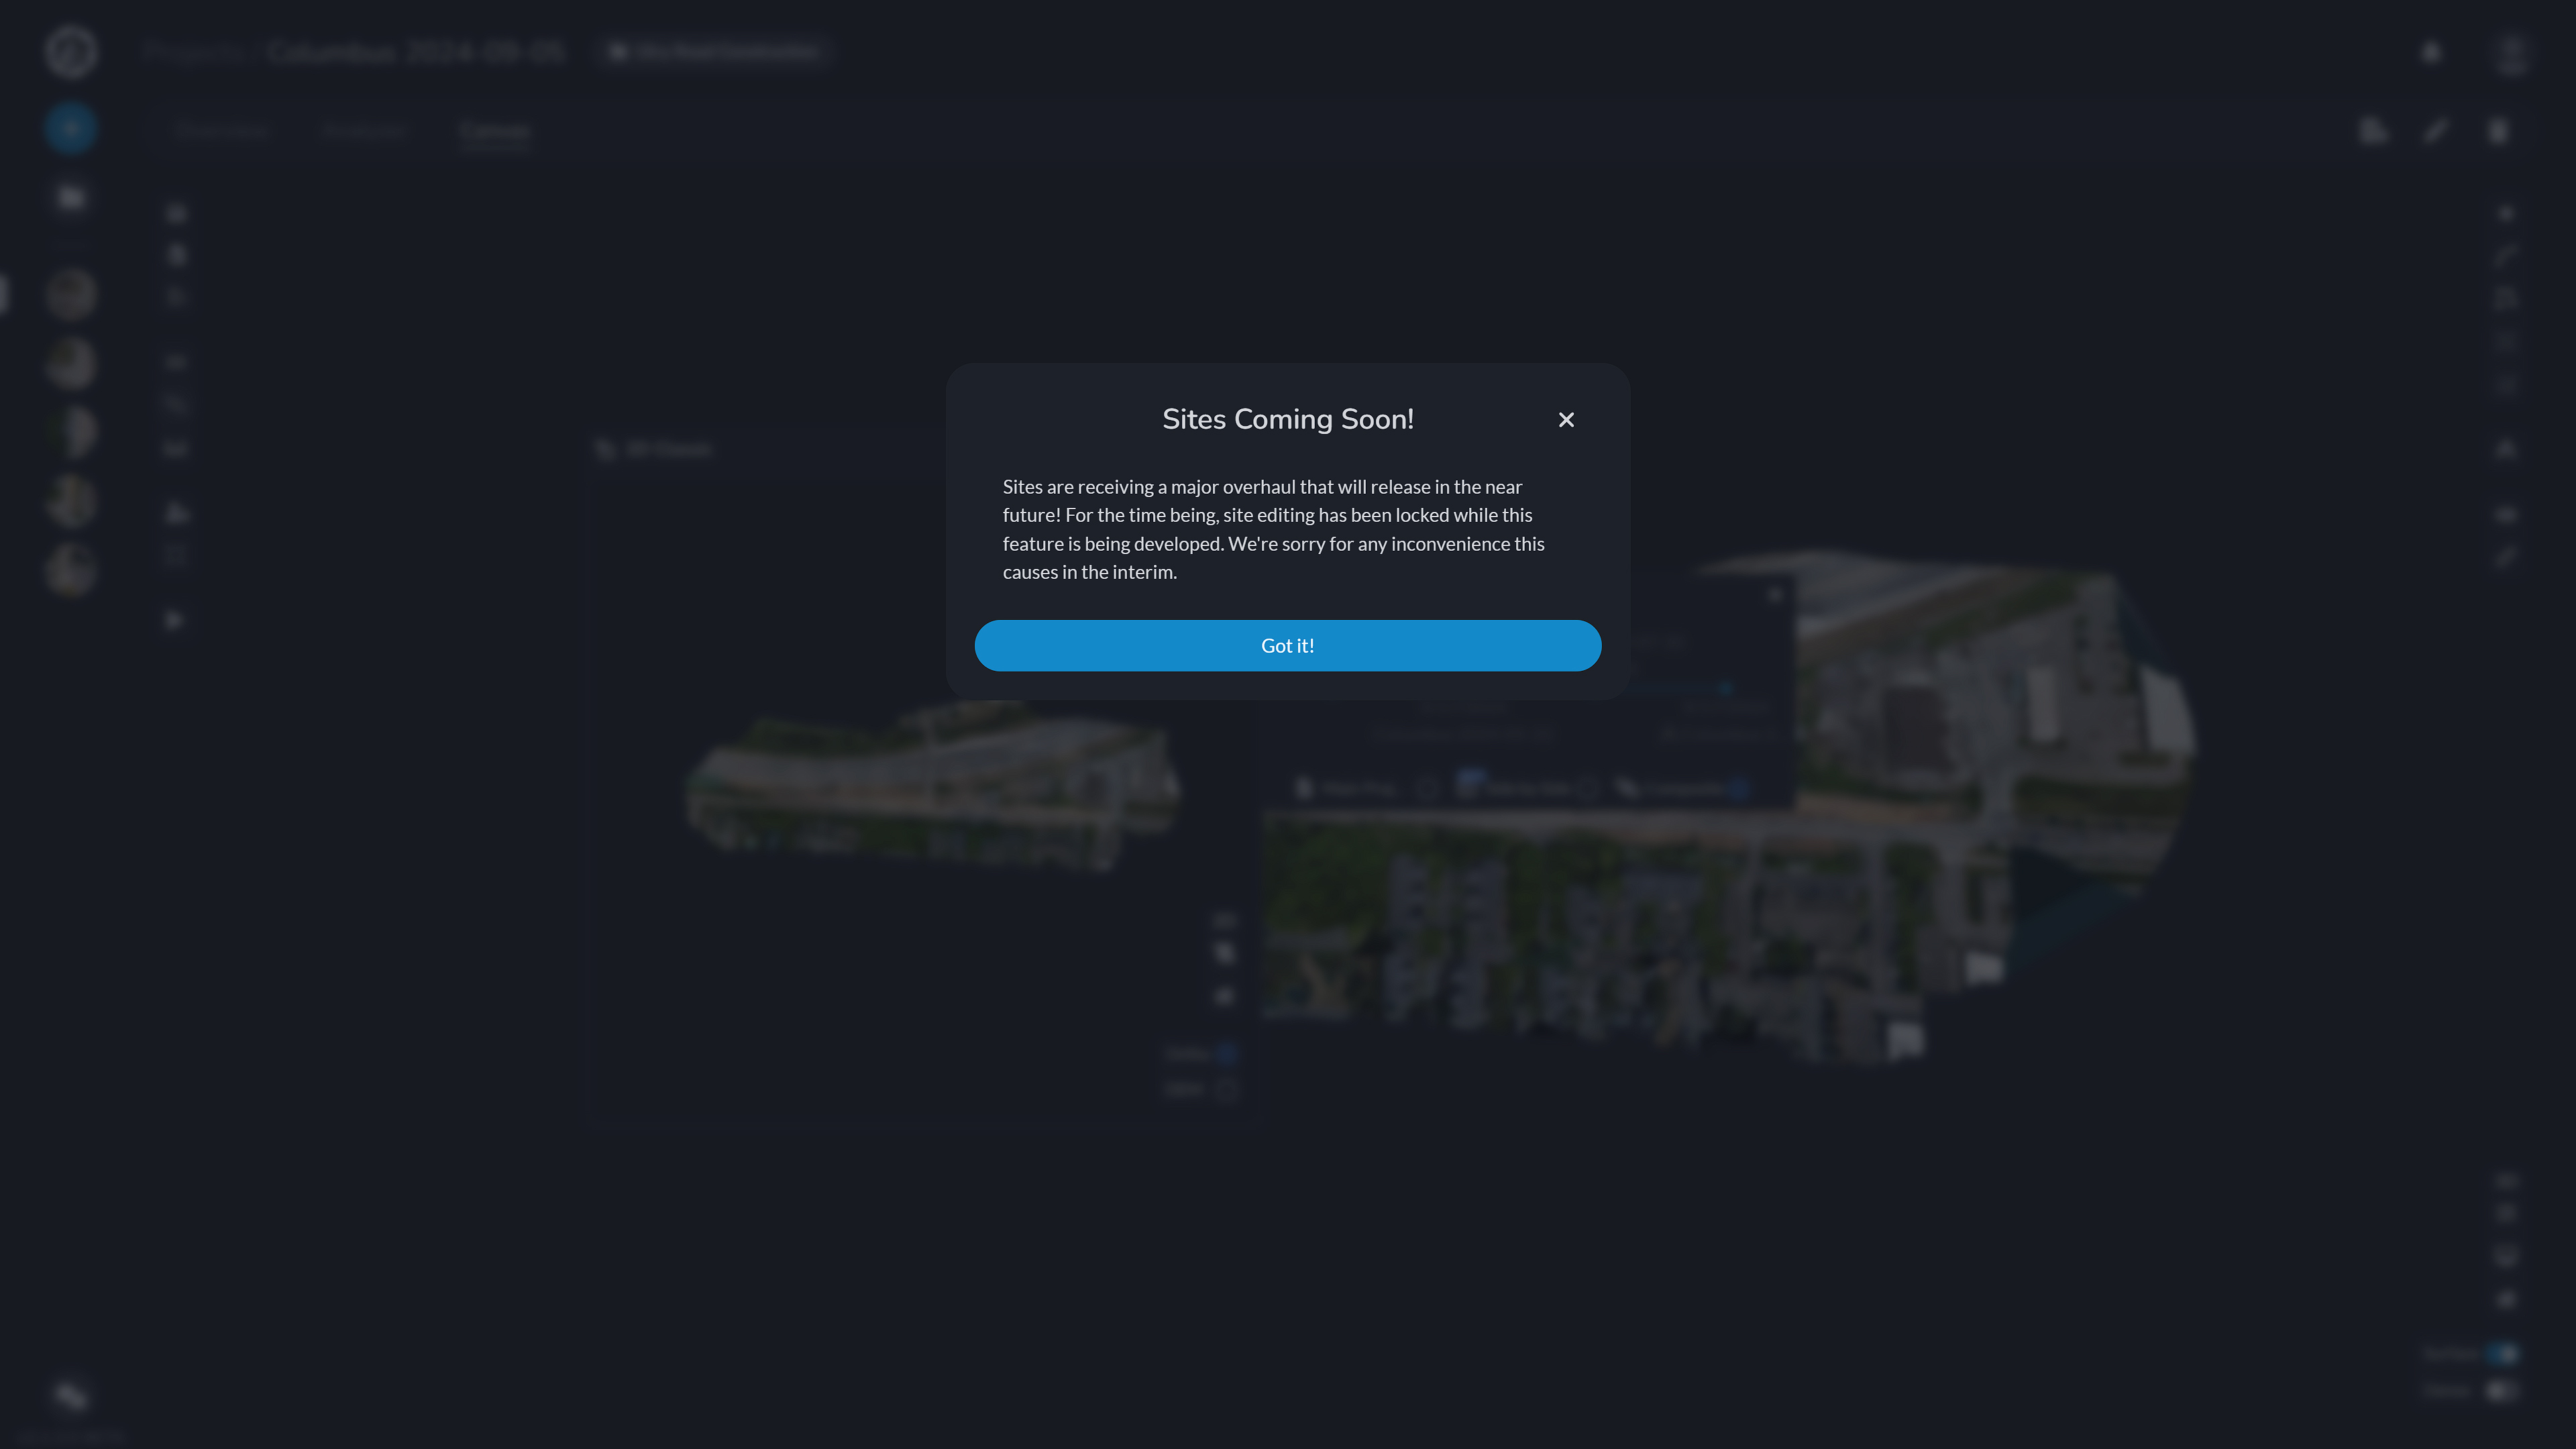
Currently, this is the only way that you are able to compare projects within the program. Otherwise, you can export the orthomosaics and compare and contrast or edit them as needed in a third party software. The new sites feature is currently in development, but in the future, will allow you to see a larger timeline overview and overlay of your projects.
In conclusion, the “Site” feature is a powerful tool for organizing and tracking the progression of your projects over time. By assigning site tags to your projects, you can easily view and compare datasets from the same location, making it simpler to monitor changes, especially in long-term projects like construction. While currently limited to specific comparison options, this feature will continue to evolve, offering even more ways to visualize and manage your data. Stay tuned for future updates as this functionality expands to provide a more comprehensive overview of your site’s progressions.