Adding Annotations in Canvas with PixElement
In this article, we will walk you through how to use the new Add Annotation Tool. Please see the corresponding video tutorial below.
Introducing the Add Annotation Tool in PixElement
In mapping, sometimes data alone isn’t enough. Sometimes, you need to say something directly in the scene. That’s where our new Add Annotation Tool comes in.
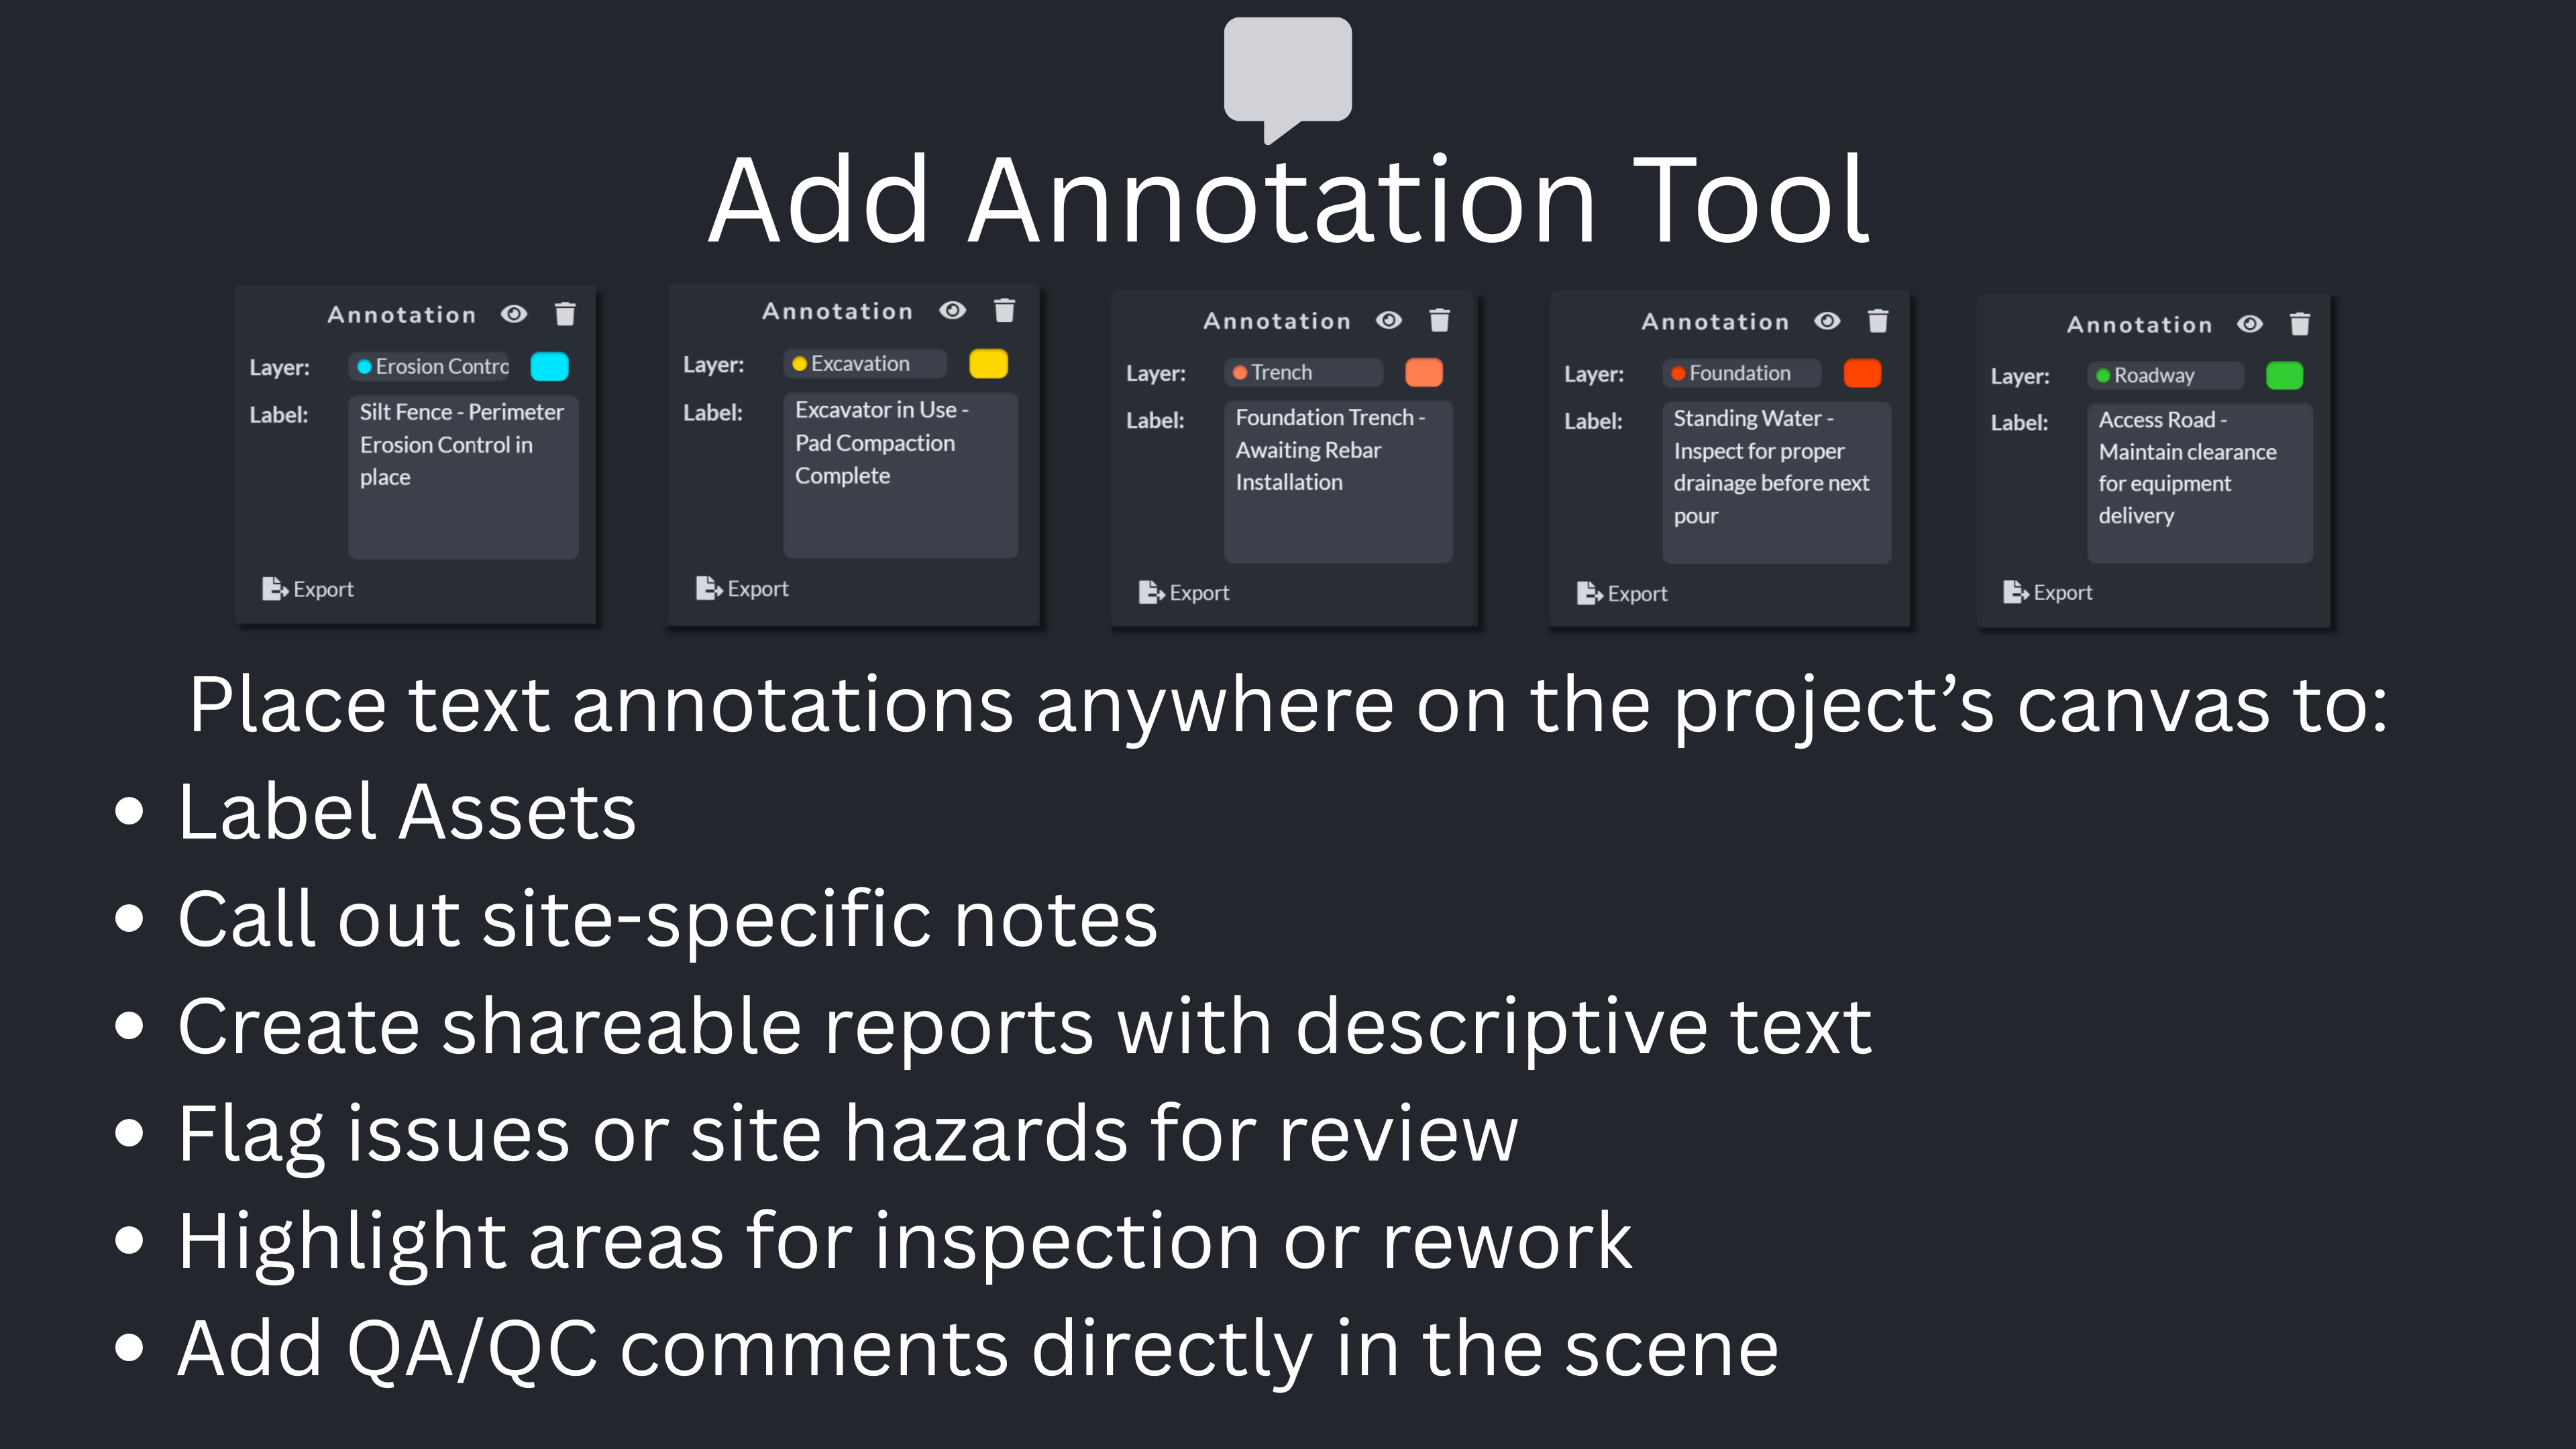
This tool allows you to place text annotations anywhere in your project. Whether you’re labeling assets, calling out site-specific notes, or creating shareable reports with descriptive text, this new tool gives you more expressive power in both 2D and 3D.
What Is It?
The Add Annotation tool acts like a digital sticky note you can place directly into your scene:
-
Type in any message—supports multiple lines, non-Latin characters, and separator characters
-
Viewable in both 2D and 3D
-
Anchored with a moveable point so you can reposition annotations easily
-
Placeholder text helps guide the user input
-
Text auto-focuses on creation, making input smoother and
Creating an Annotation
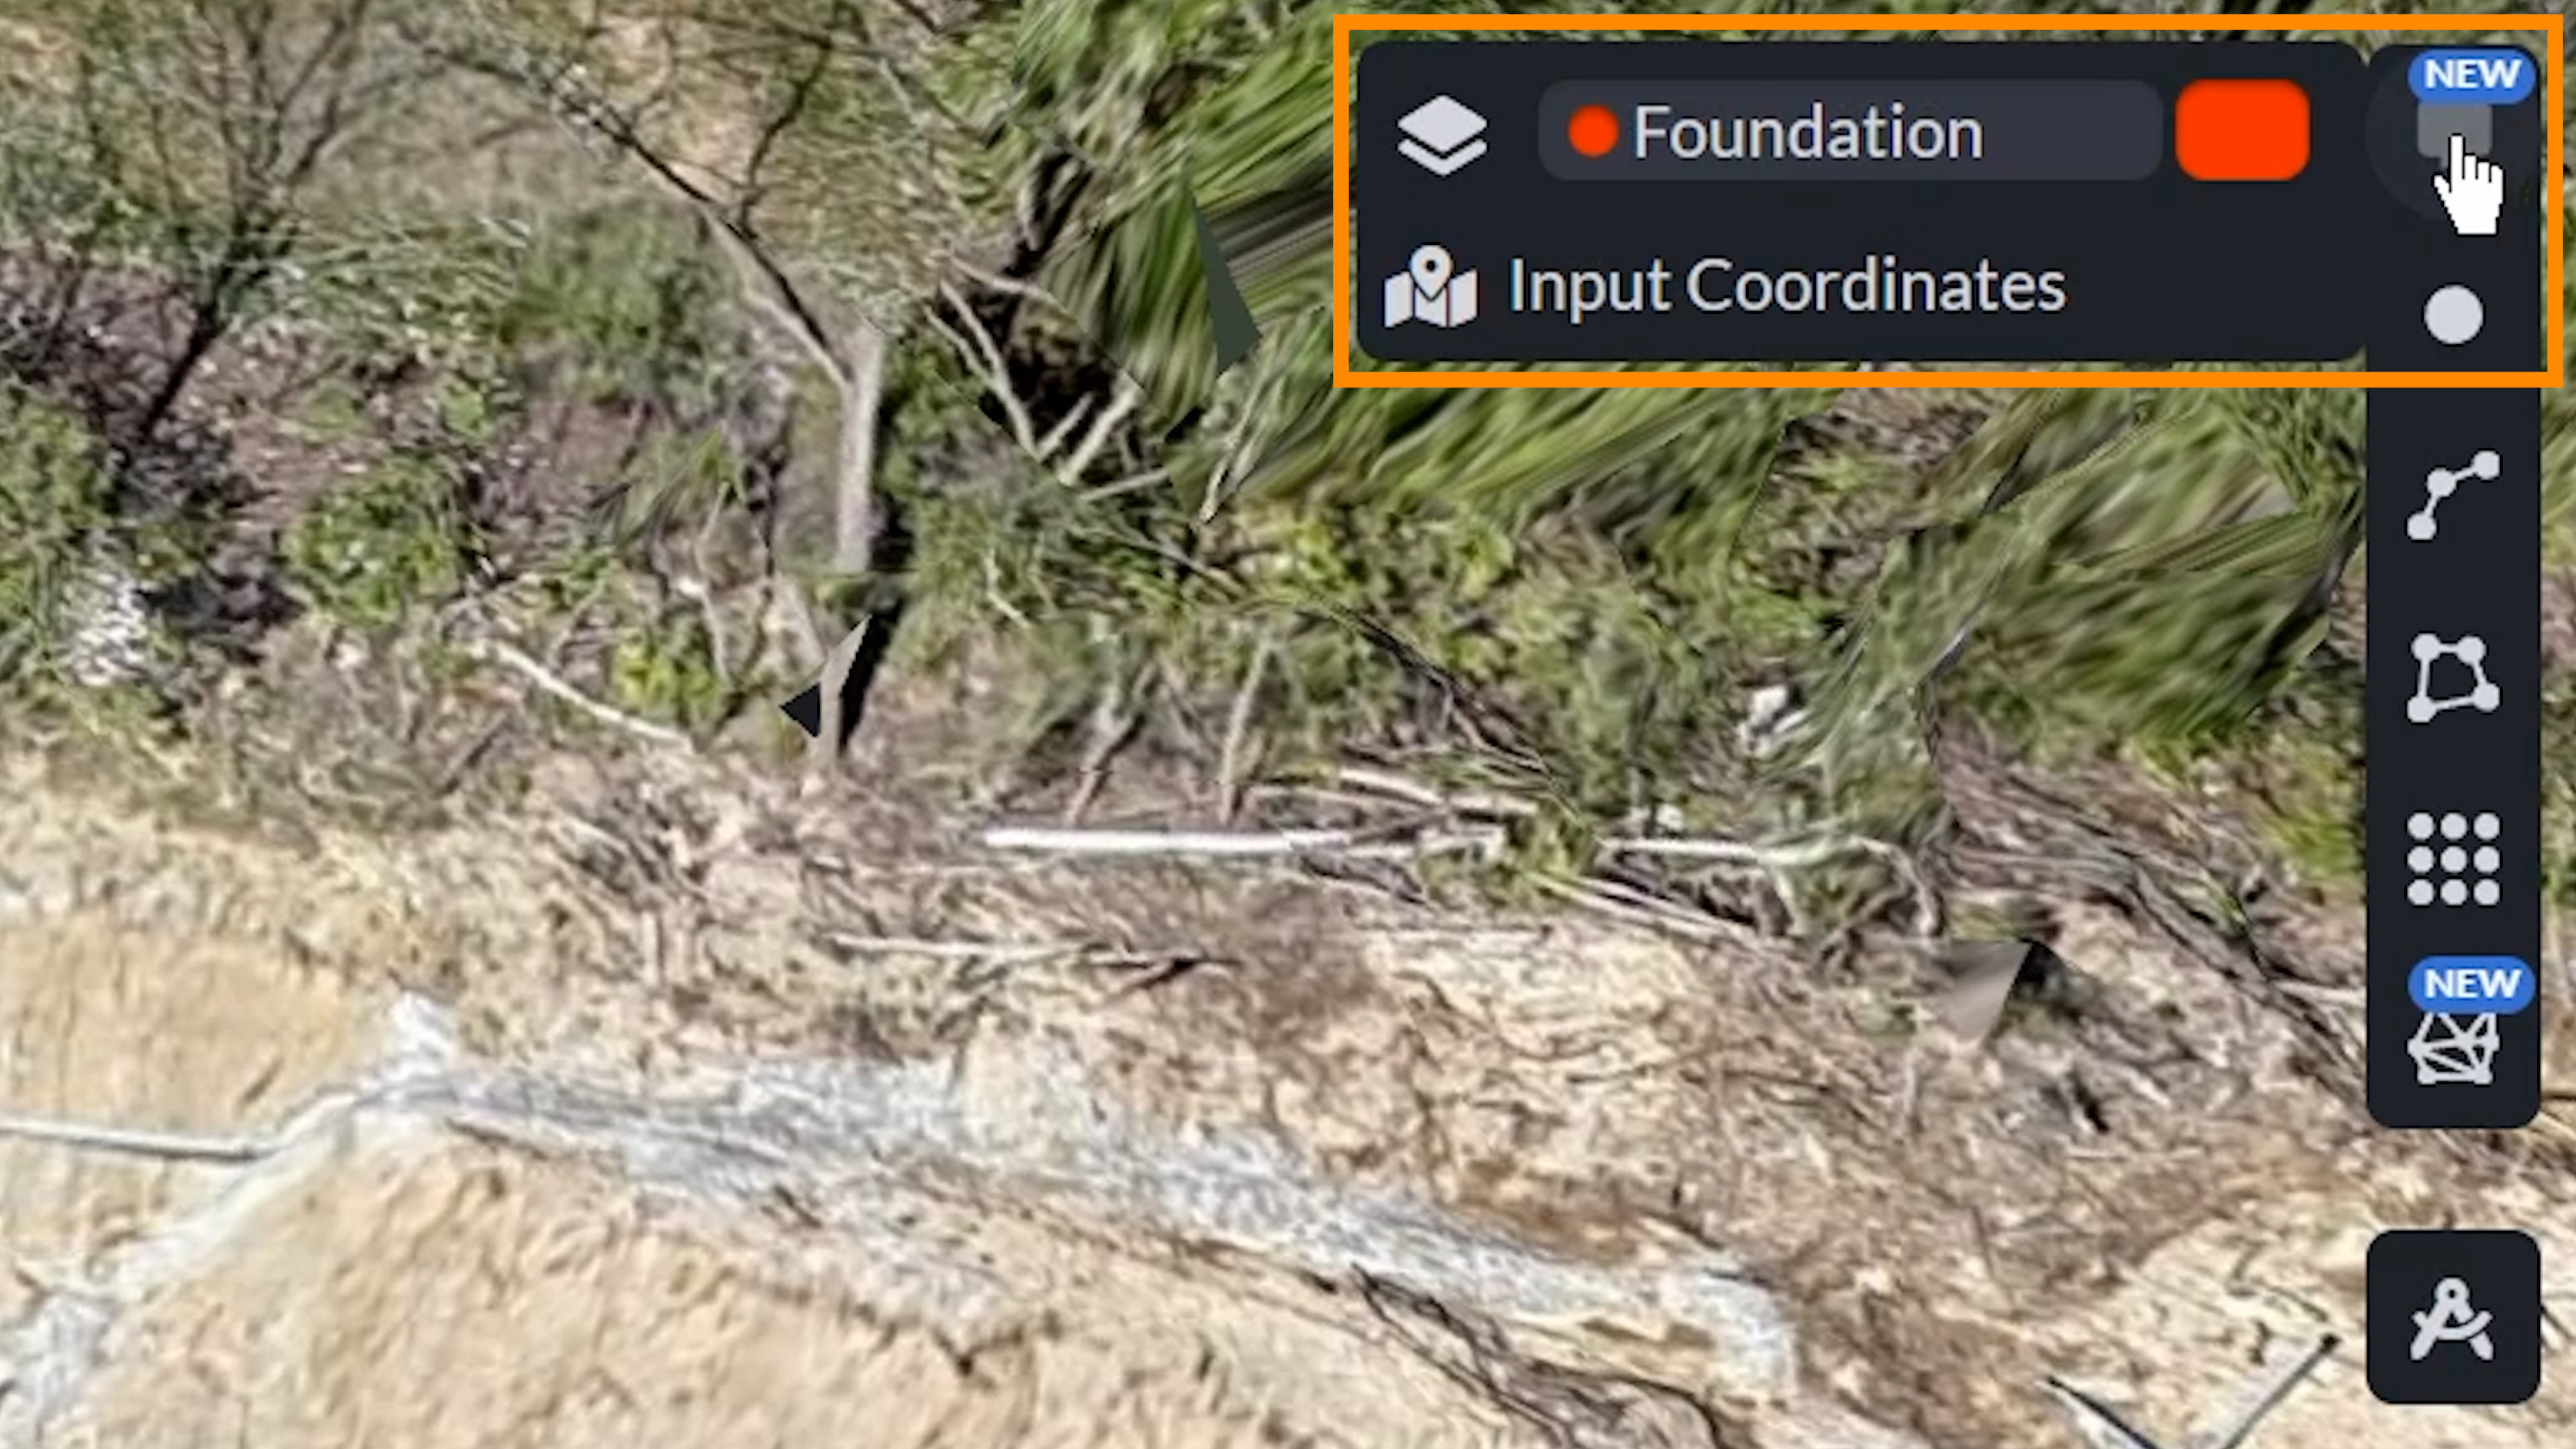
To create an annotation, select the Add Annotation tool button in the right hand toolbar in the Canvas. You are then able to assign the annotation a Layer. You can then left-click to select a point on your model and once placed, right click to finalize the placement.
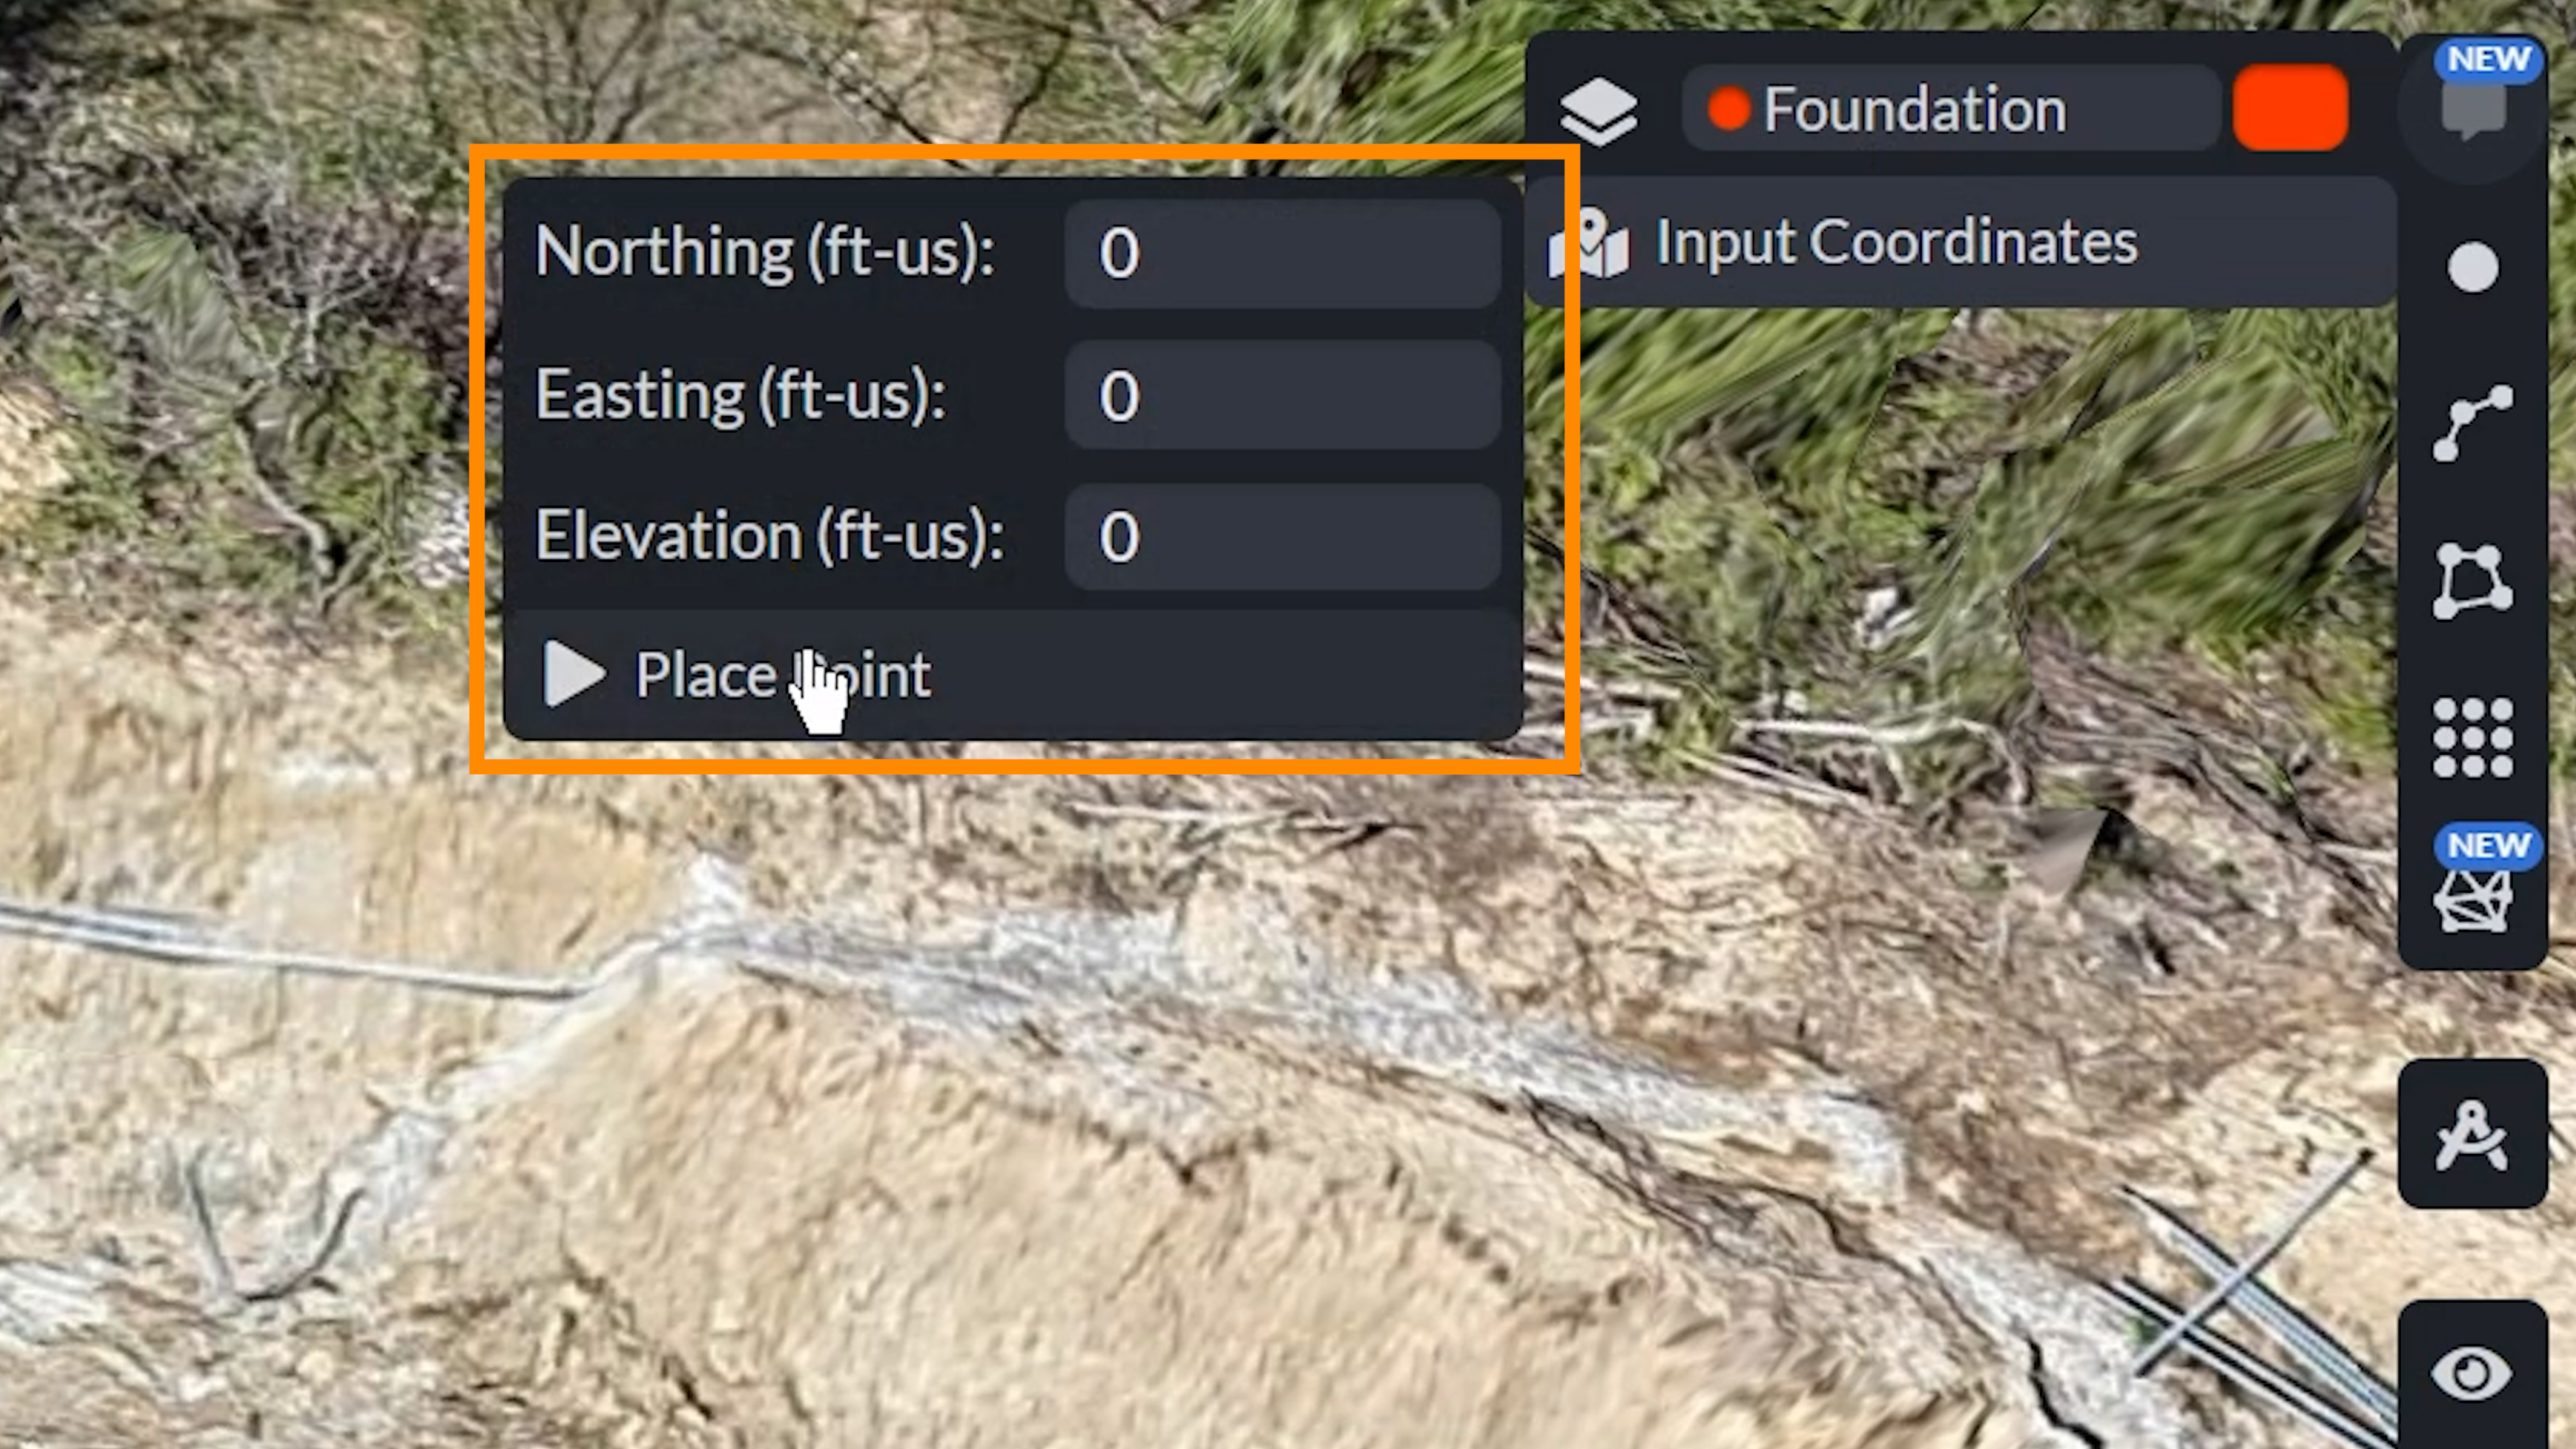
If you would like to input the corresponding coordinates, you can also input them under “Input Coordinates” and then hit Place Point to finalize.
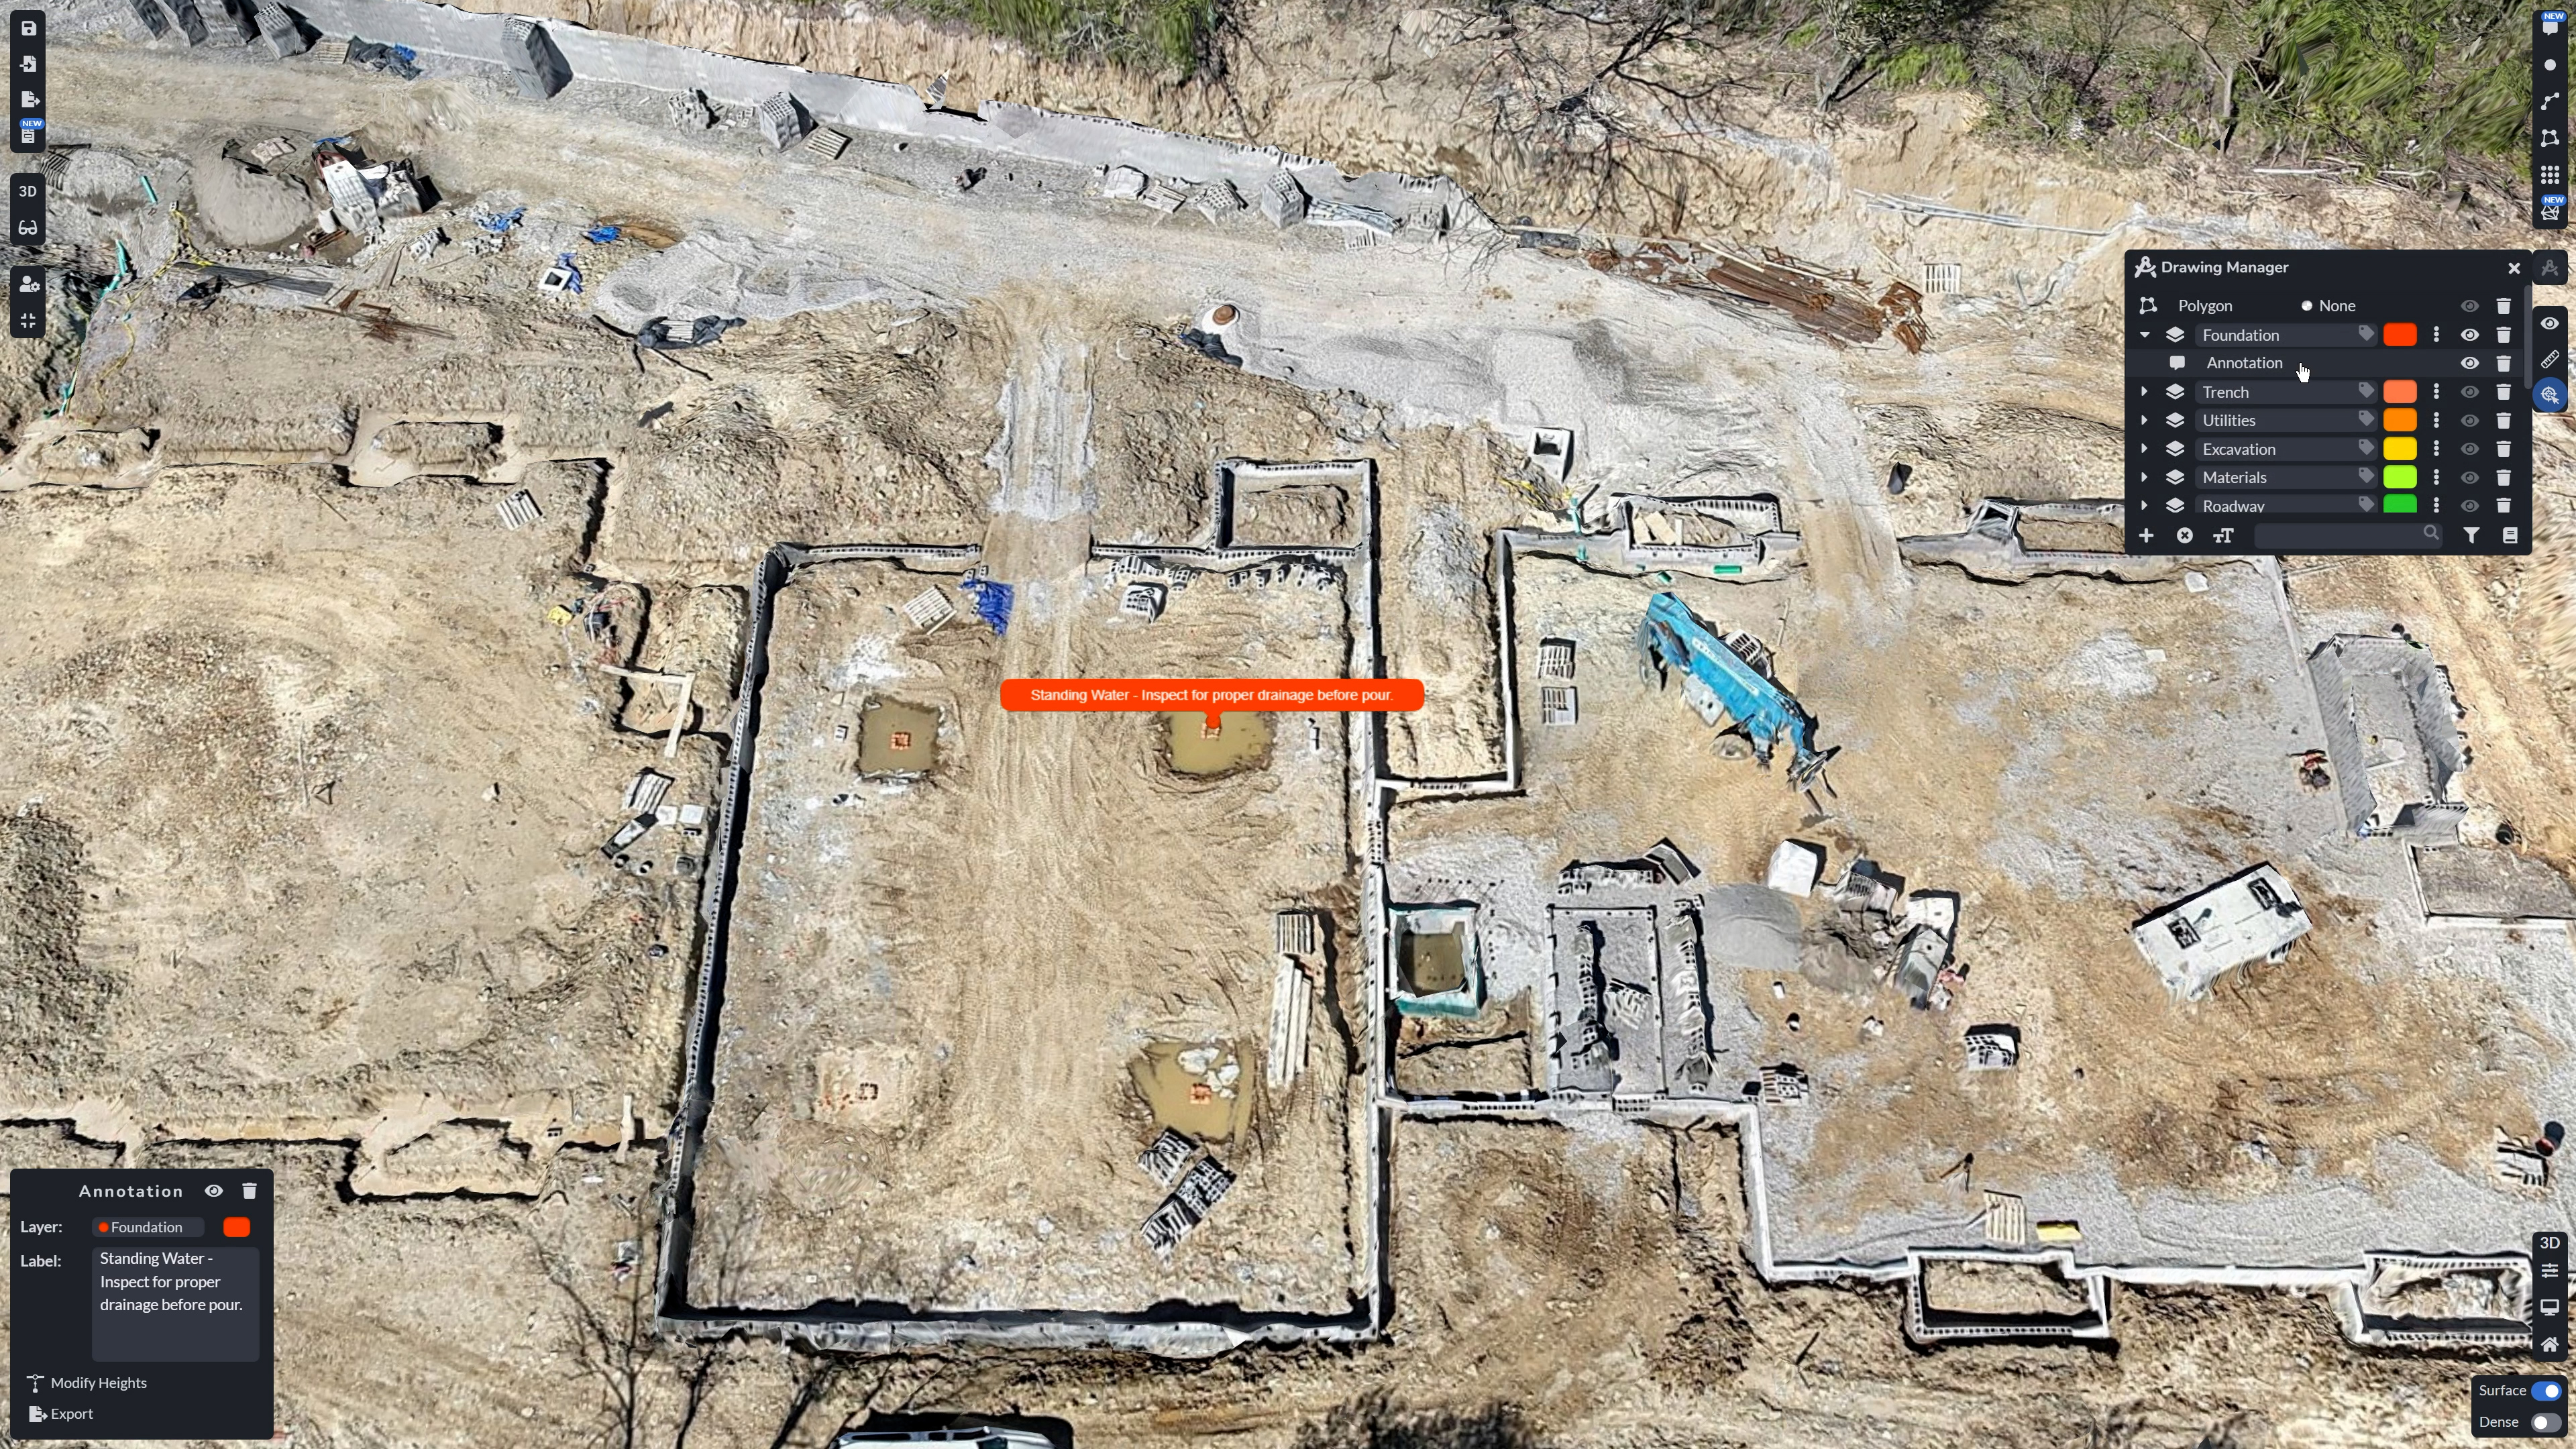
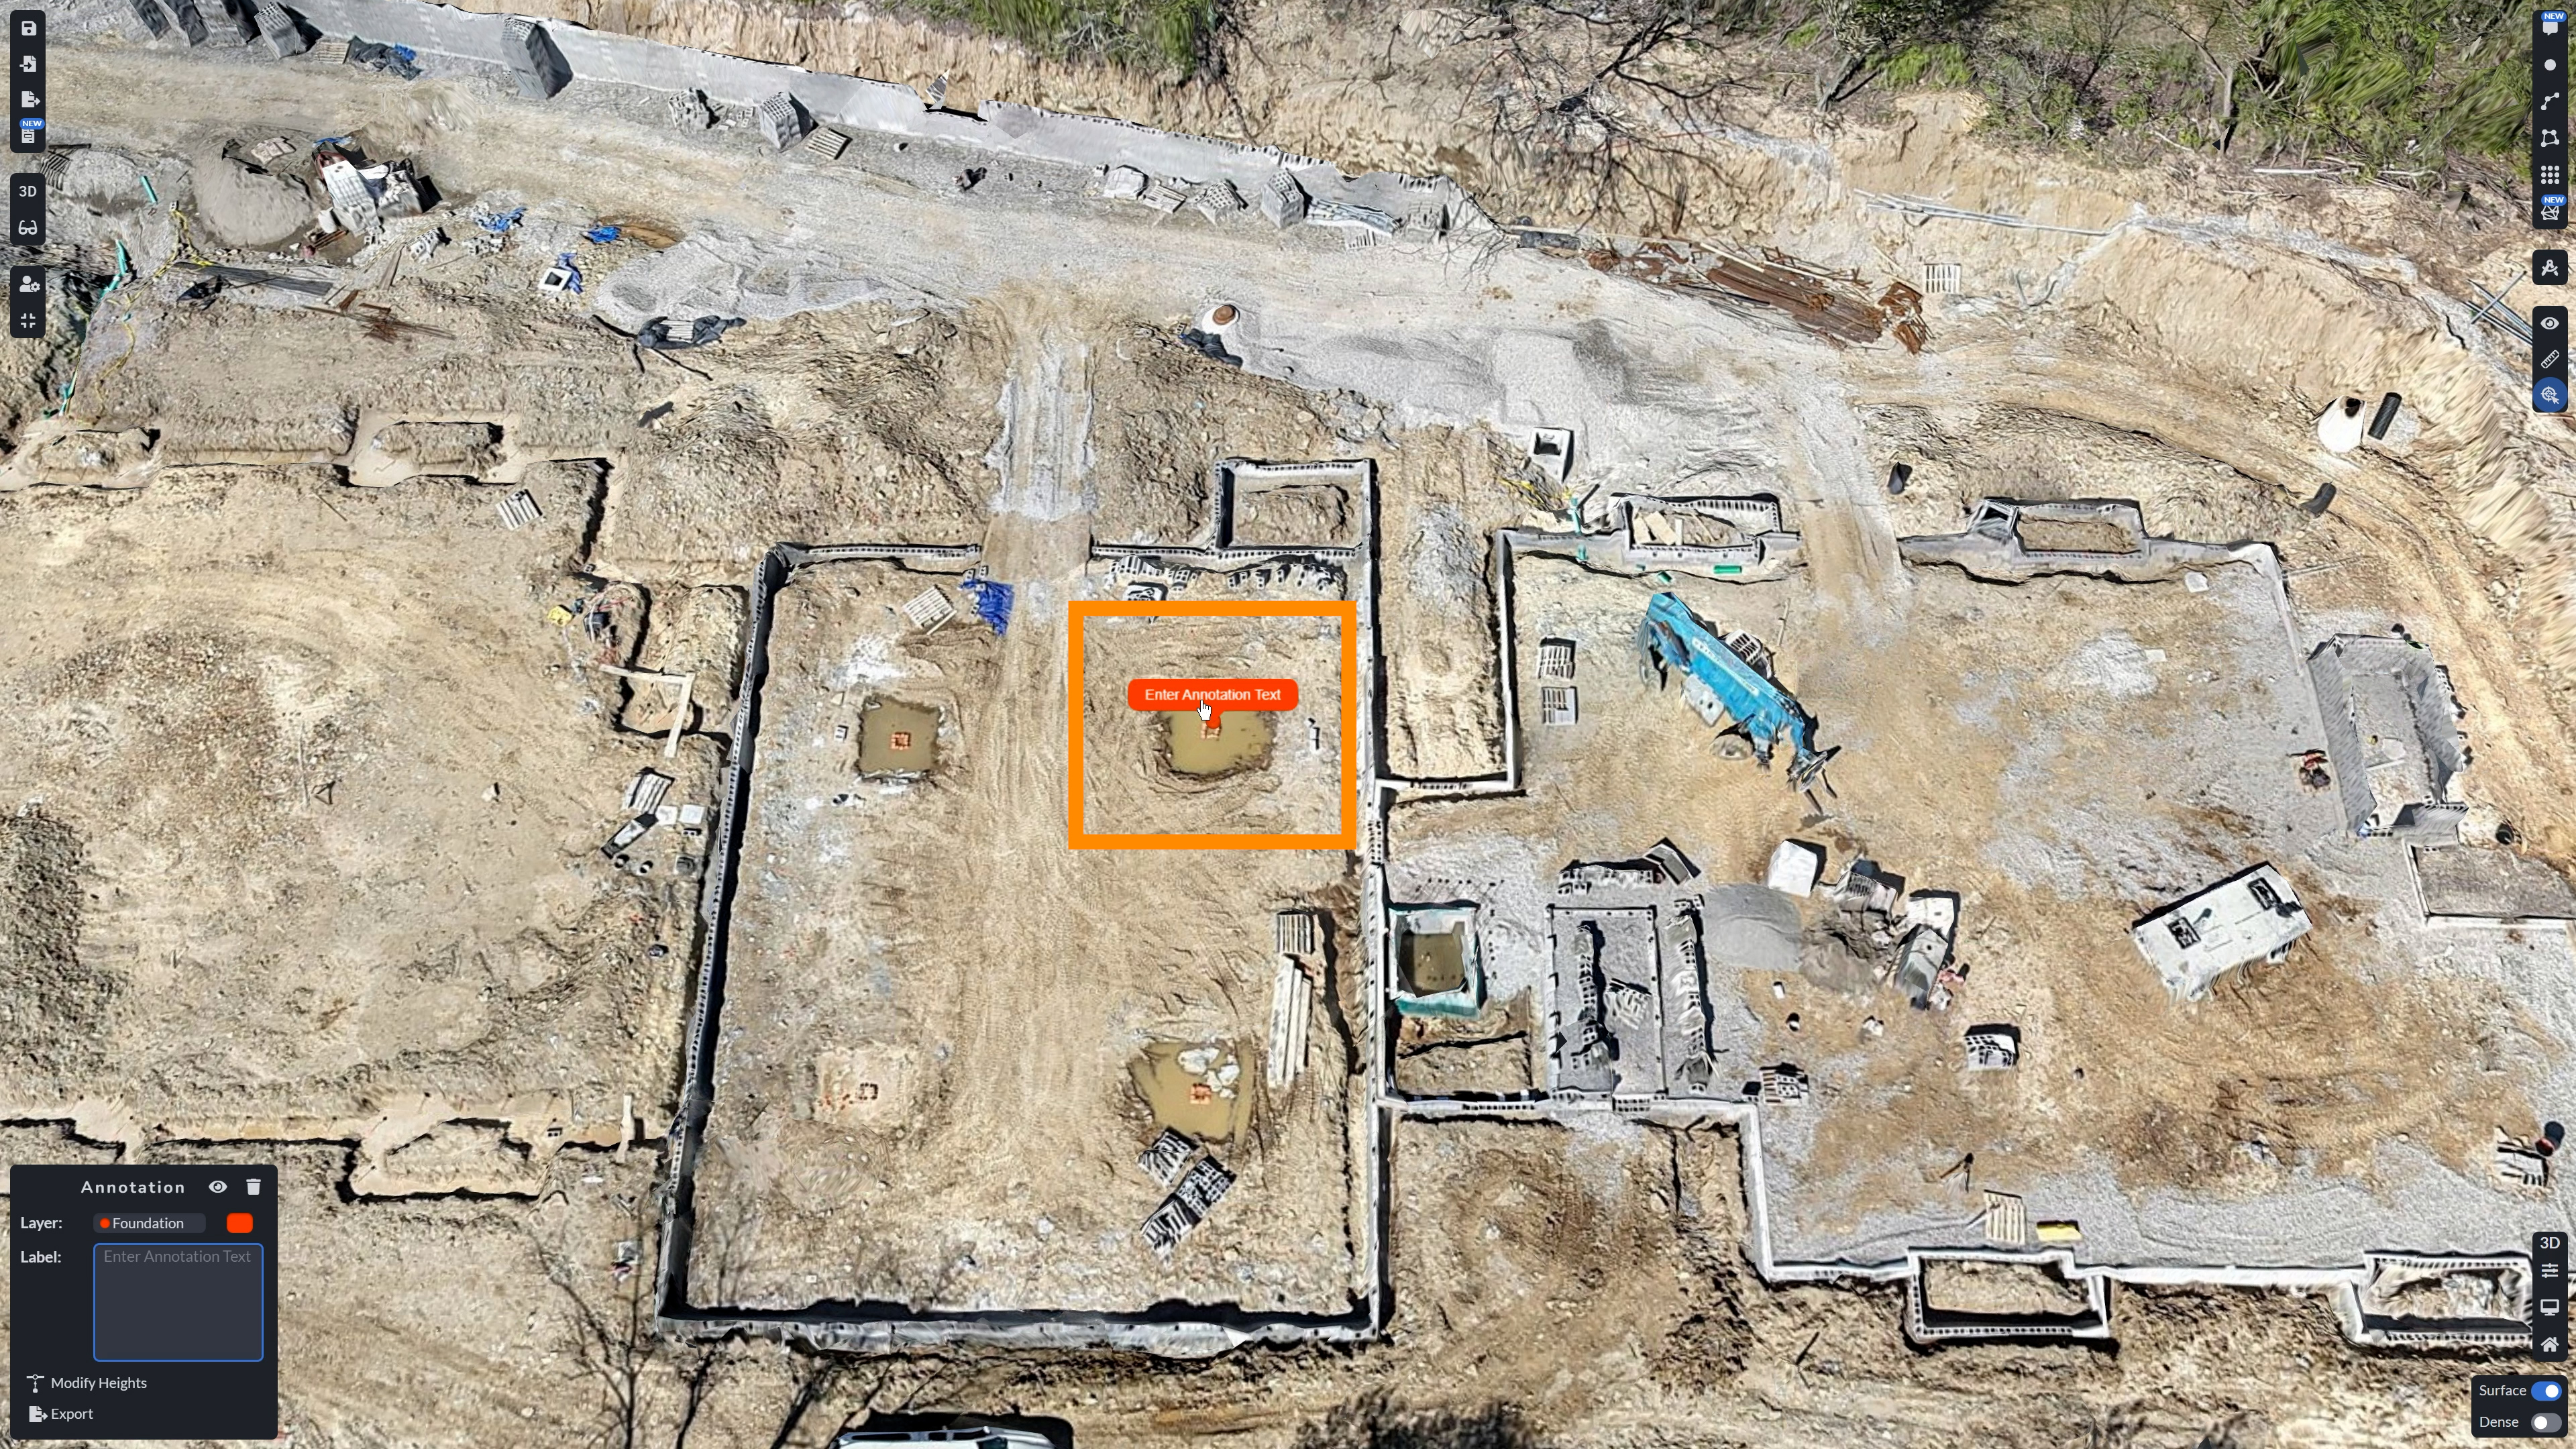
Upon creating your point(s), you can either select the point on the model with your cursor (please make sure that you have exited the annotation tool first), or select the annotation from your drawing manager.
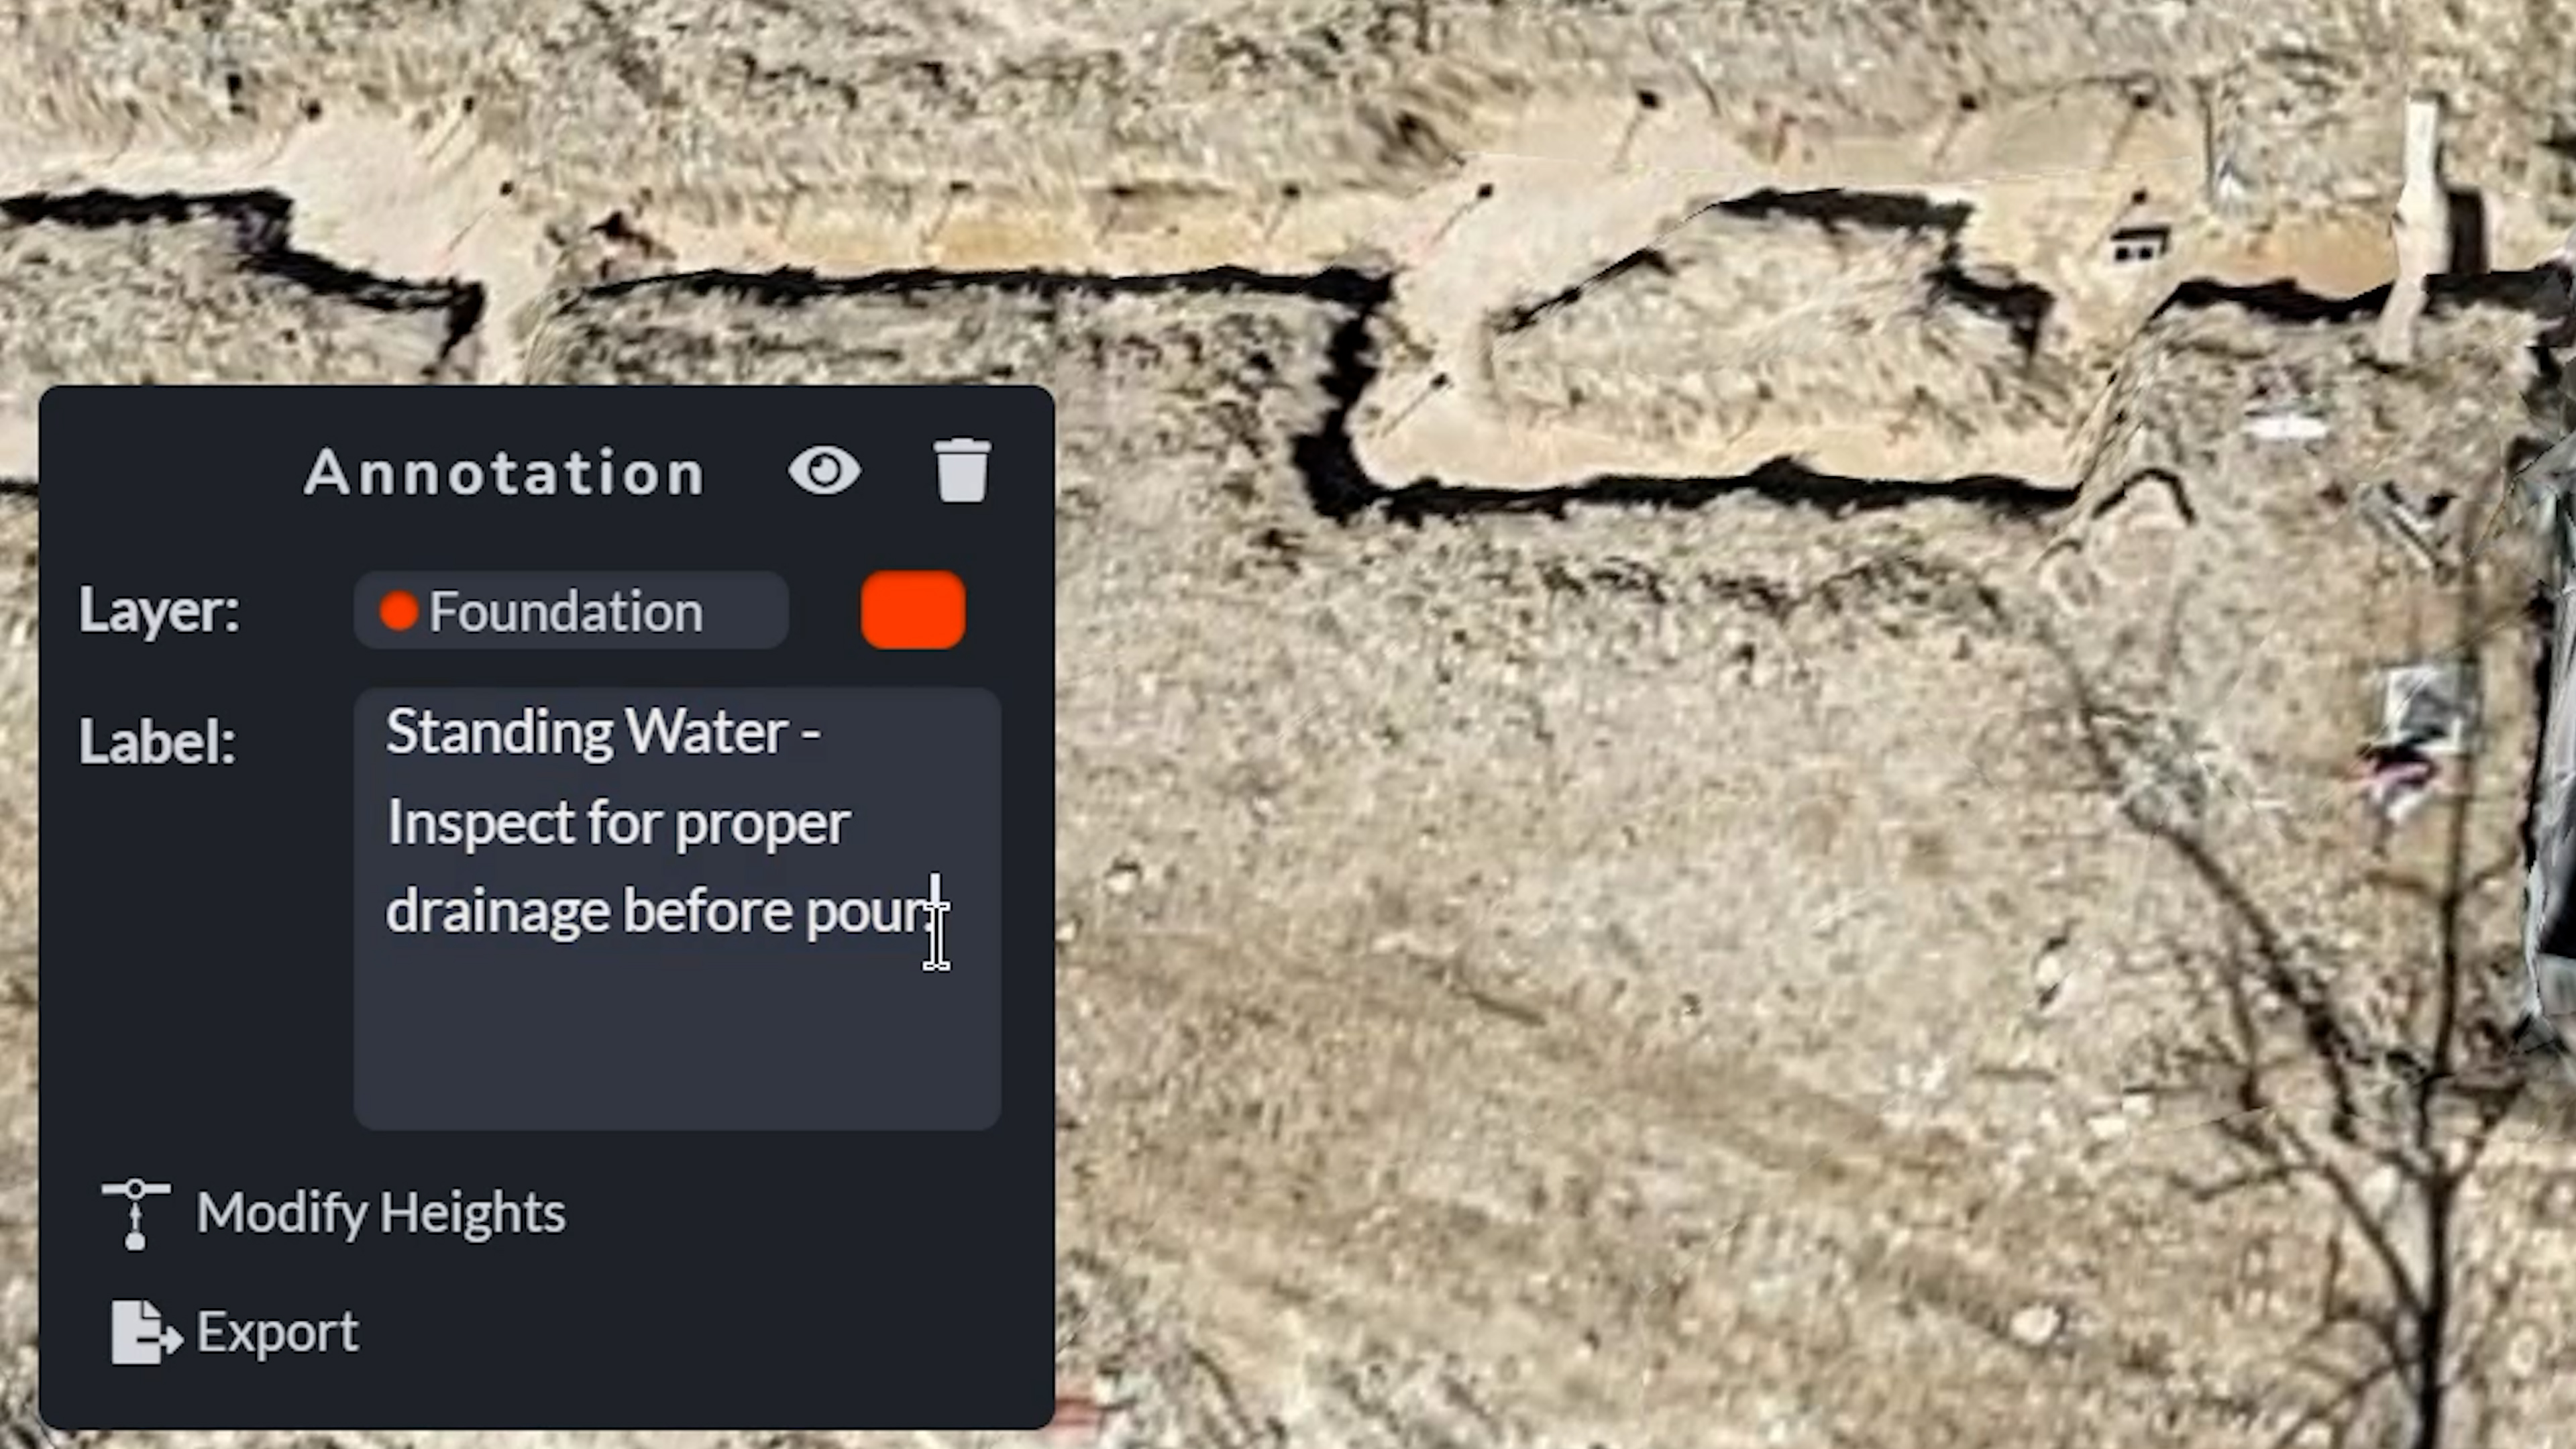
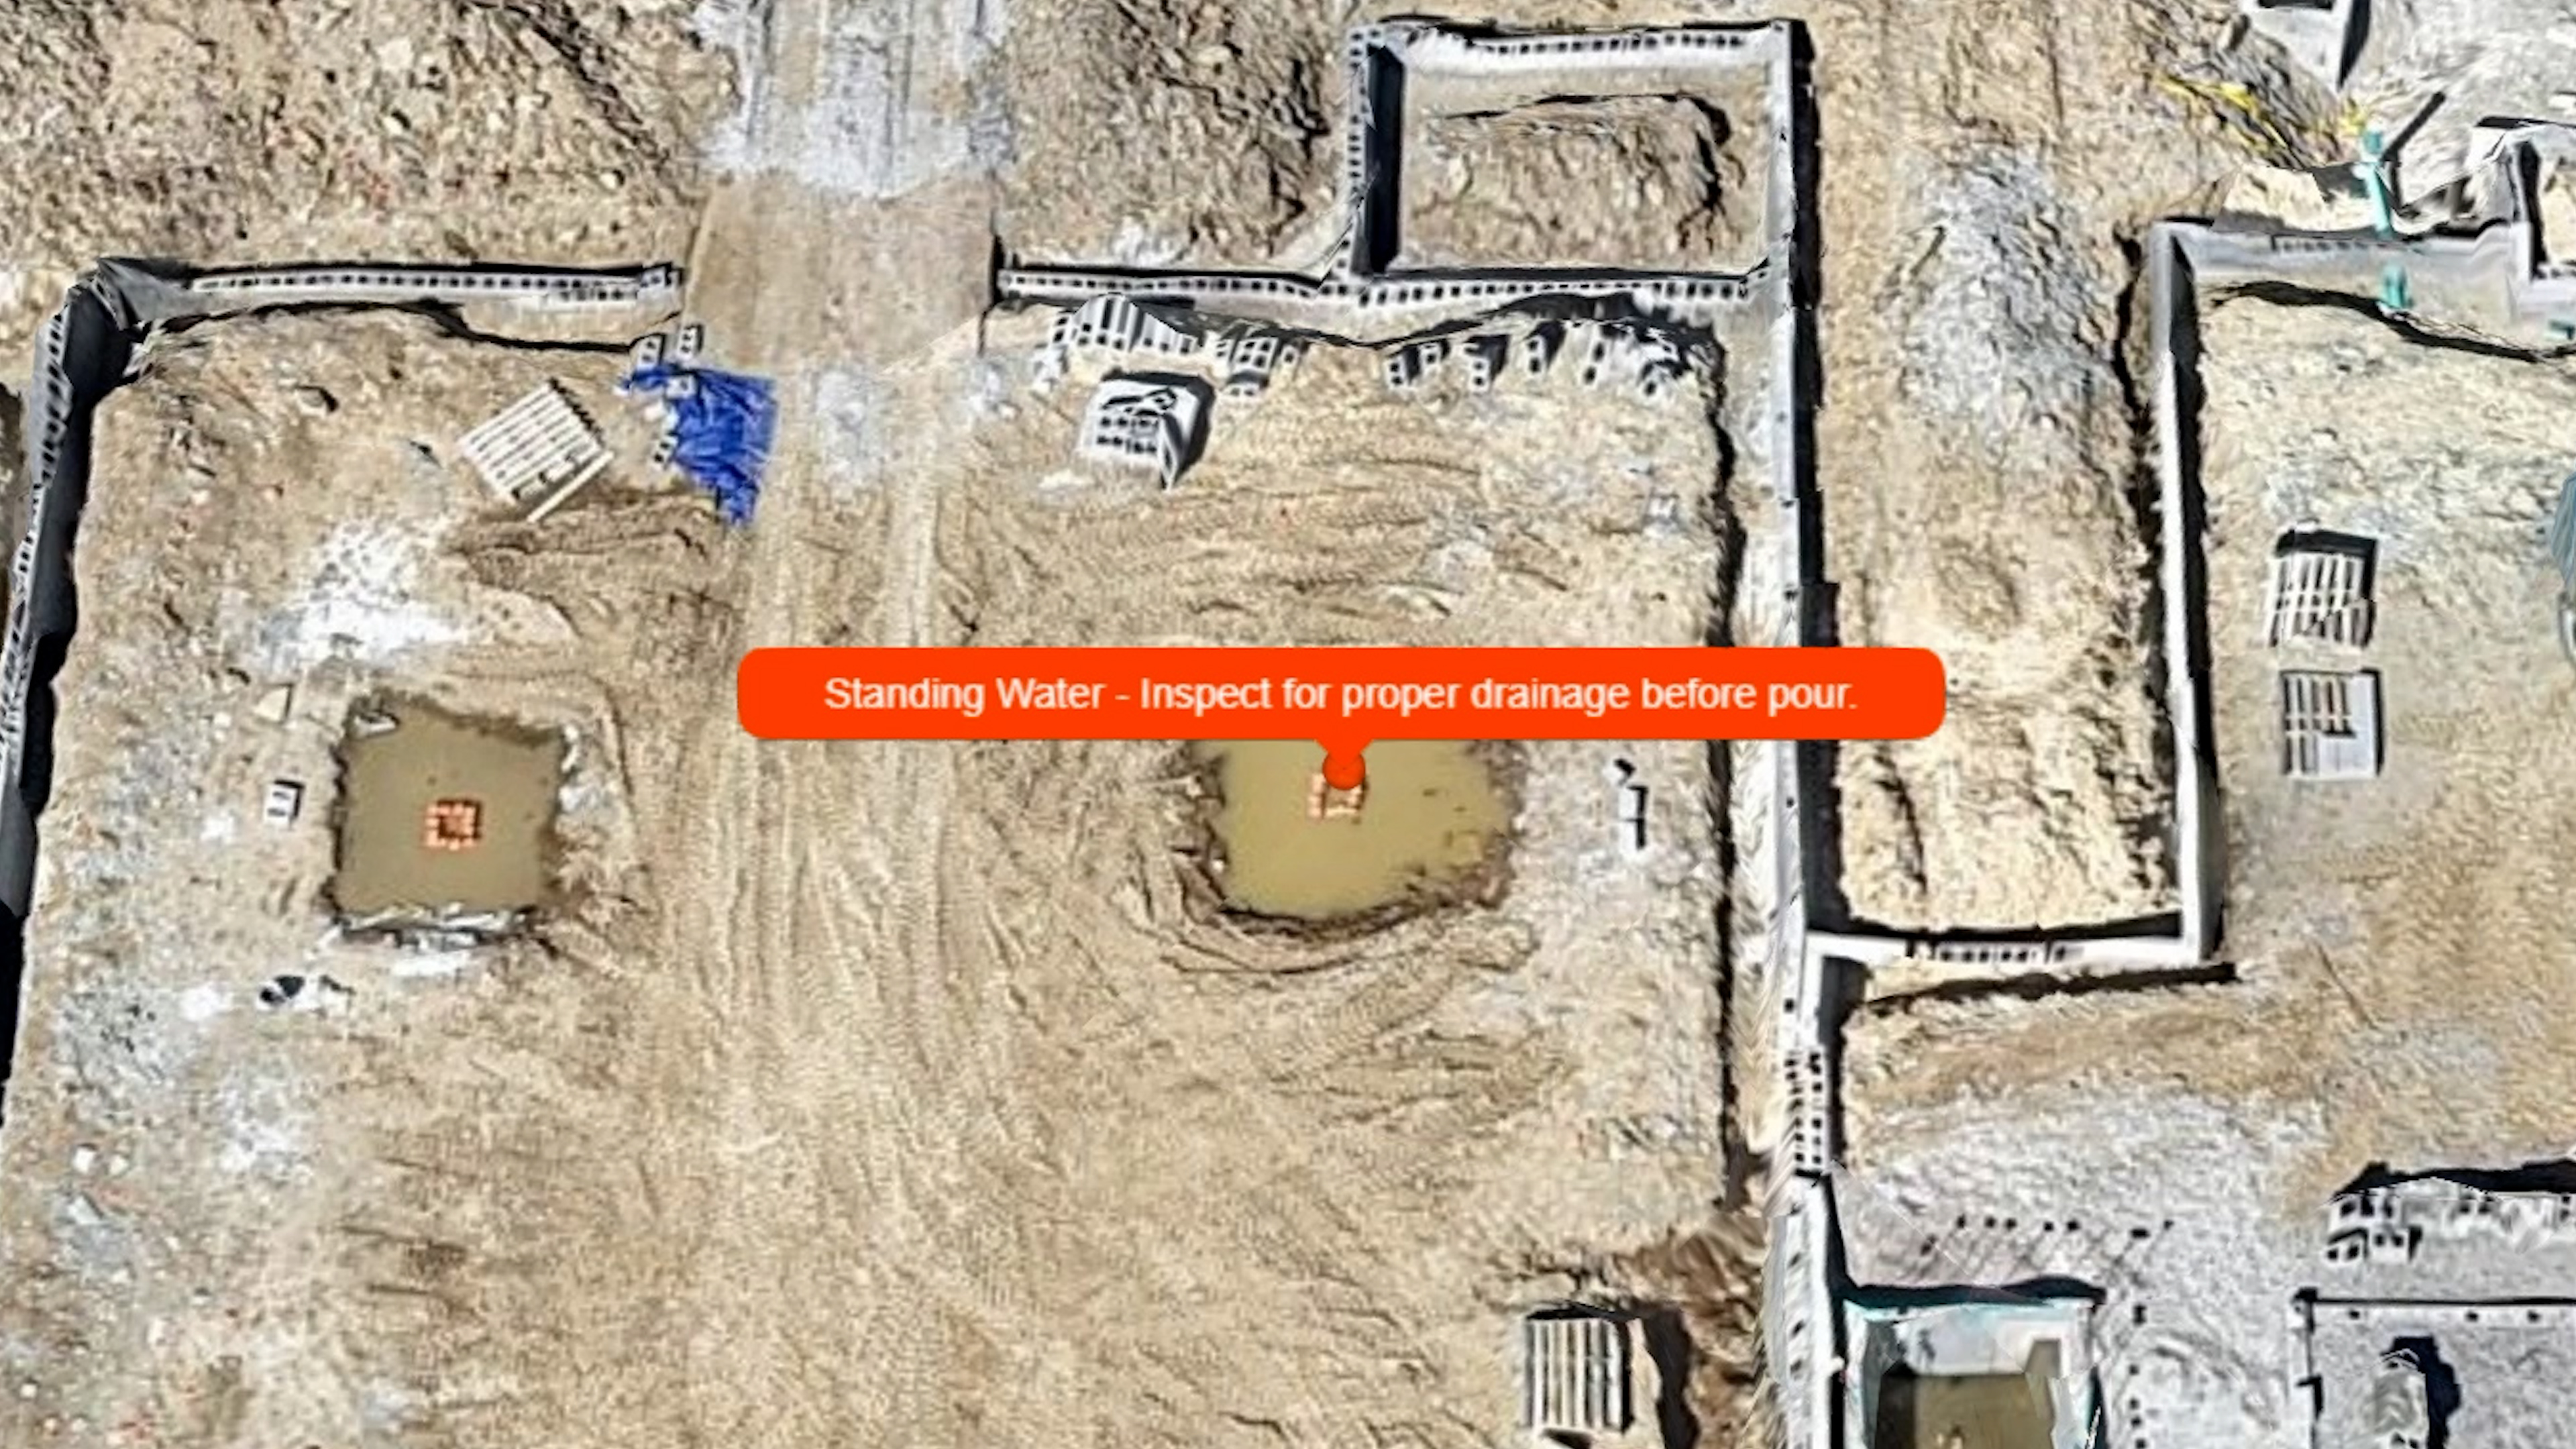
Following this, the annotation submenu will pop up where you can change the annotation’s layer, color, as well as type in your specific text for the annotation. That text will then become visible on the canvas model as well.
Modify Heights
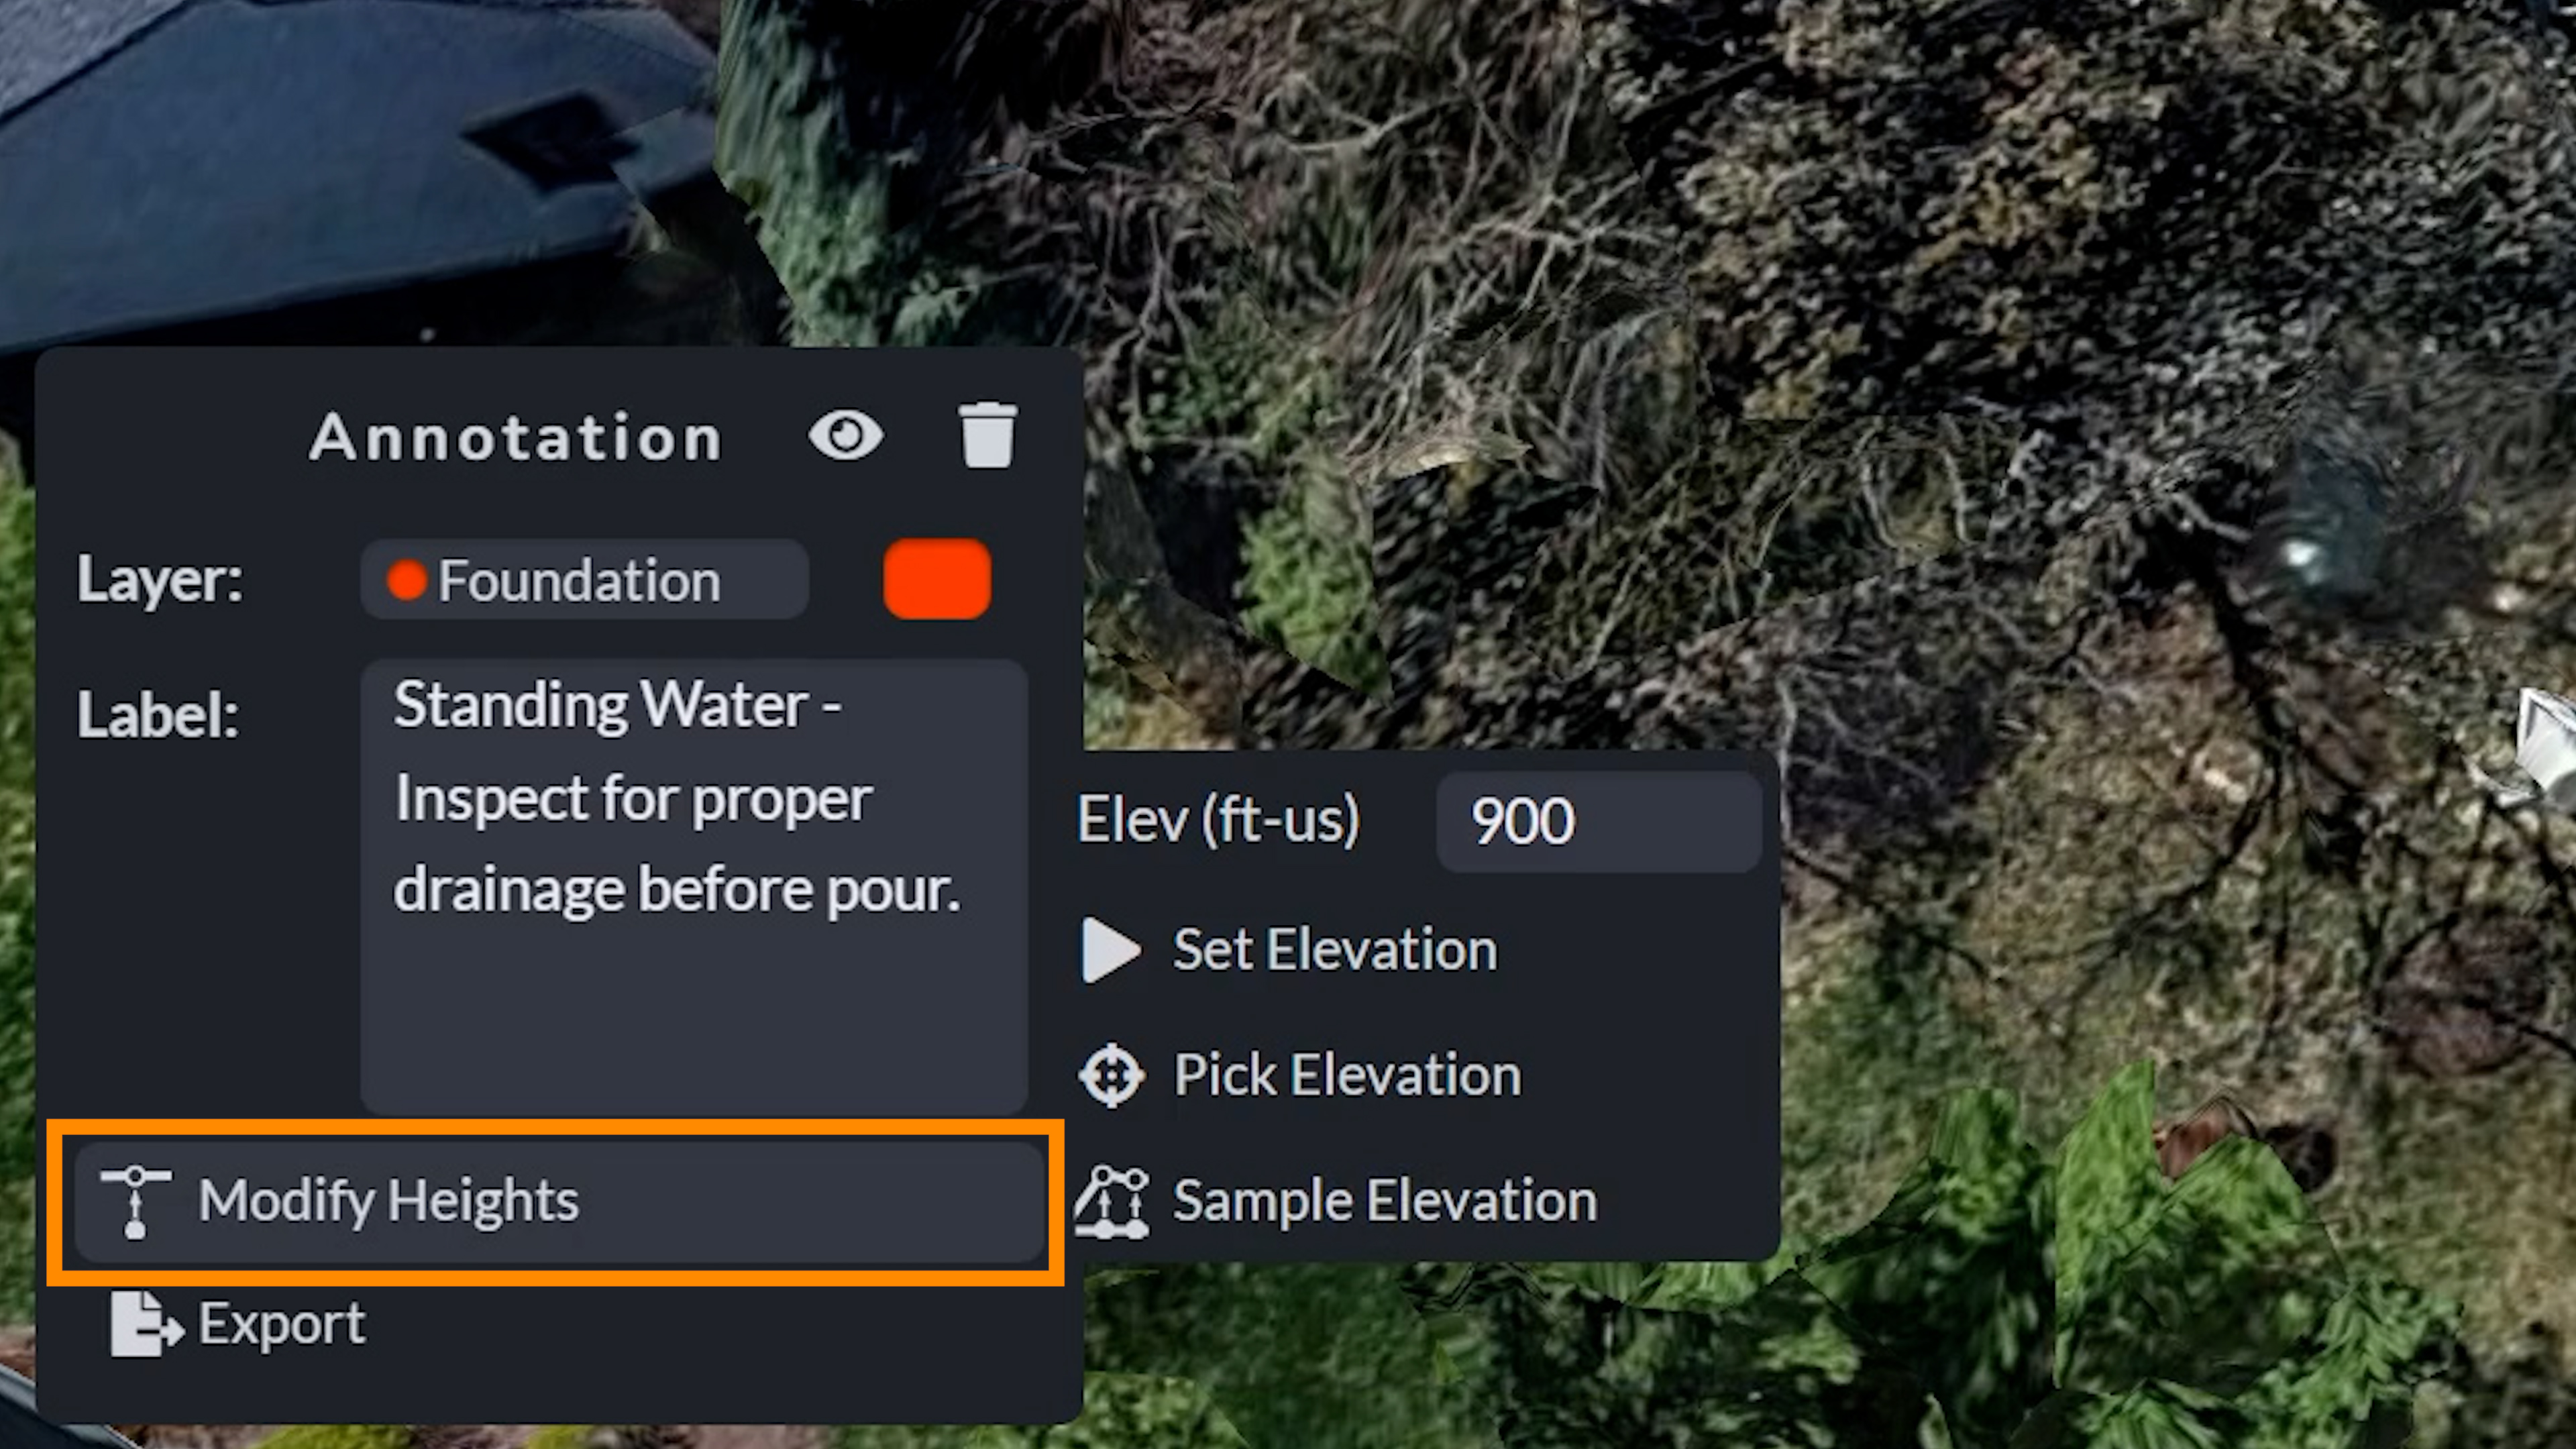
The Modify Heights tool allows you to adjust the annotation’s elevation in the model based on your specific needs. With it, you can:
- Set Elevation to a specific height
- Pick Elevation by selecting a point on the model
- Sample Elevation which sets the annotation point on the mesh’s surface elevation.
This is useful for ensuring annotations align precisely with terrain features, structures, or specific elevation references. Keep in mind though, the user is also always able to click the annotation and drag the annotation’s point around anywhere on the model.
Sizing Settings
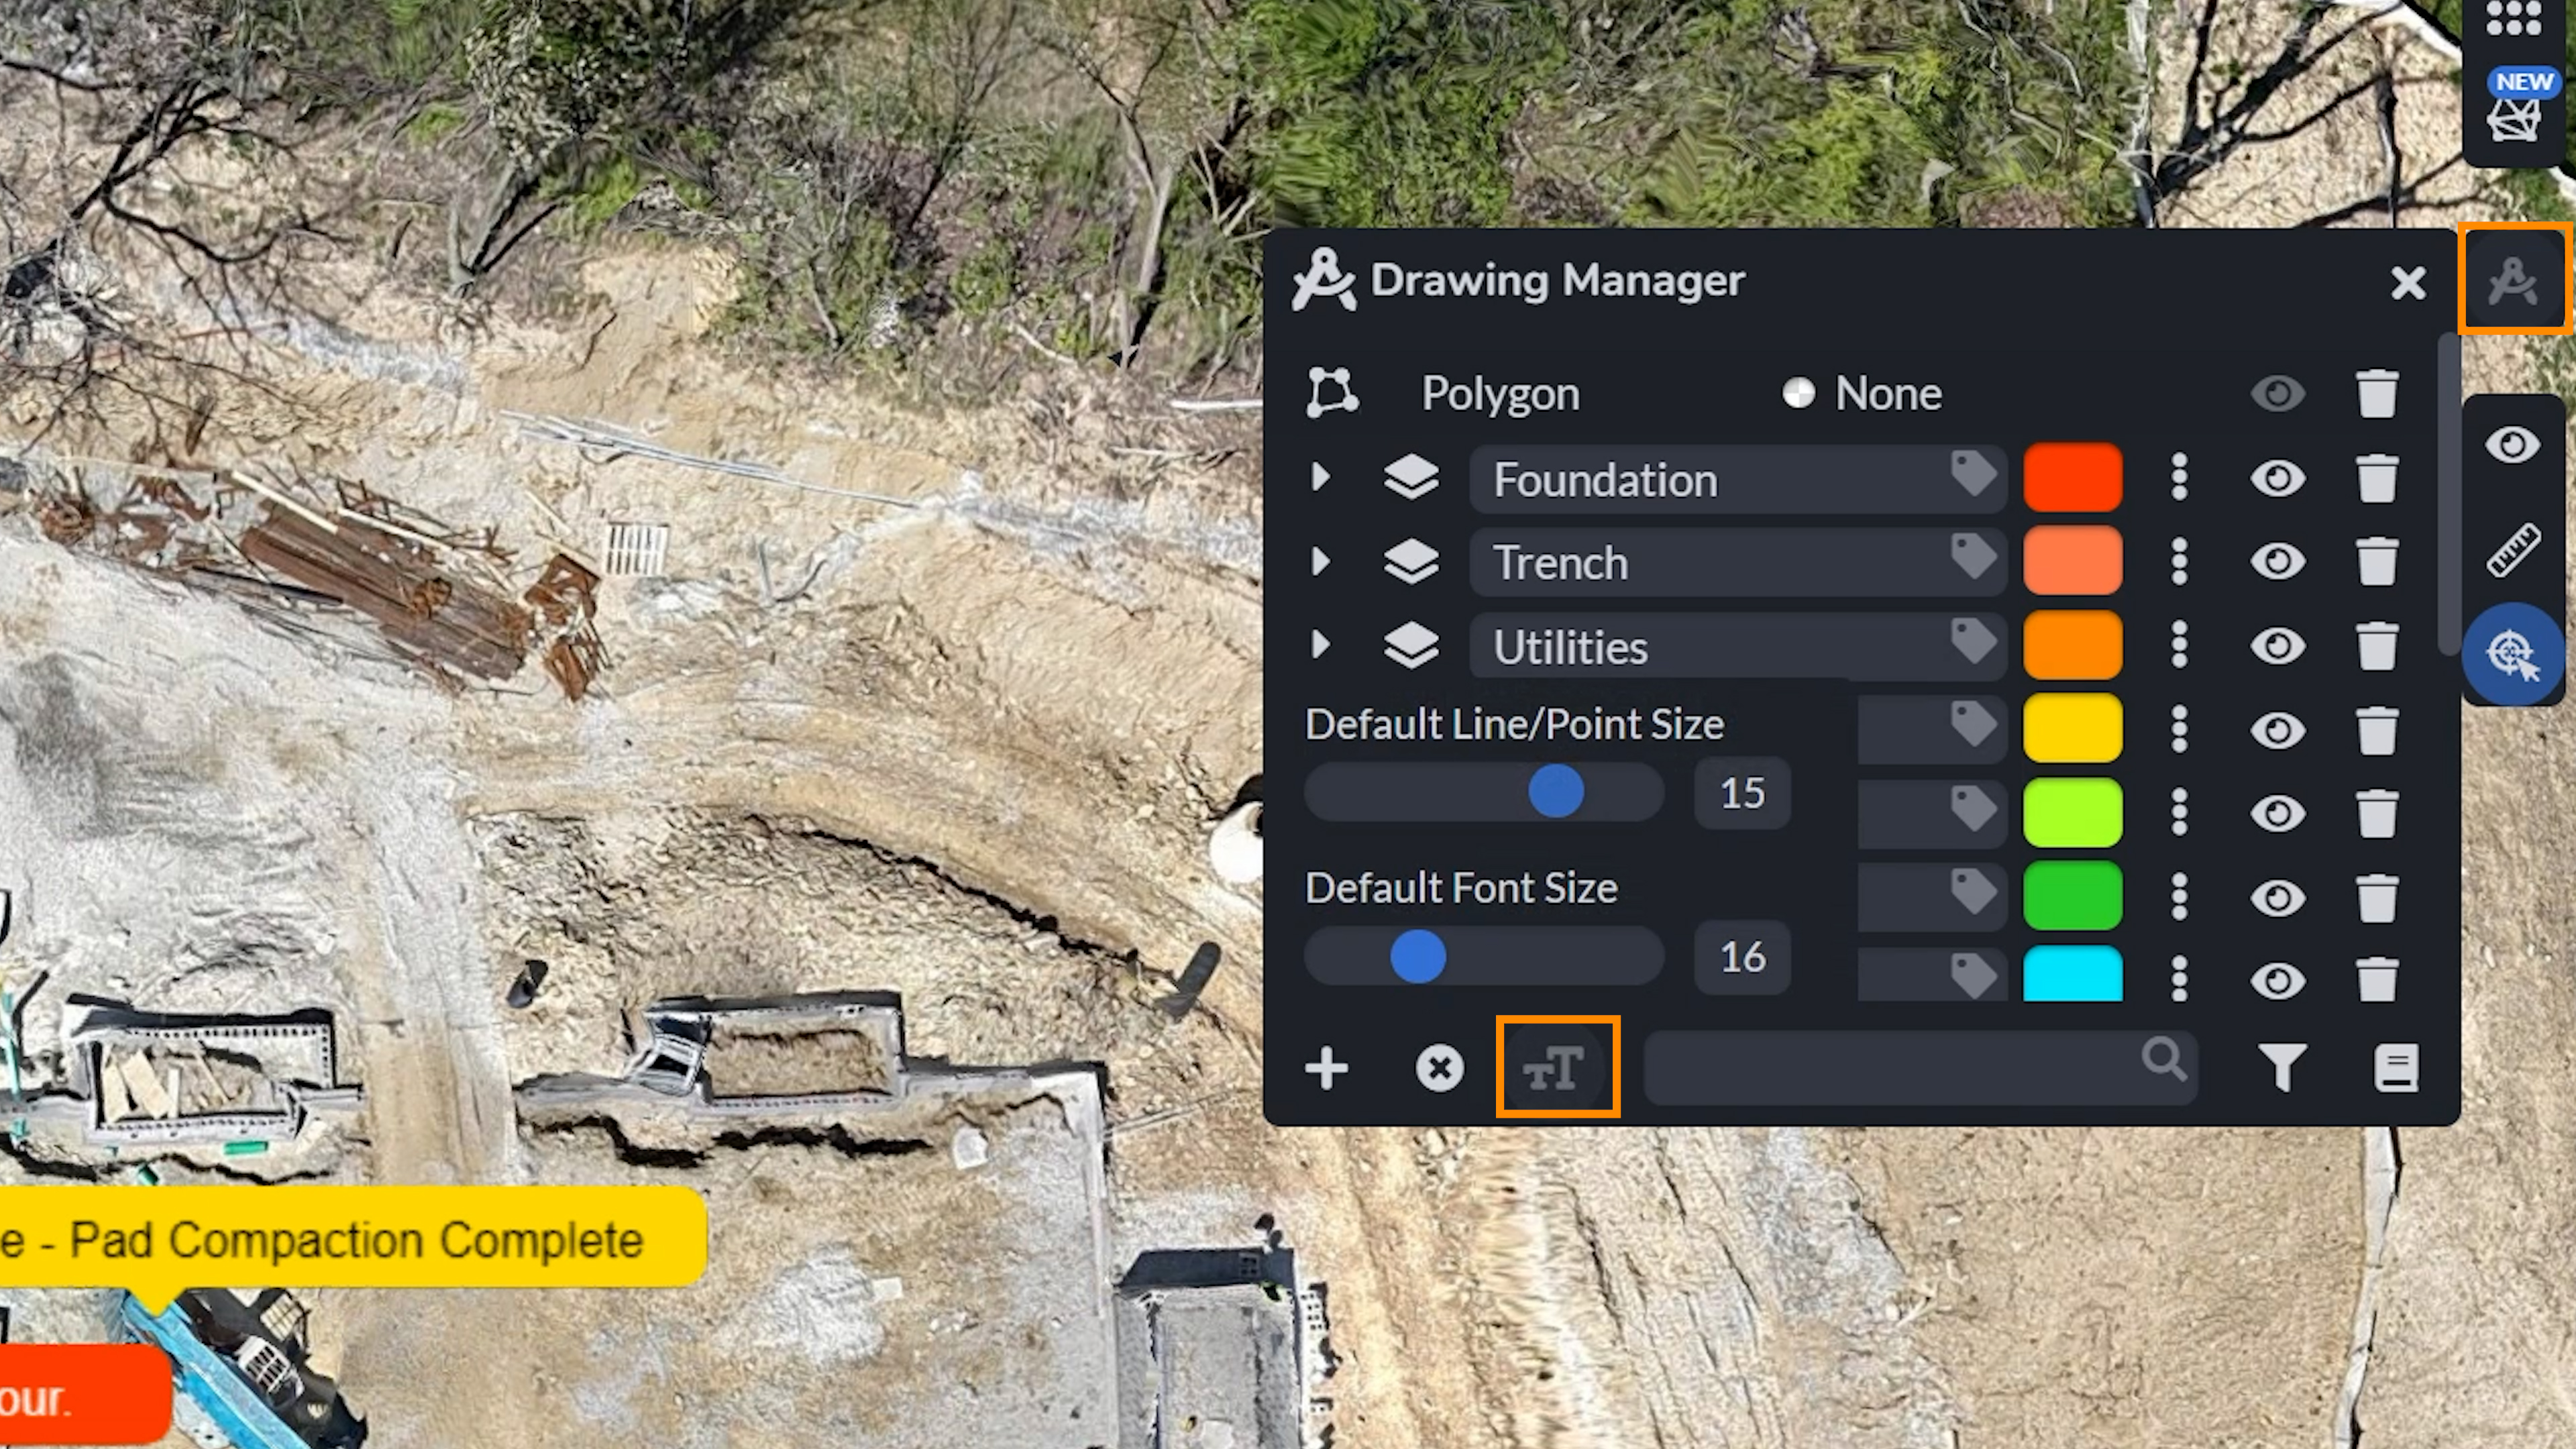
If you deem that your annotation text is too large, or small, you can change the size of the annotations by selecting the Drawing Manager, and then selecting Default Size Settings. In it, you are able to change the line/point size as well as the default font size for your selected layer.
Exporting your Annotations
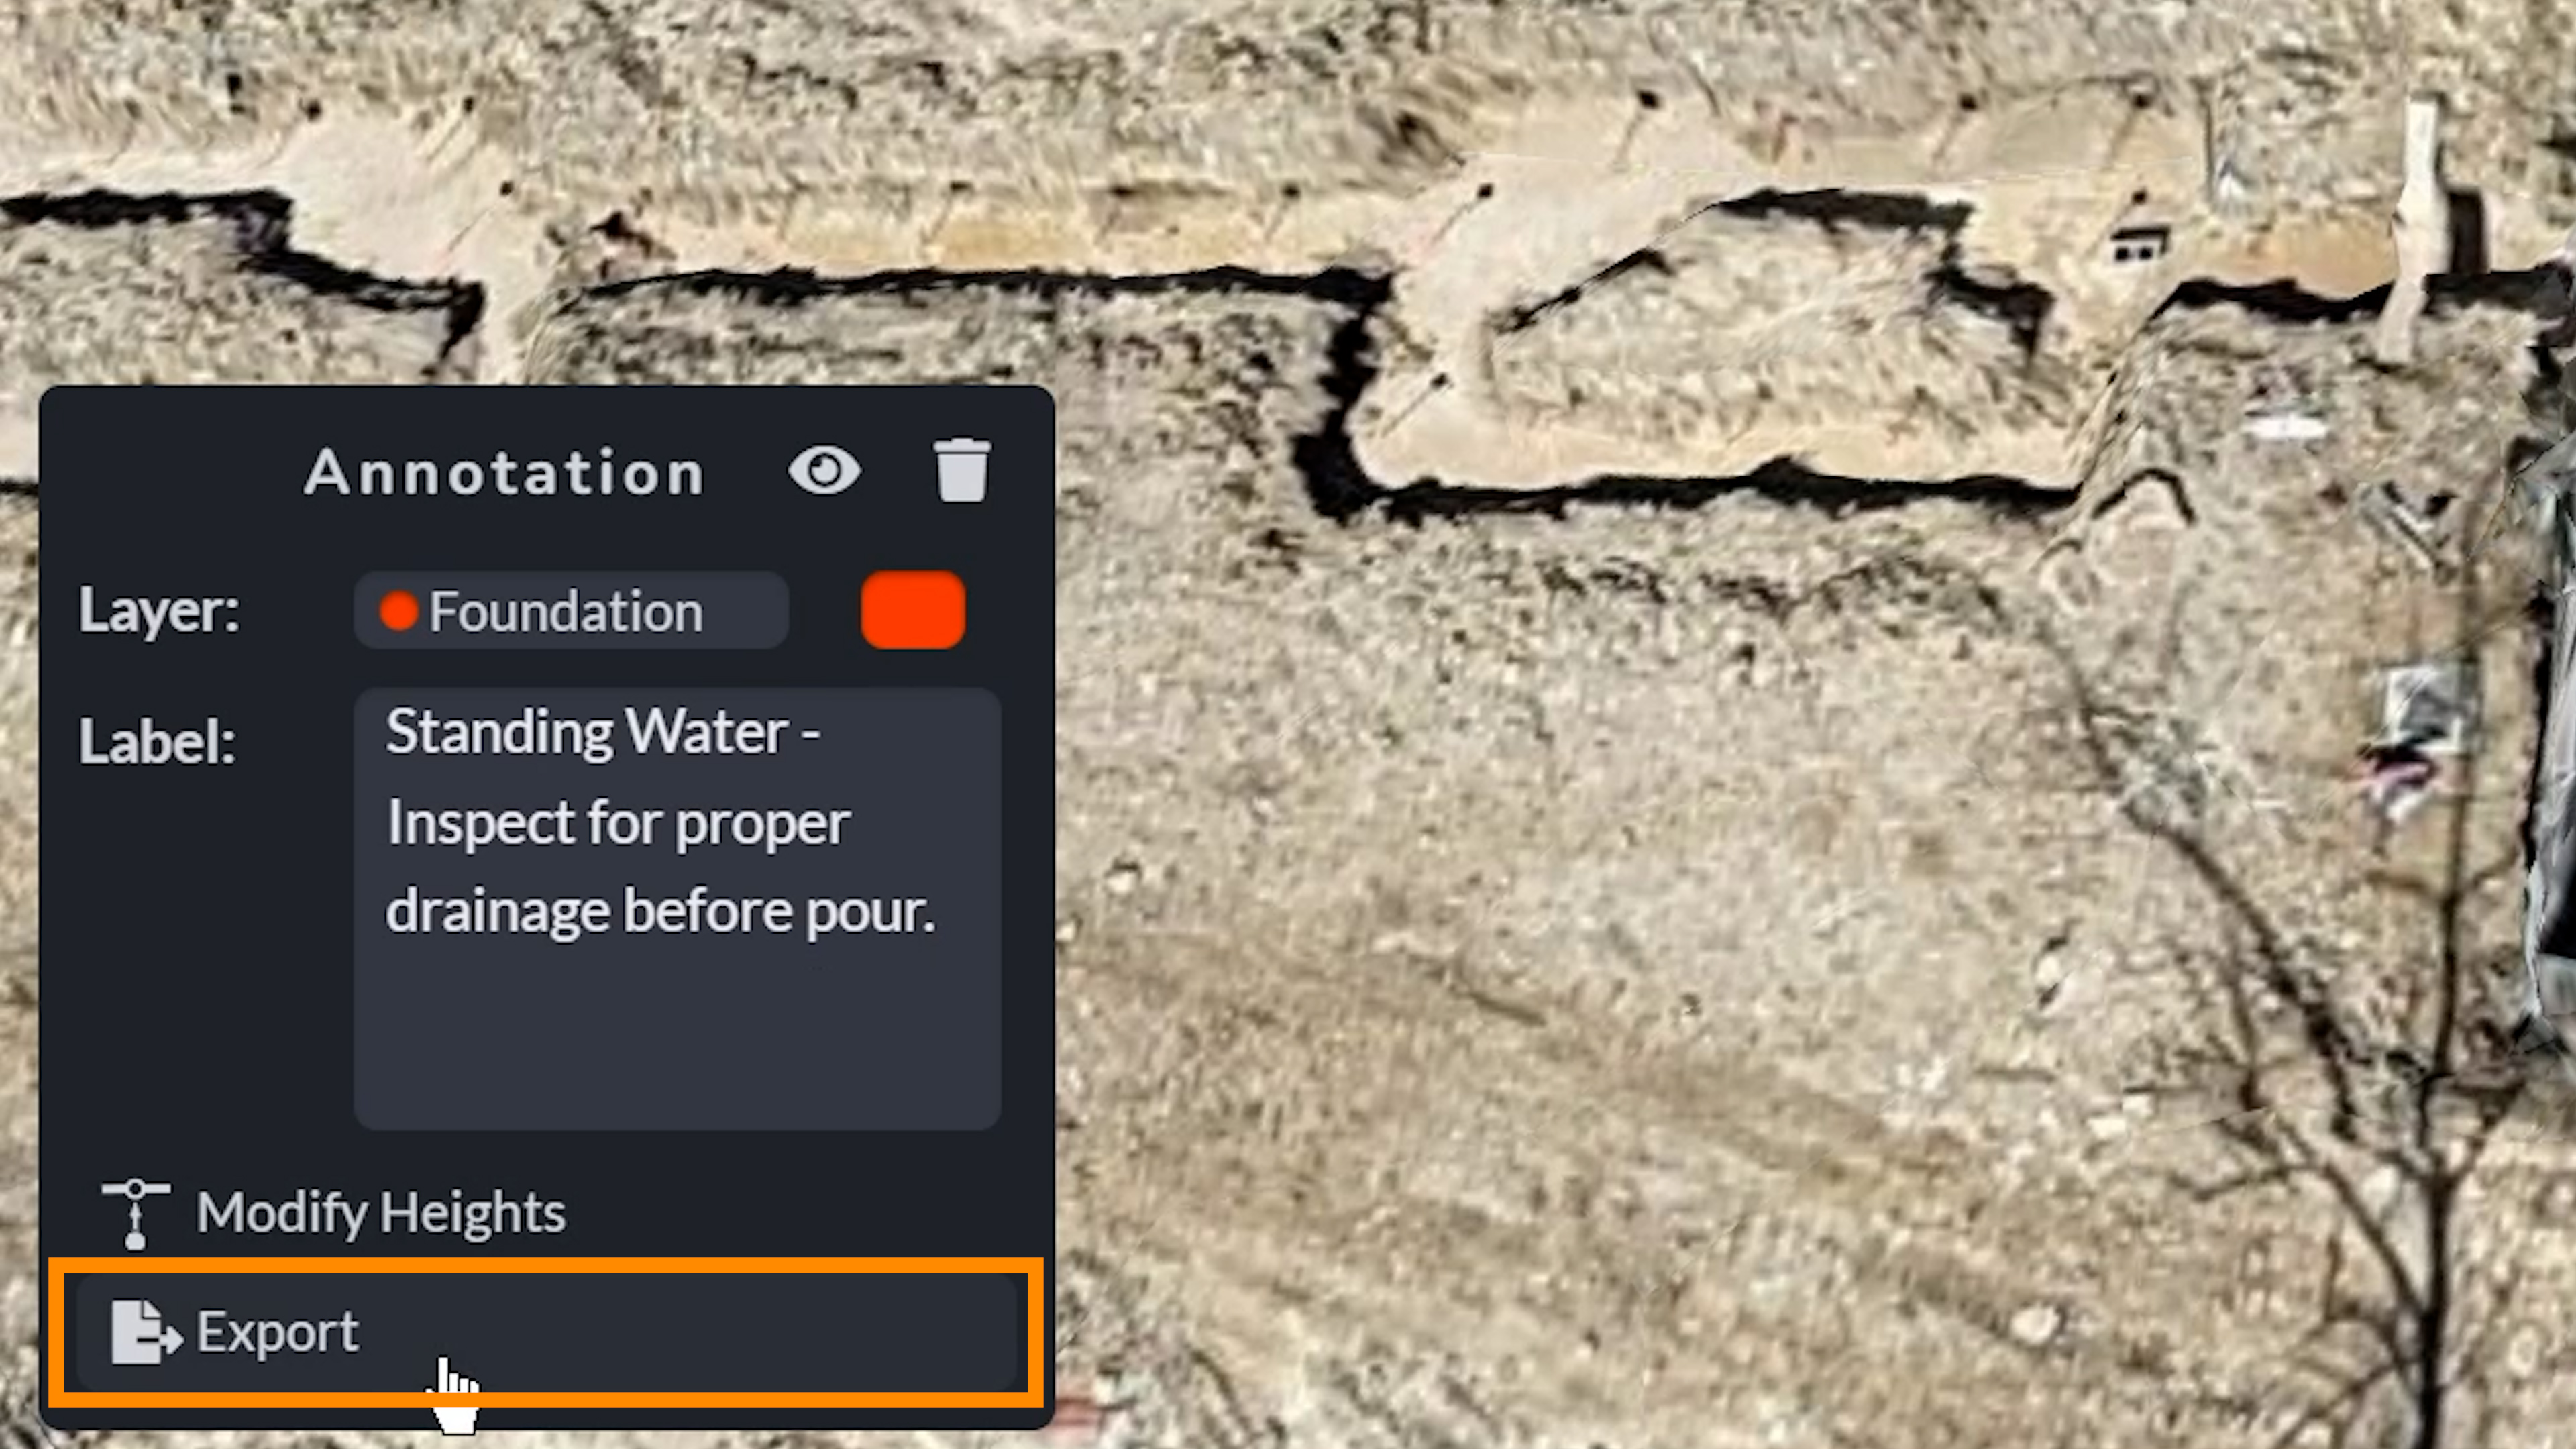
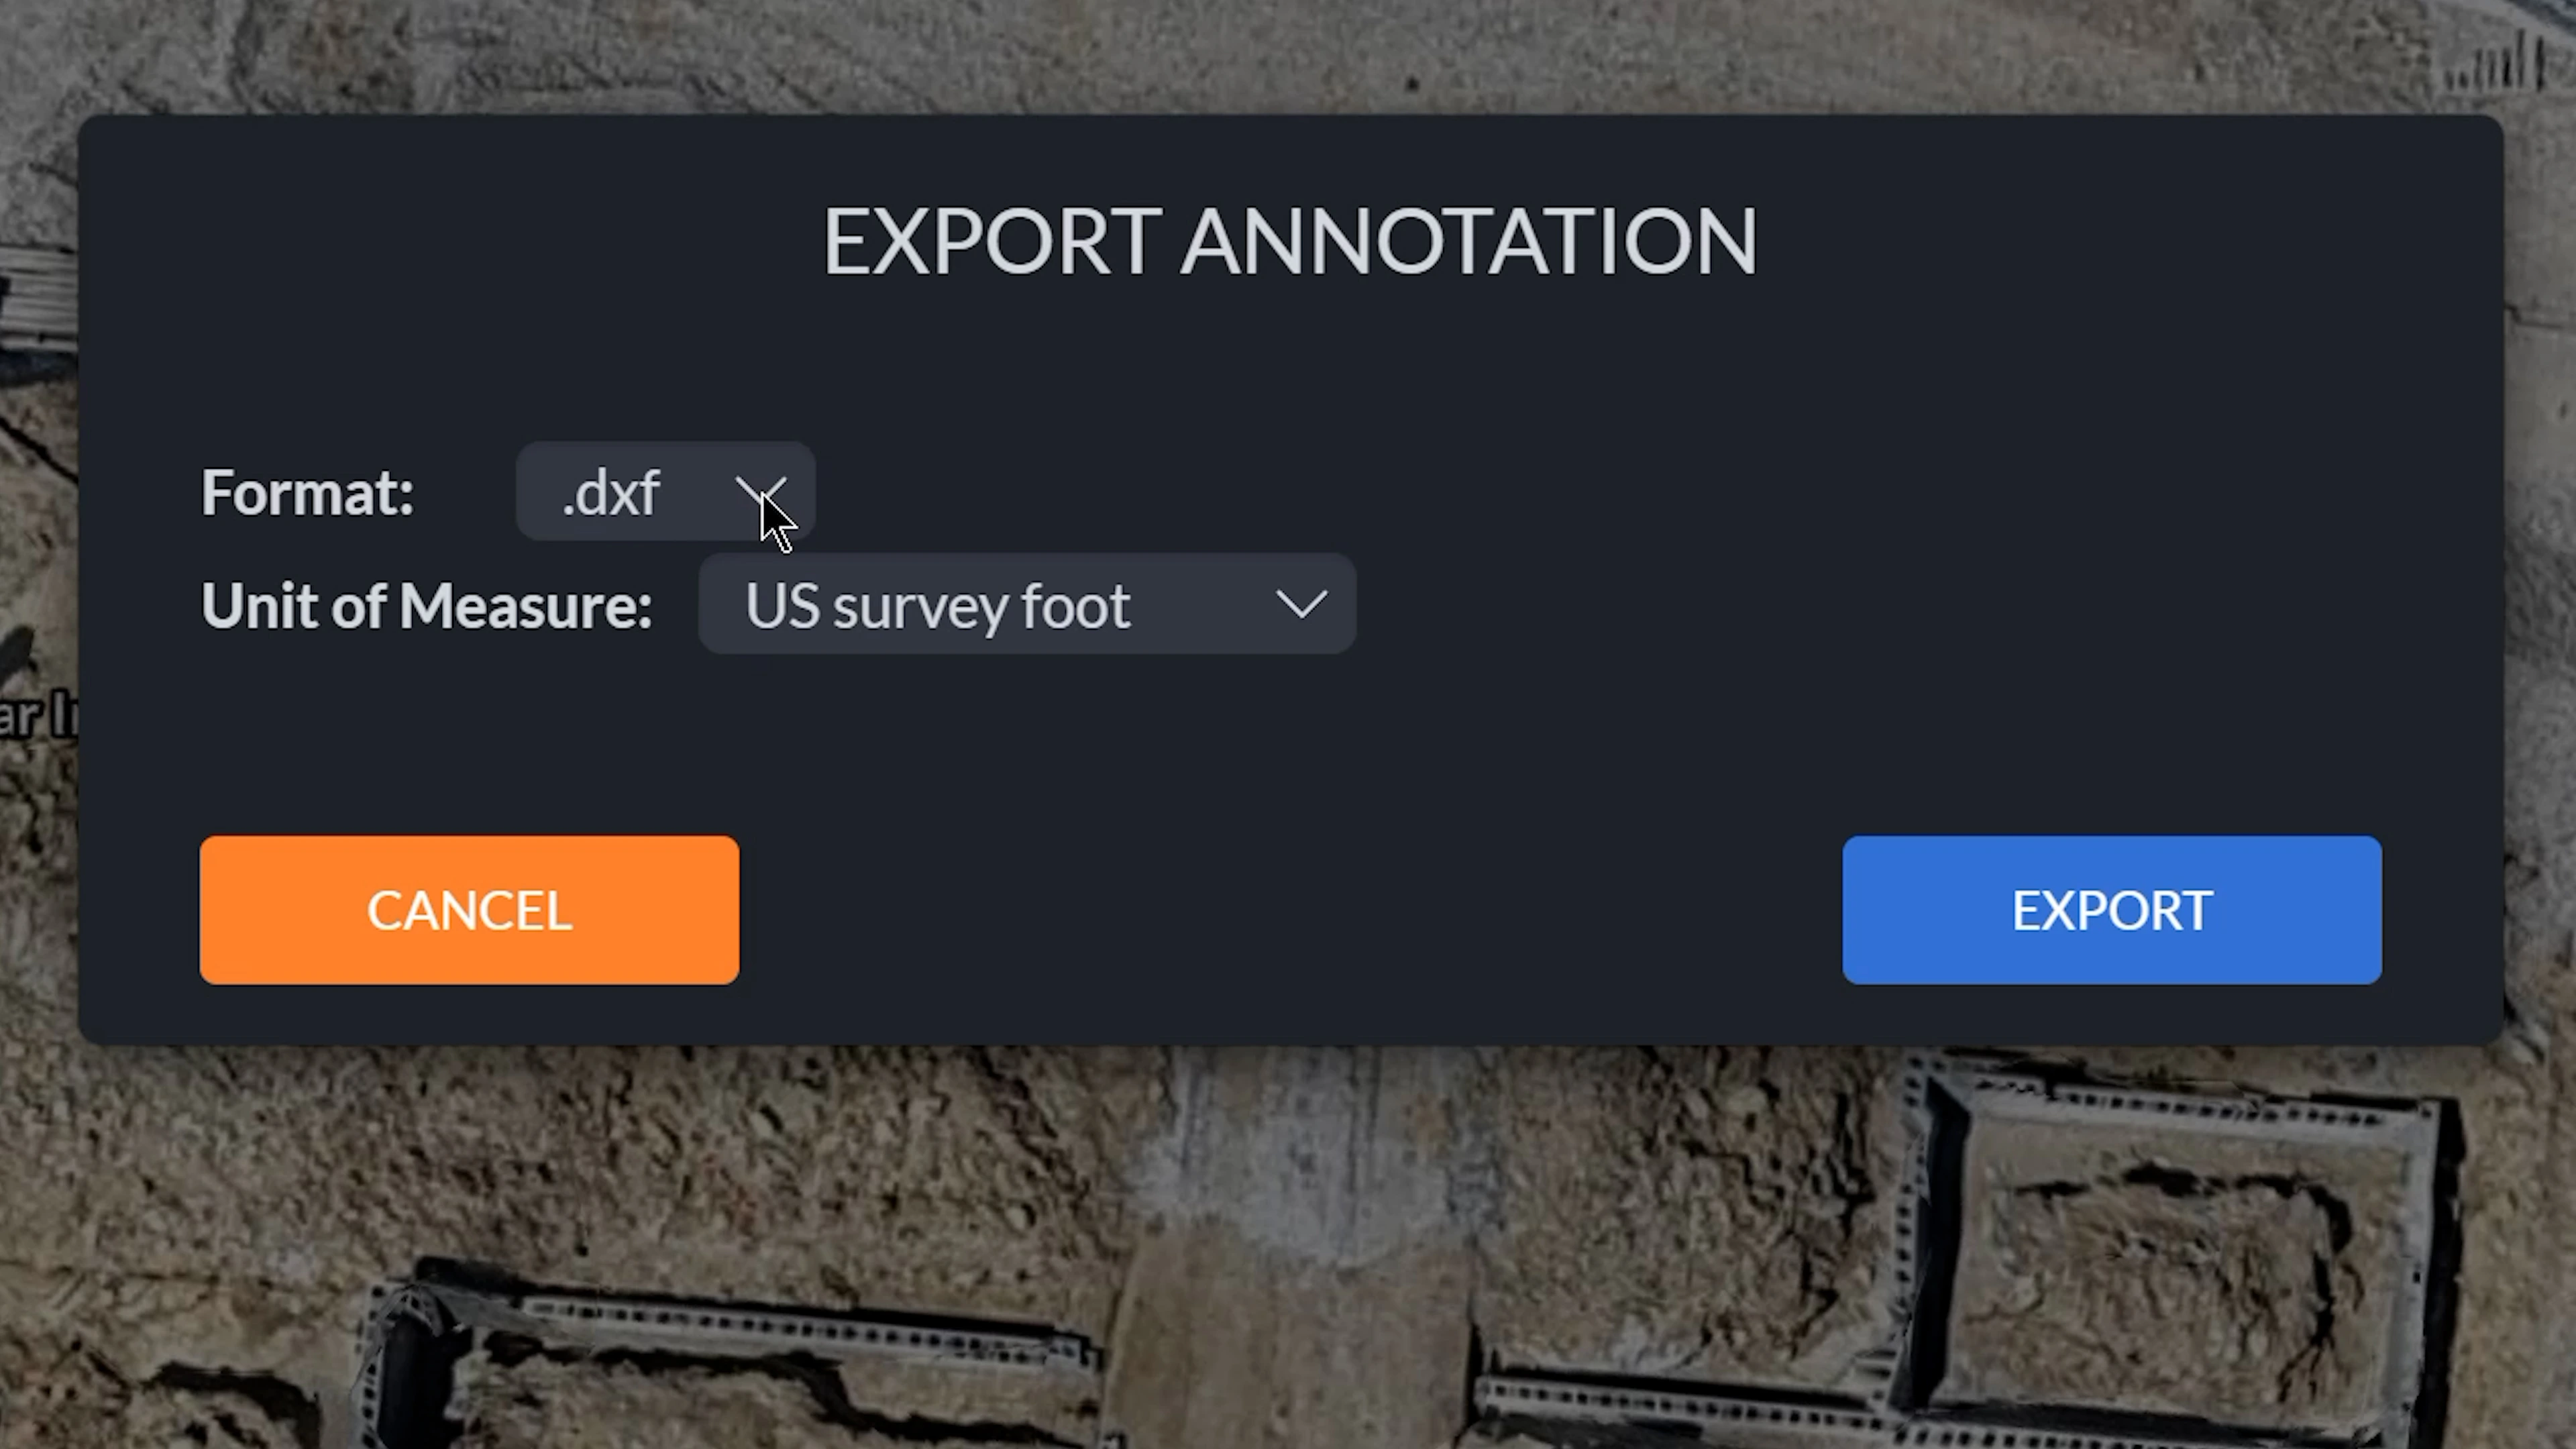
You are also able to export the annotation in various formats and change the unit of measure.
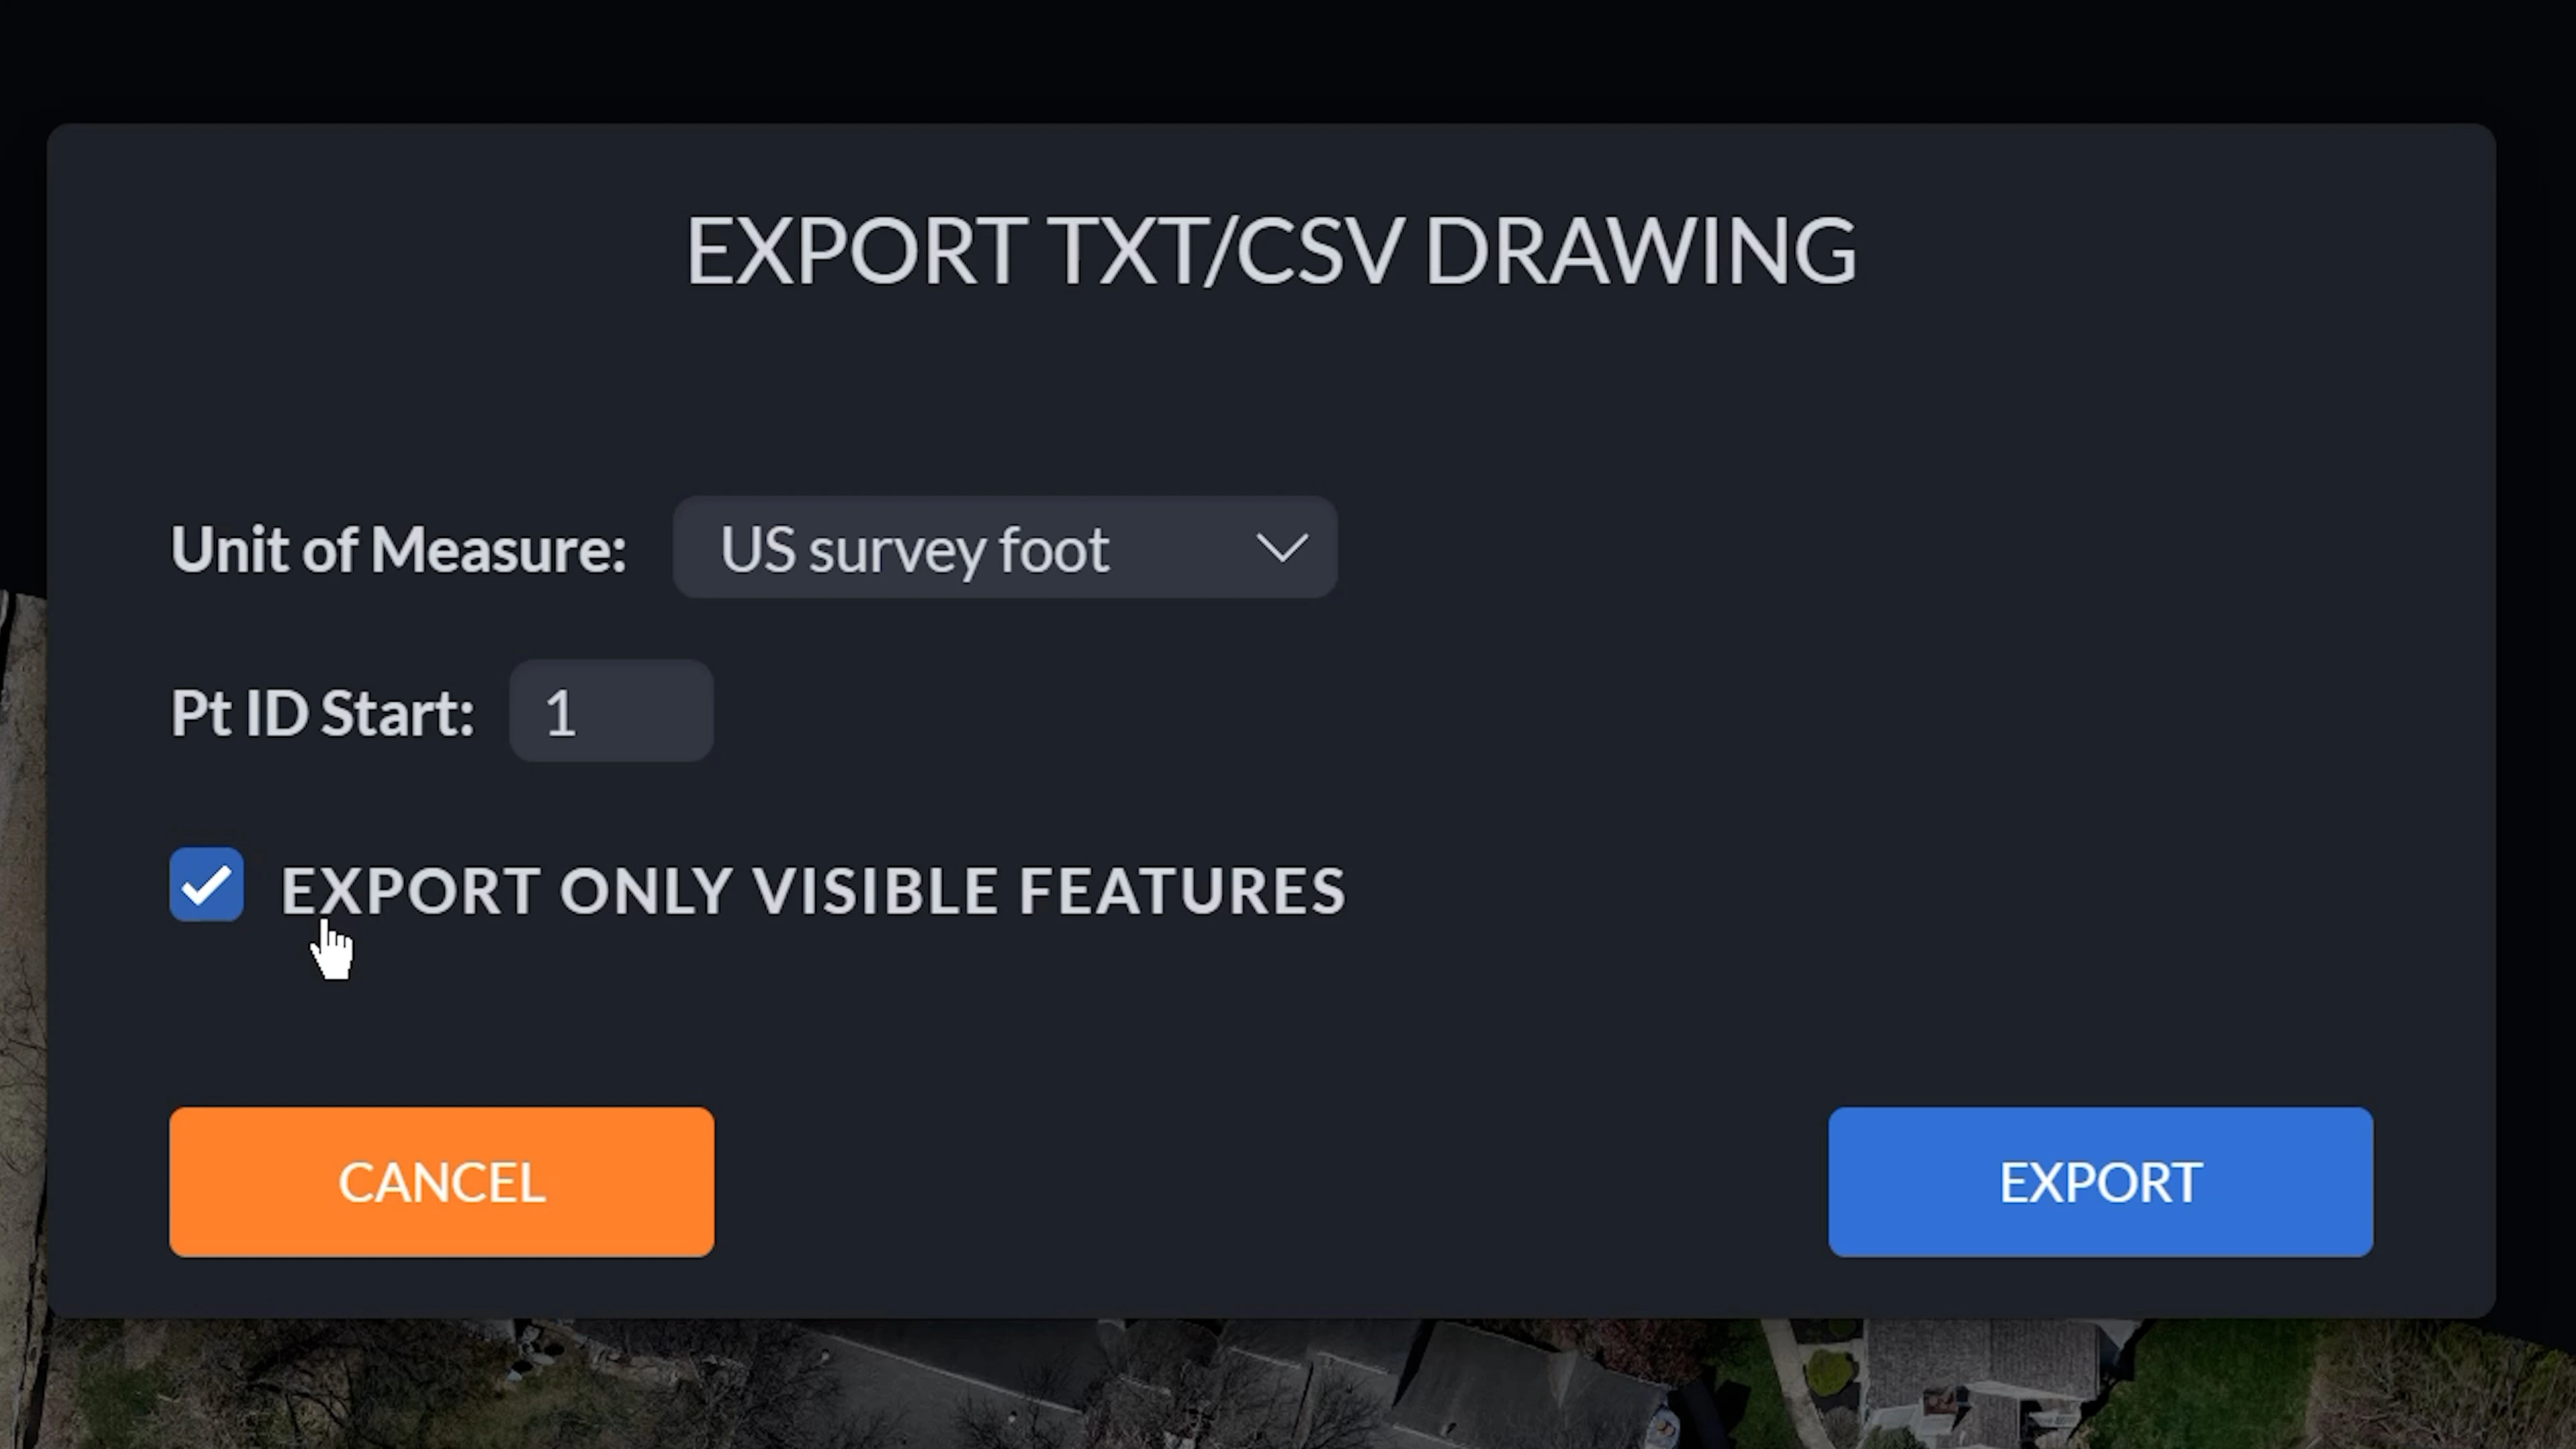
If you are wanting to batch export all of your annotations, you can do so by exporting the drawing to your necessary format. If you would like to only export certain annotations, you can checkmark Export Only Visible Features and make sure that the annotations that you would like exported are turned on and visible in the canvas.
Sharing and Collaborating
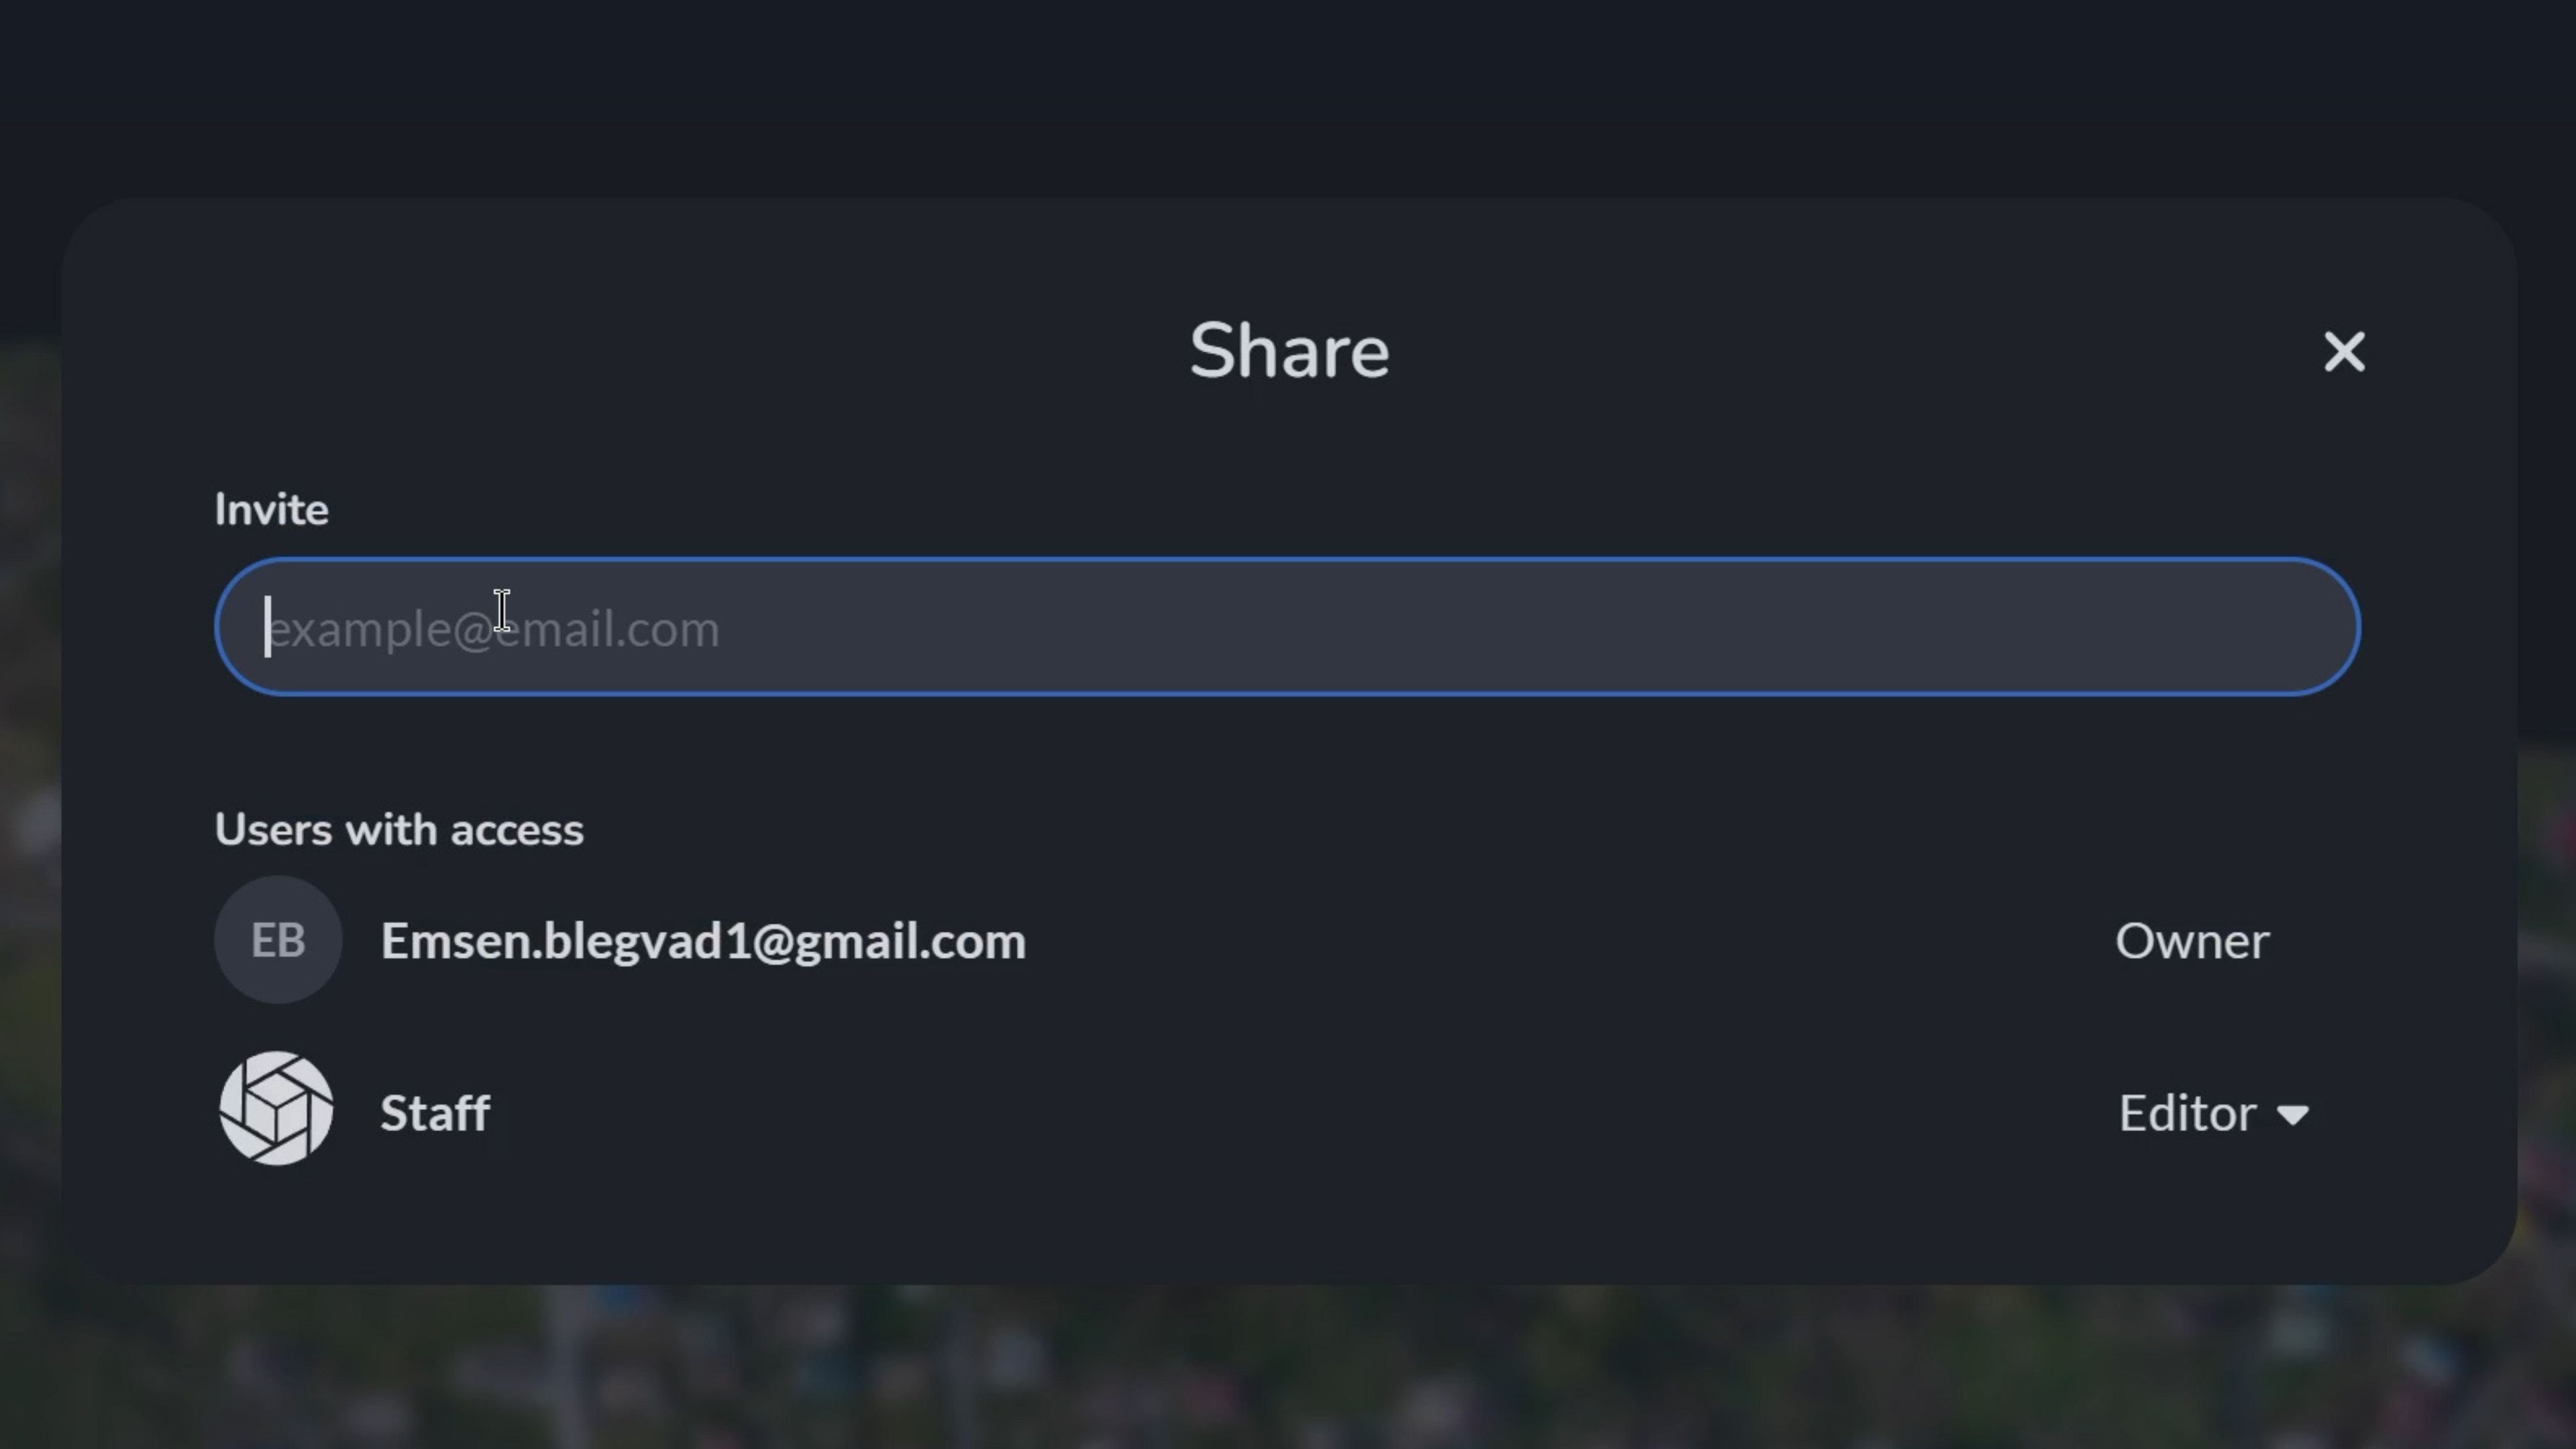
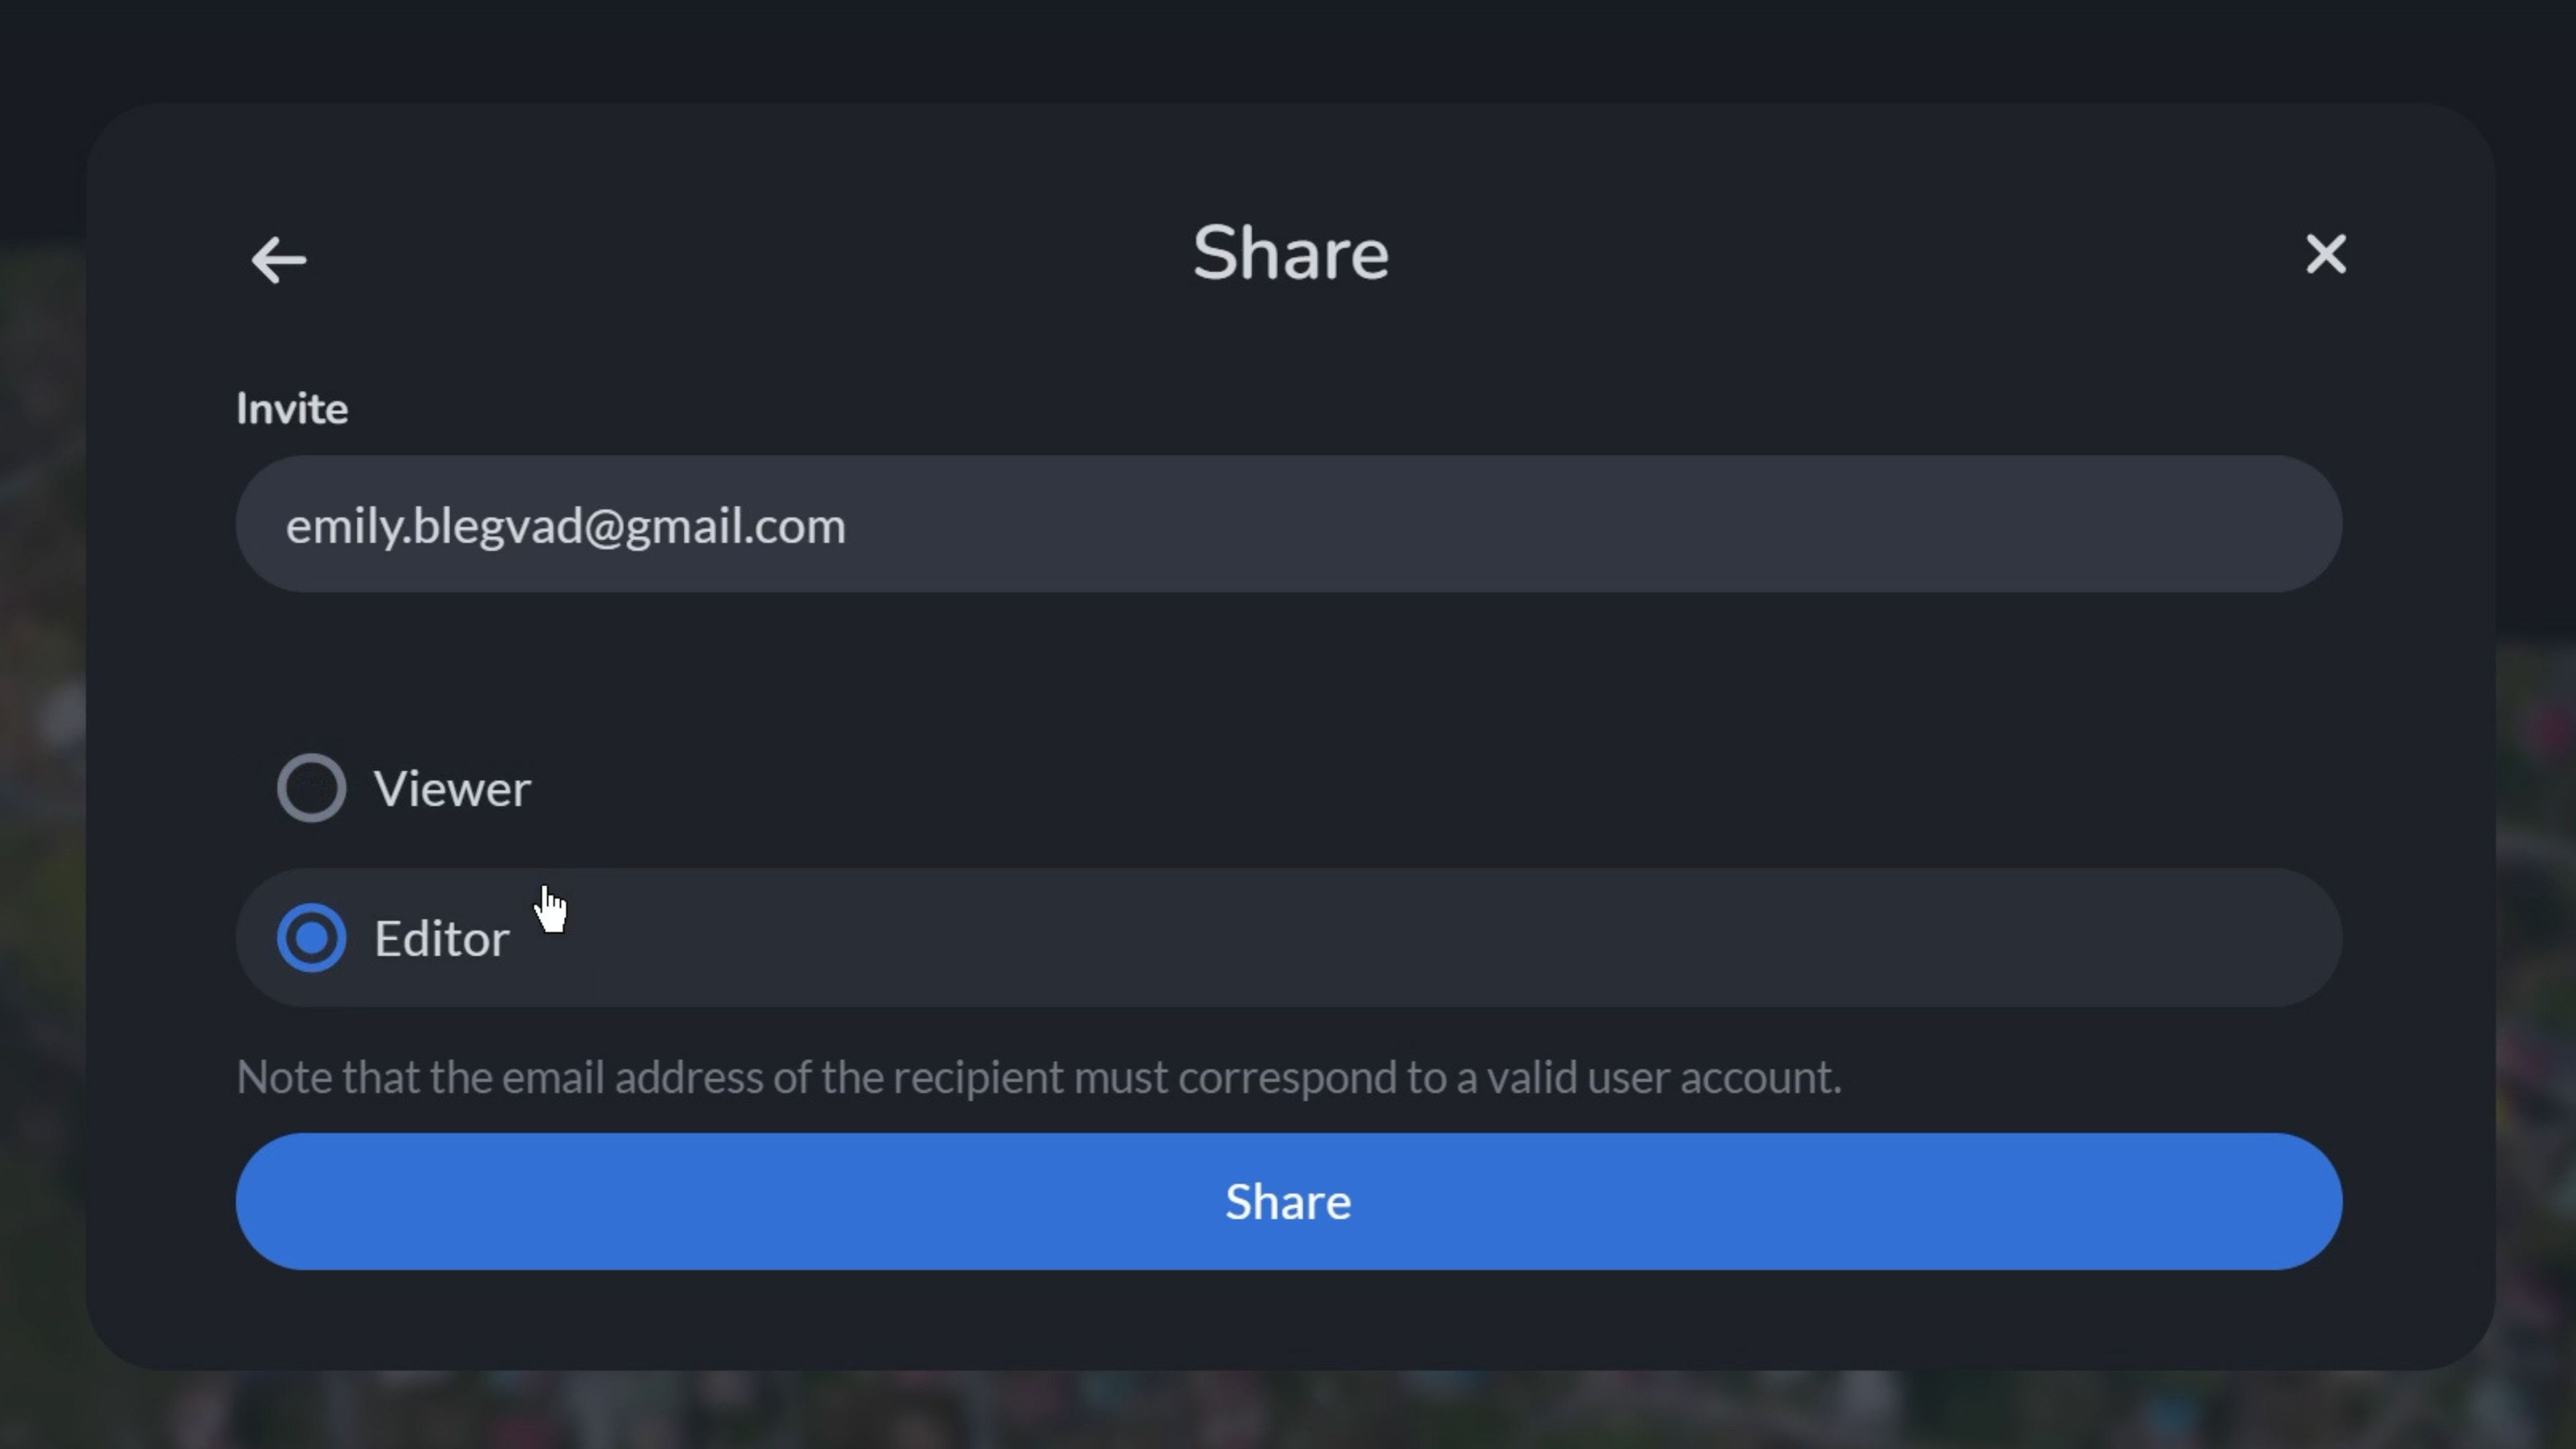
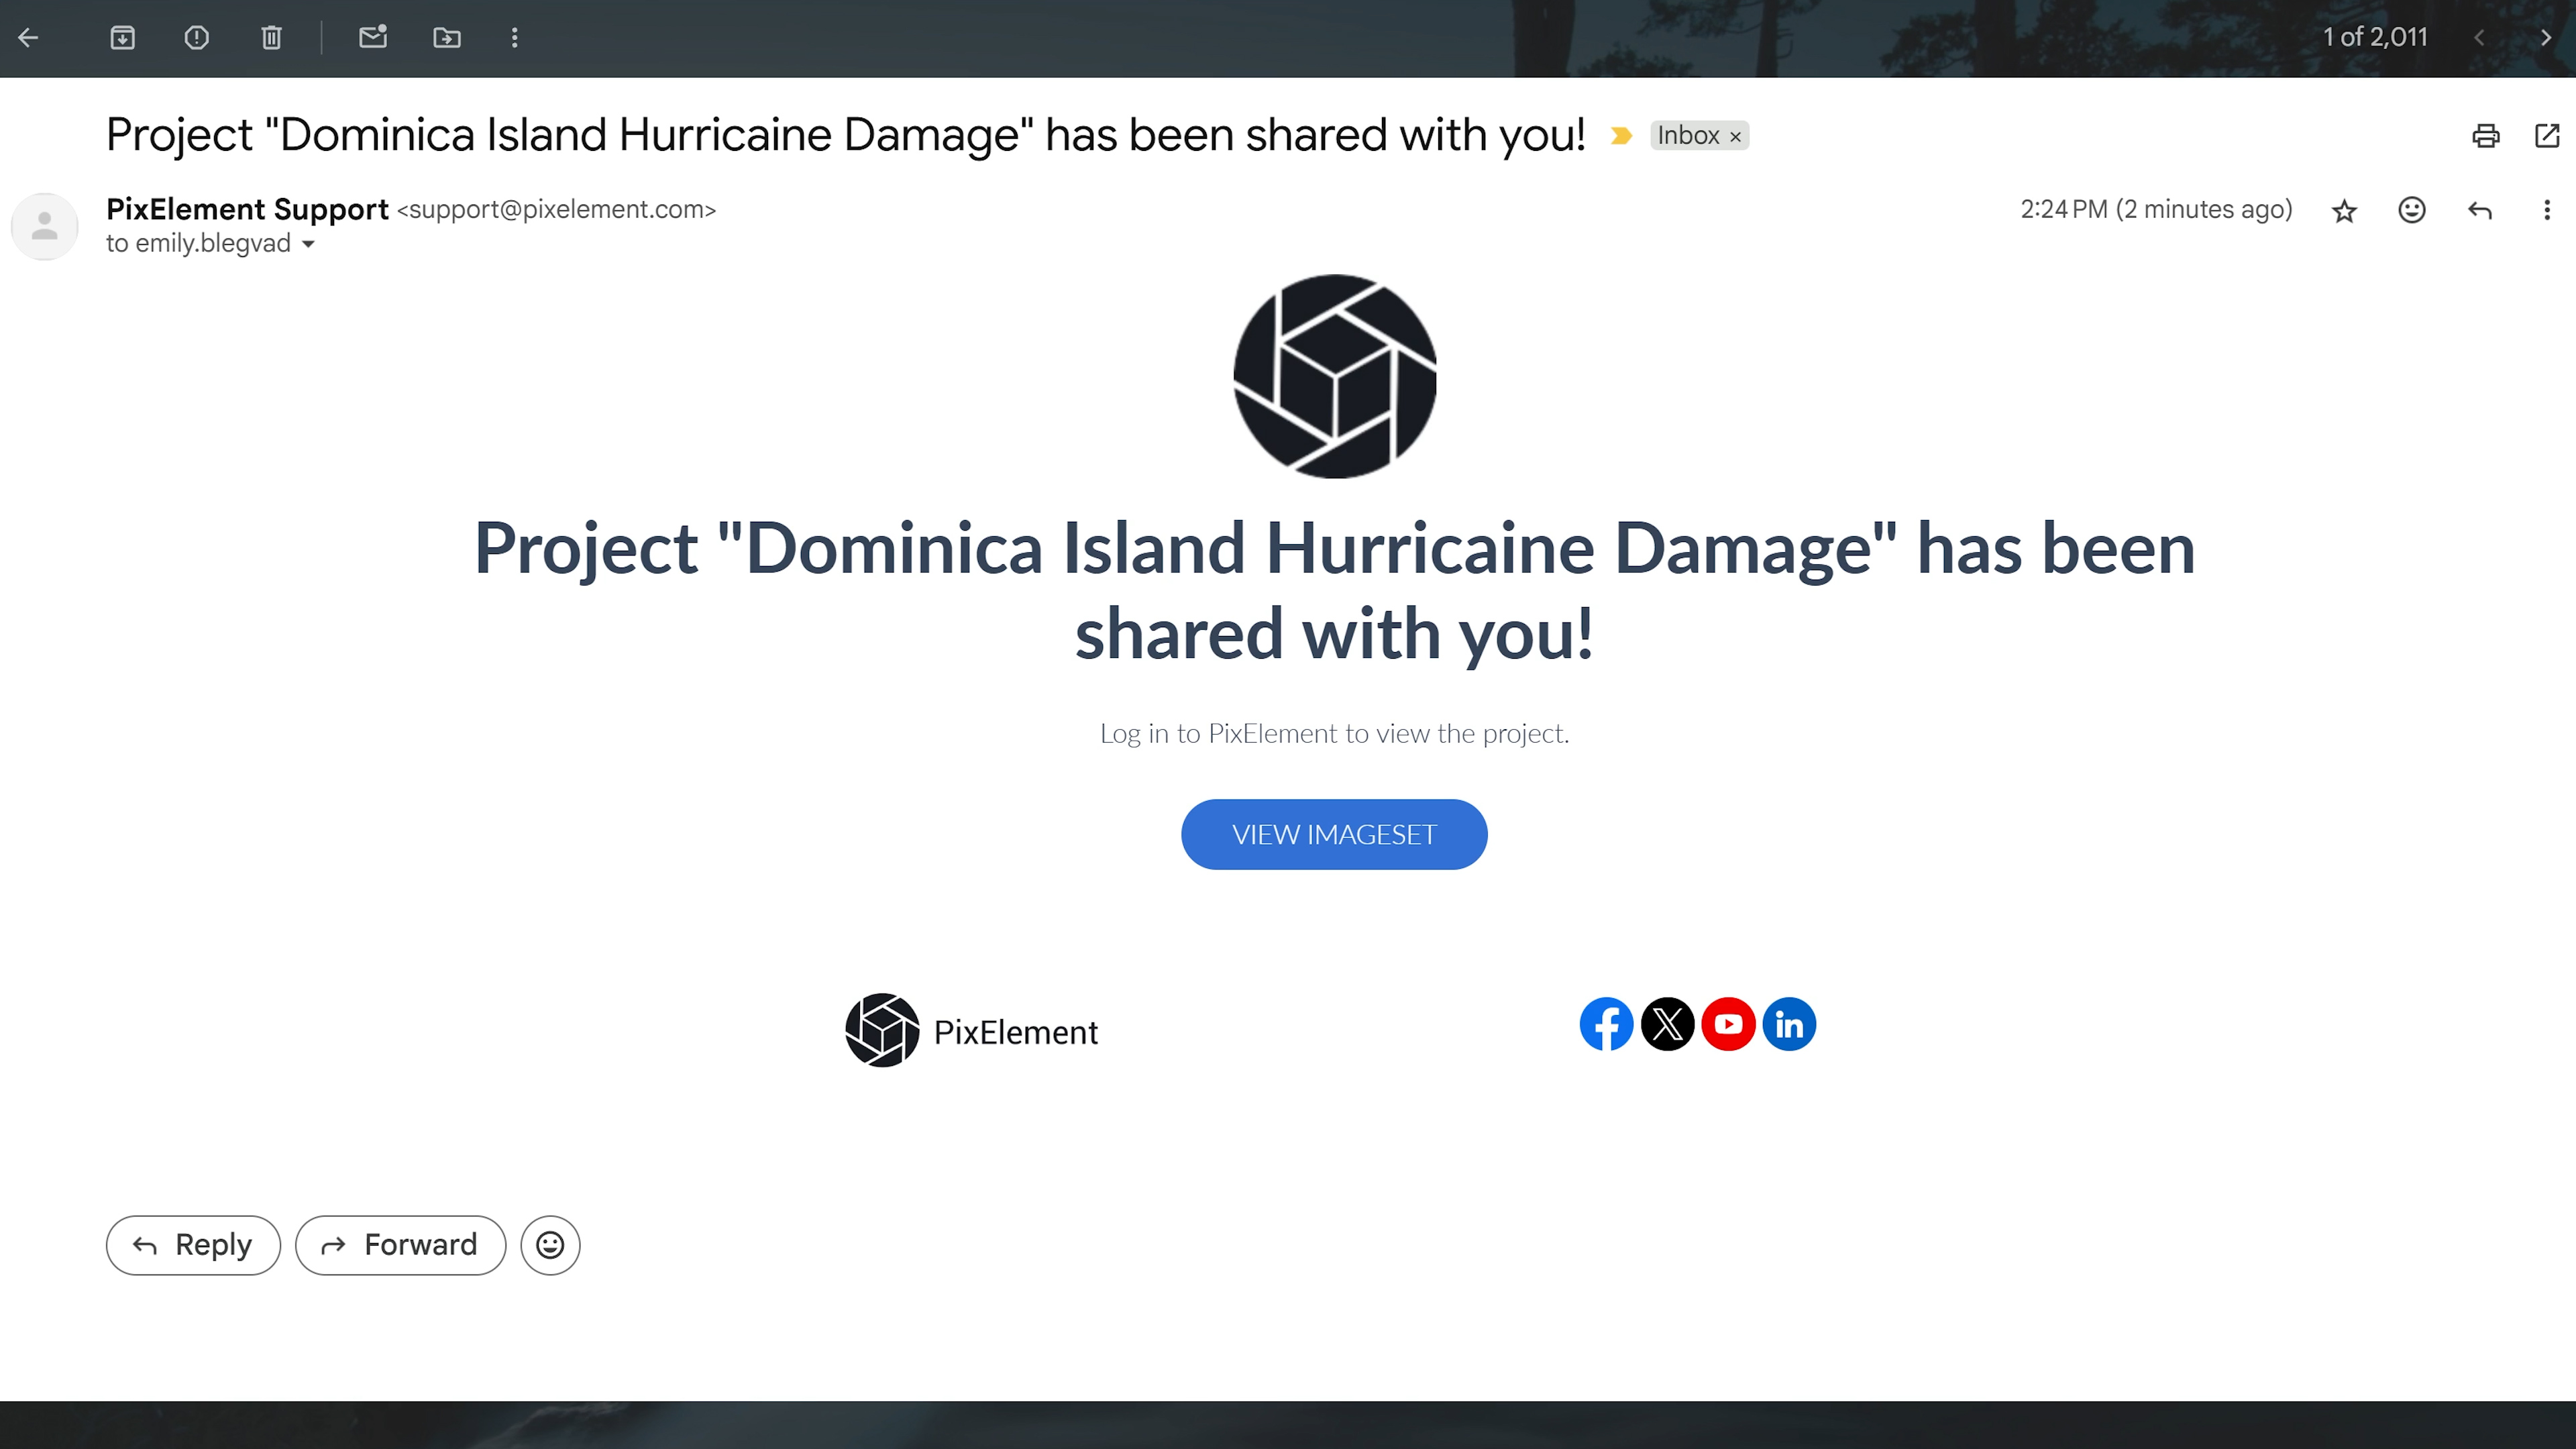
Annotations are not just for personal use, they can be collaborative, too. When you share a dataset with others, they also have the ability to leave annotations on the model (if given permission). This means teams can comment directly in the scene, provide feedback, highlight issues, or coordinate actions, all in the context of the map or model itself. This allows everyone to stay on the same page, literally and visually.
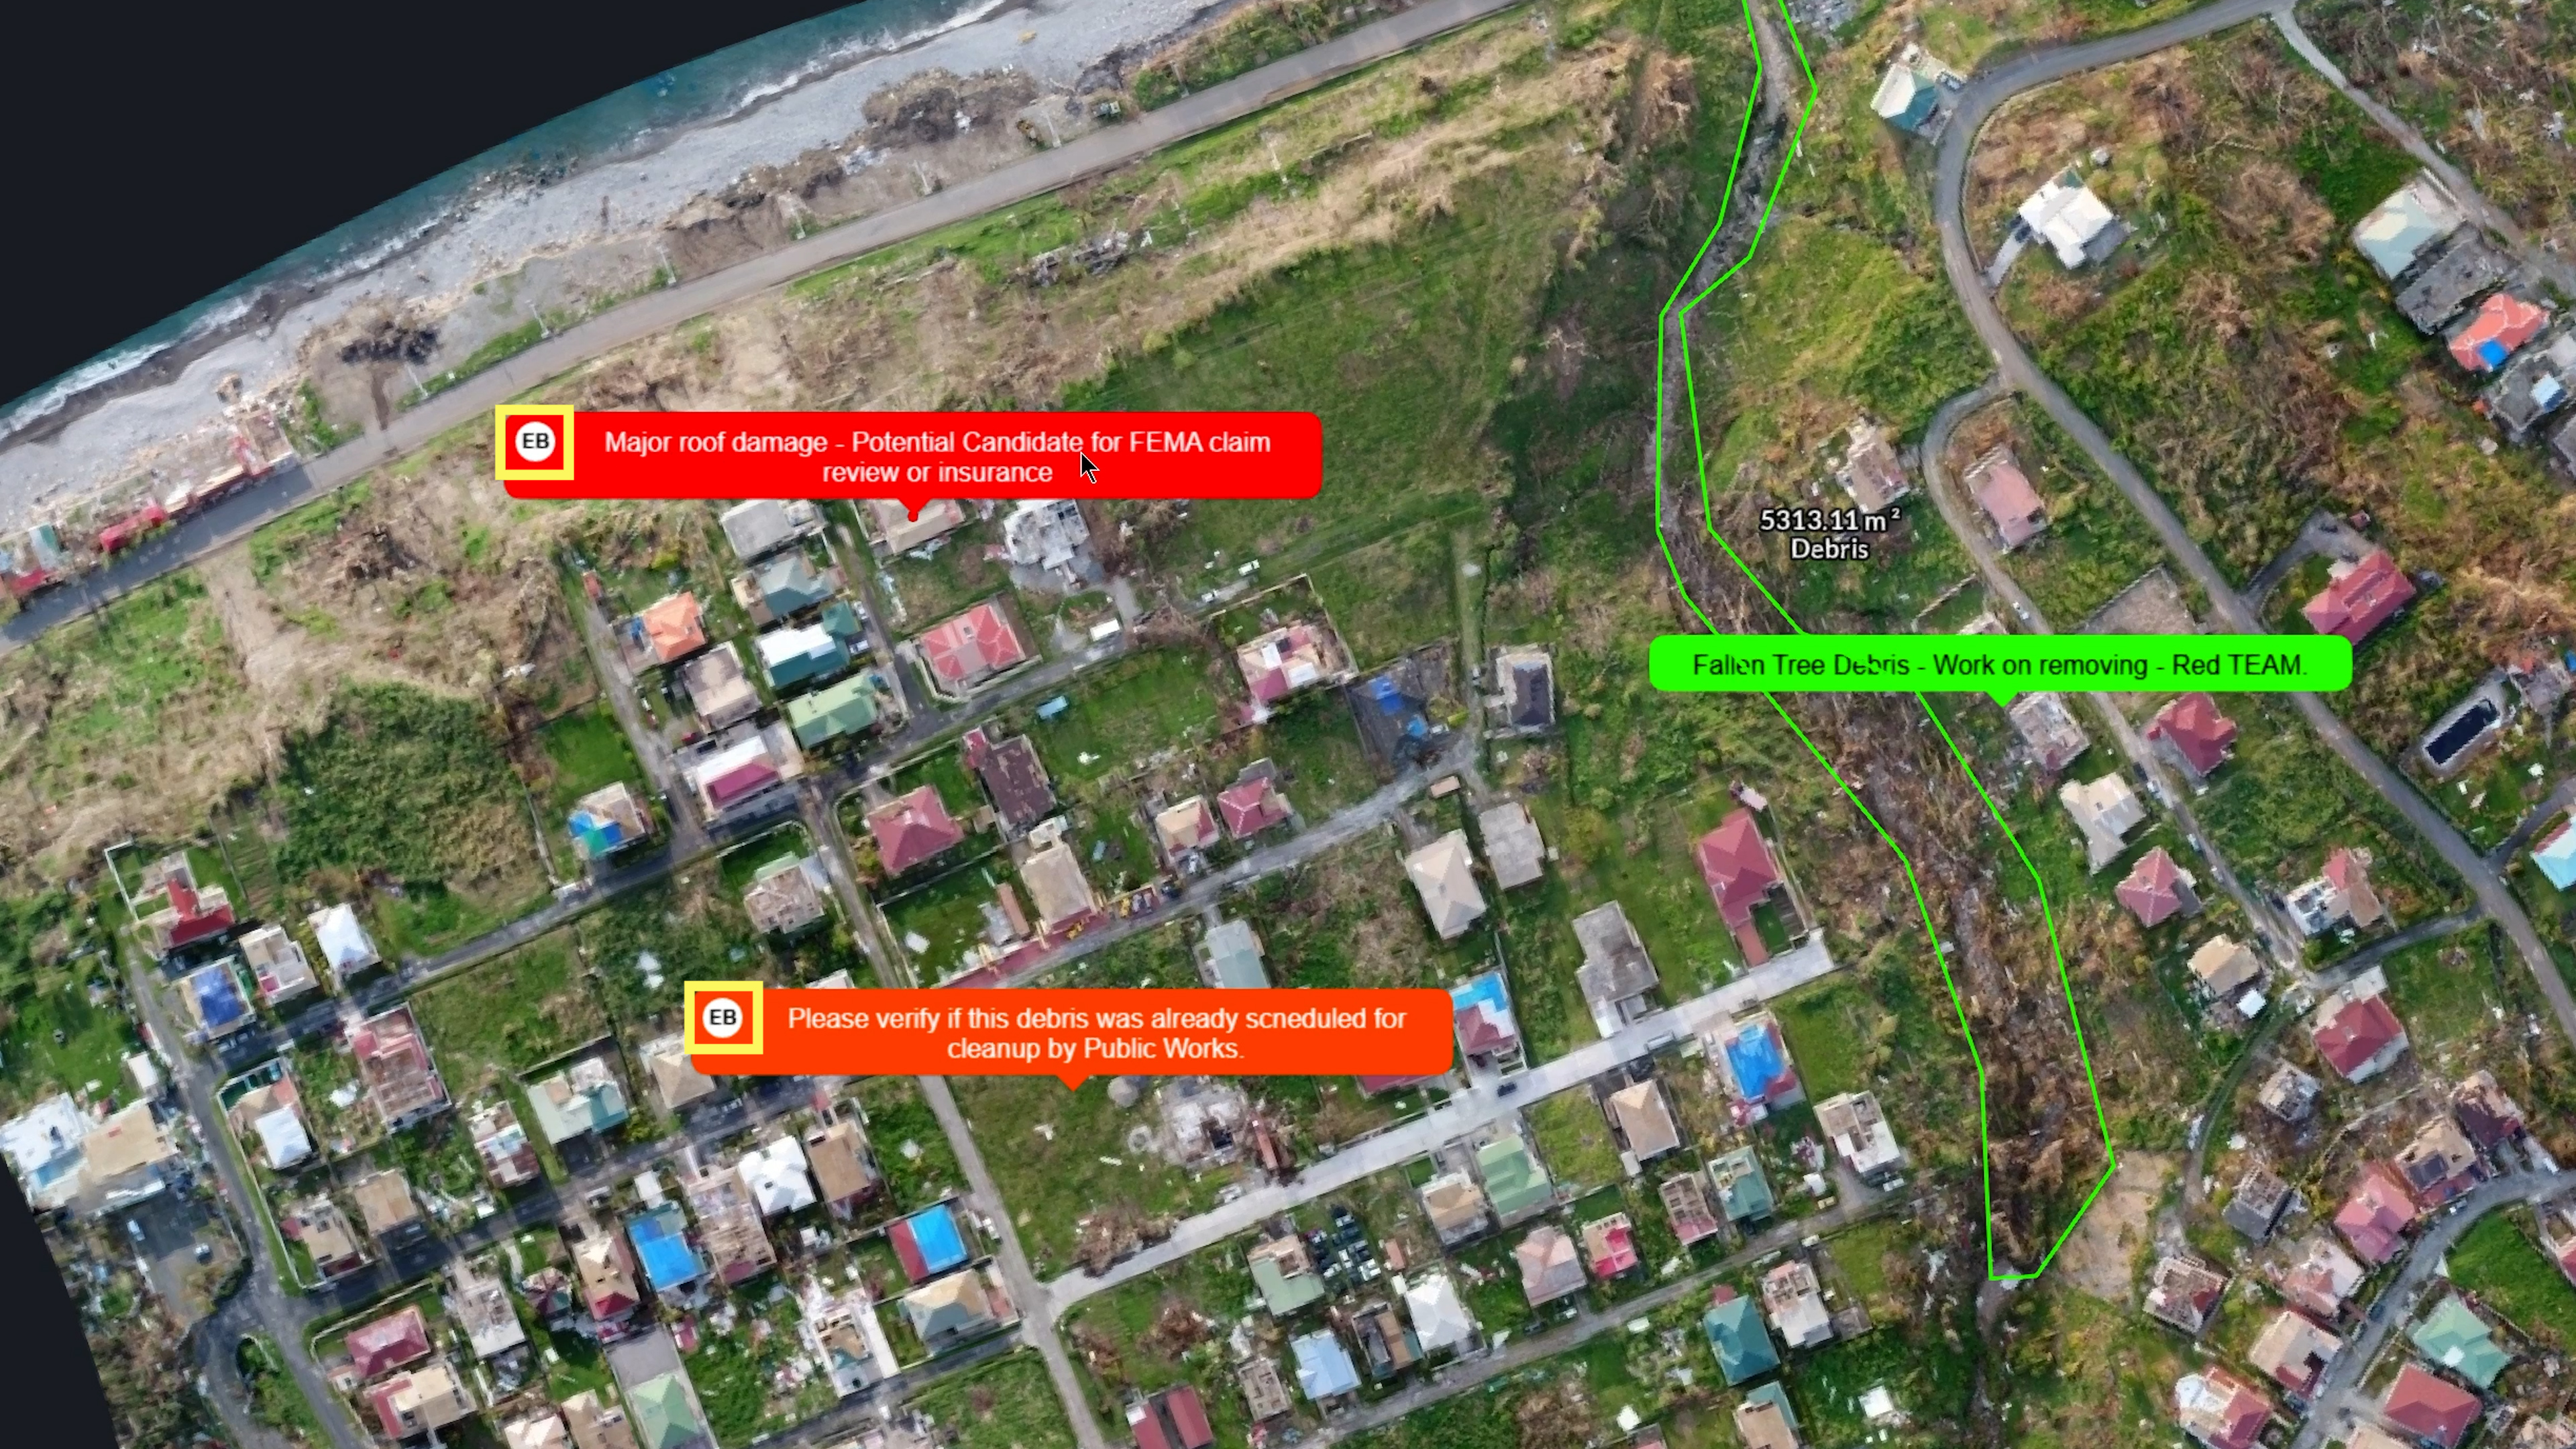
When other viewers make annotations on a project, their initials associated with their account will appear as an icon on the annotation. This makes it easy to identify who left each note and helps maintain accountability and clarity across teams.
Use Cases
- Label utility poles, curb sections, or tree types
- Mark hazardous zones or site instructions
- Include comments or QA/QC flags for internal review
- Add callouts during volume reporting or mesh inspection
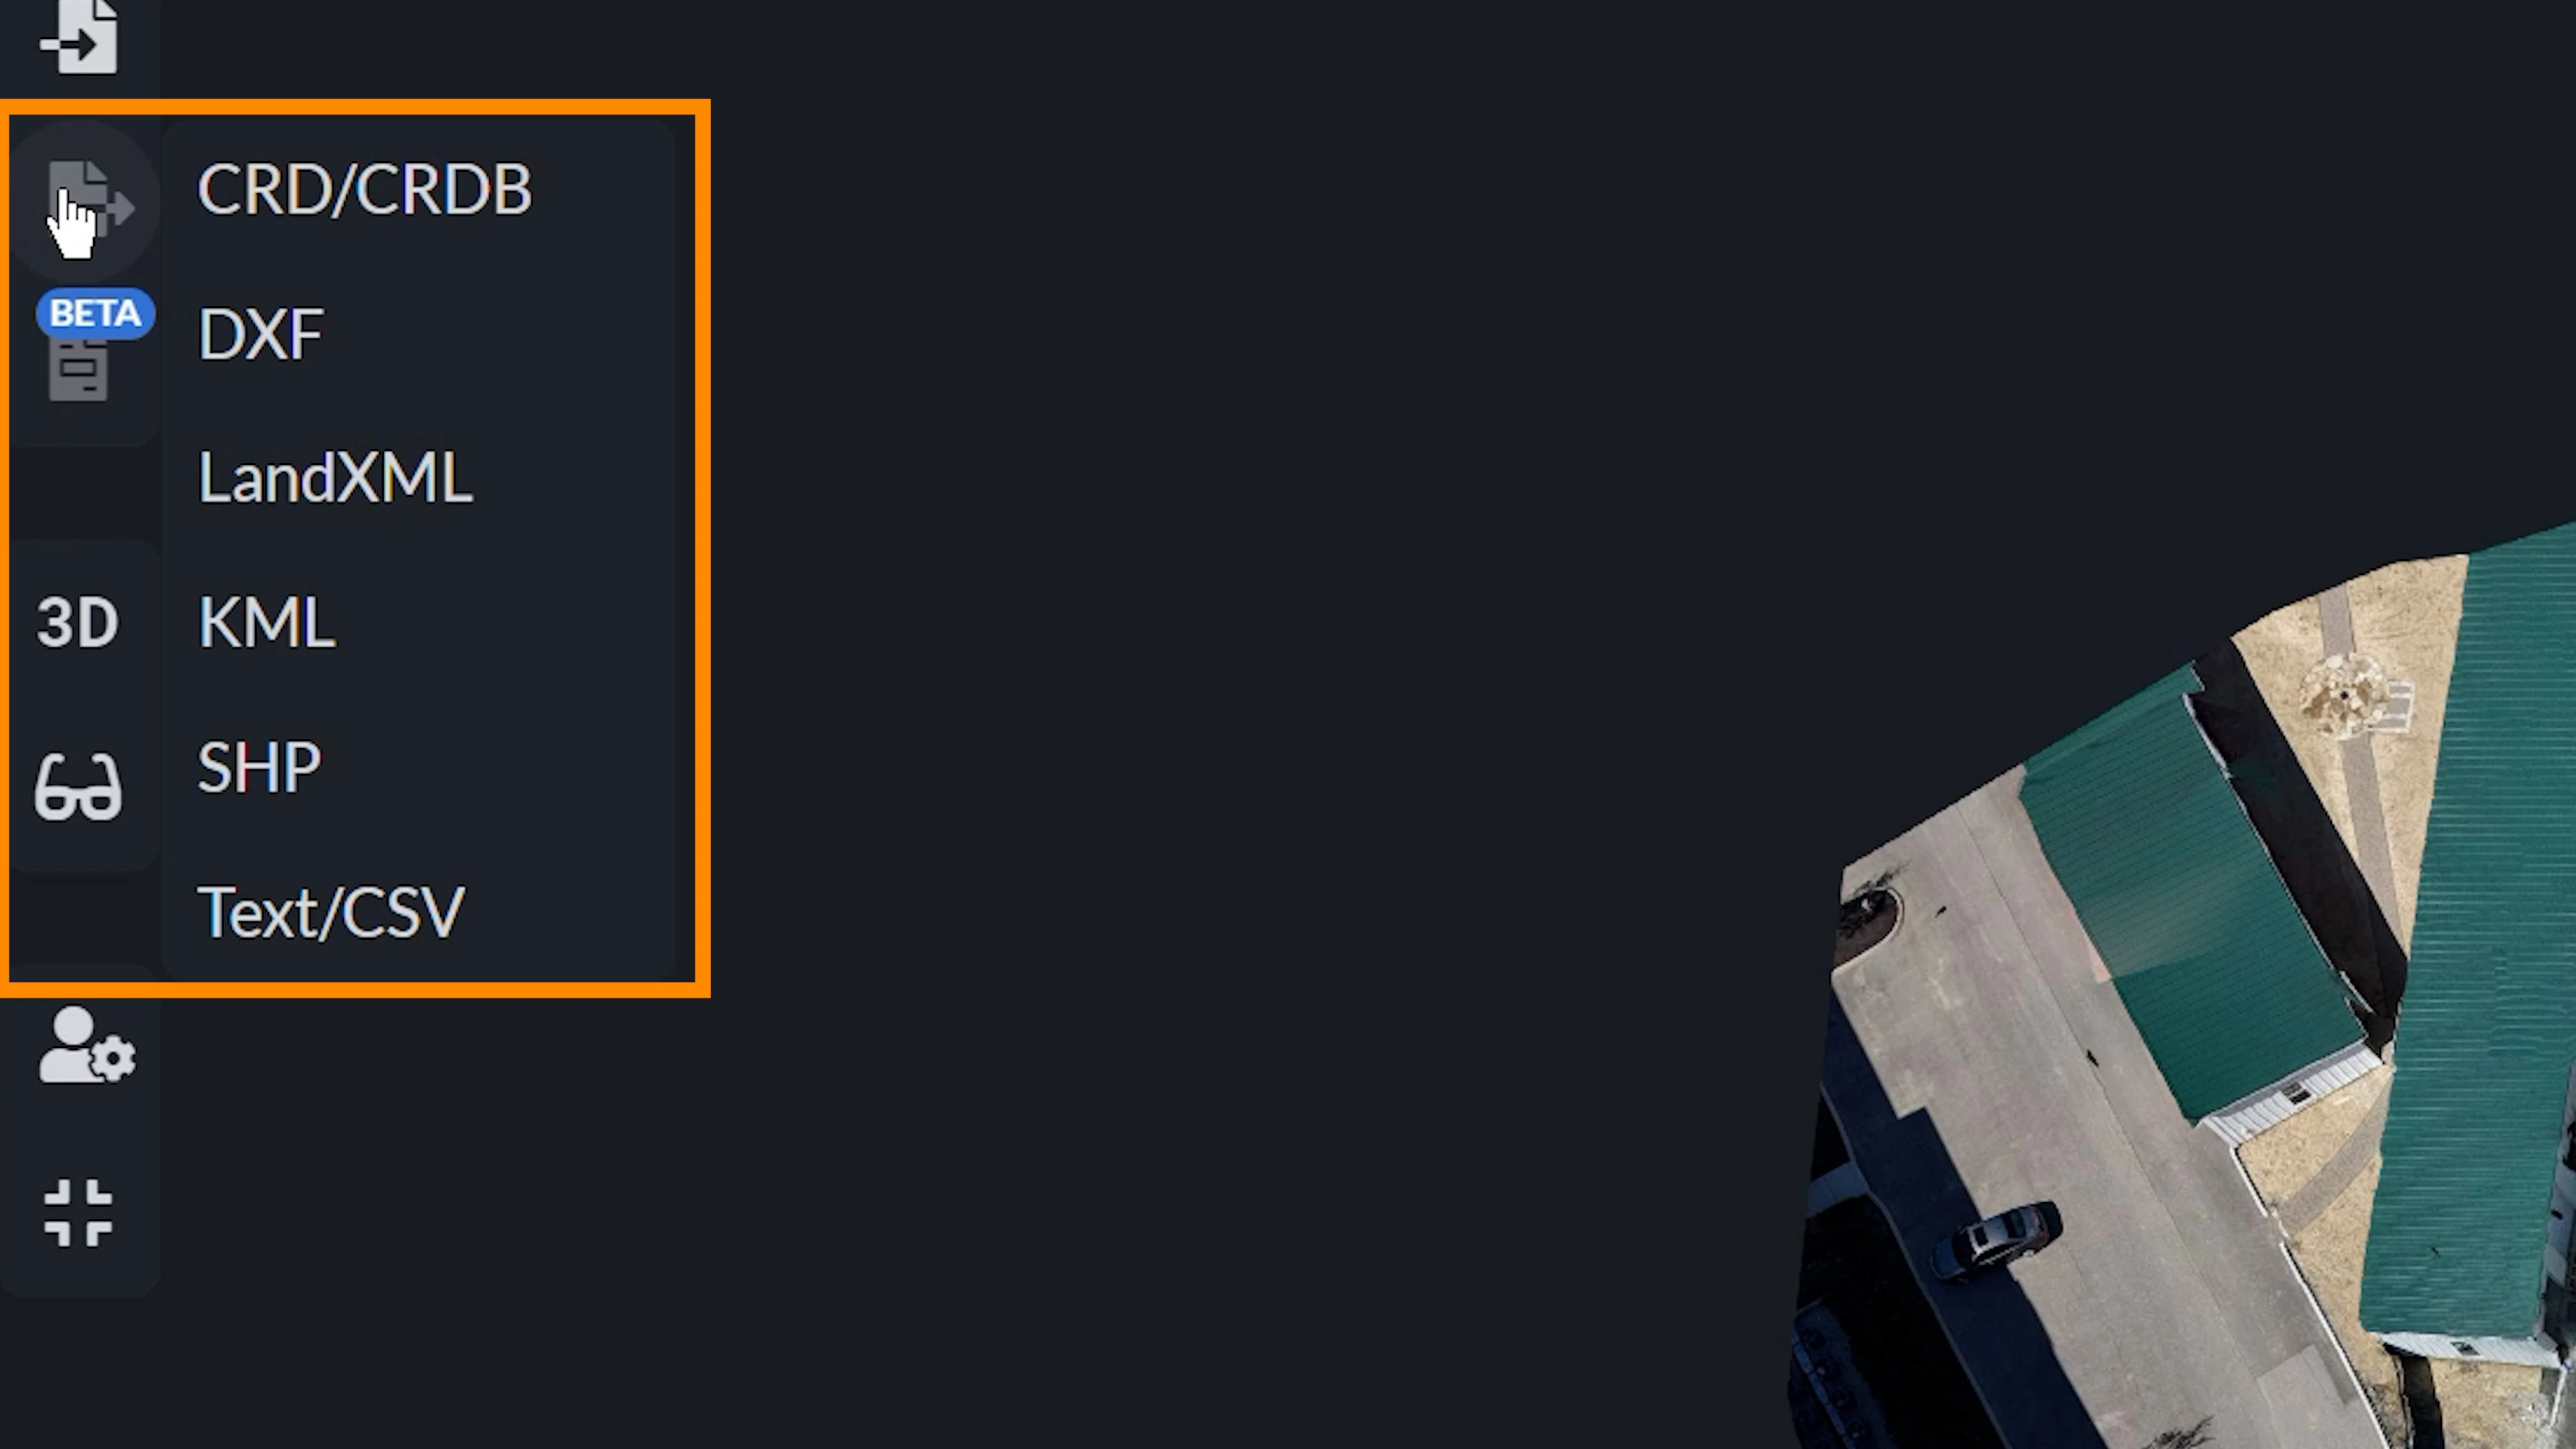
Export + Import Ready
These annotations can be exported and reimported in most common formats including:
- TXT/CS
- DXF
- KML (Note: CRD export is not supported at this time.)
During testing, we ensured these annotations retain their position and content across file formats—though minor shifts may occur depending on the export method.
Wrapping Up
The Add Annotation tool gives you a simple but powerful way to communicate directly within your project environment. Whether you’re flagging key locations, leaving notes for collaborators, or prepping your deliverables, annotations help turn models into actionable insights. This feature is designed to bring clarity and communication directly into your mapping canvas. While it’s still evolving, we think this is going to be a powerful addition for any user who wants to go beyond visual data and start embedding insights directly into their 3D workflows.
If you’re excited to try the annotation tool—or if you have feedback—let us know! Your suggestions are helping shape the future of PixElement.